Petestack Blog

24 March 2019

Trim on

Filed under: Sailing — admin @ 9:33 pm

A slightly artsy title here (both punning and recalling instructions to racing crew), as well as not completely true when nothing like all the trim’s on yet, but perhaps marginally better than ‘More Tricky Stuff’, which was all I could otherwise think of…

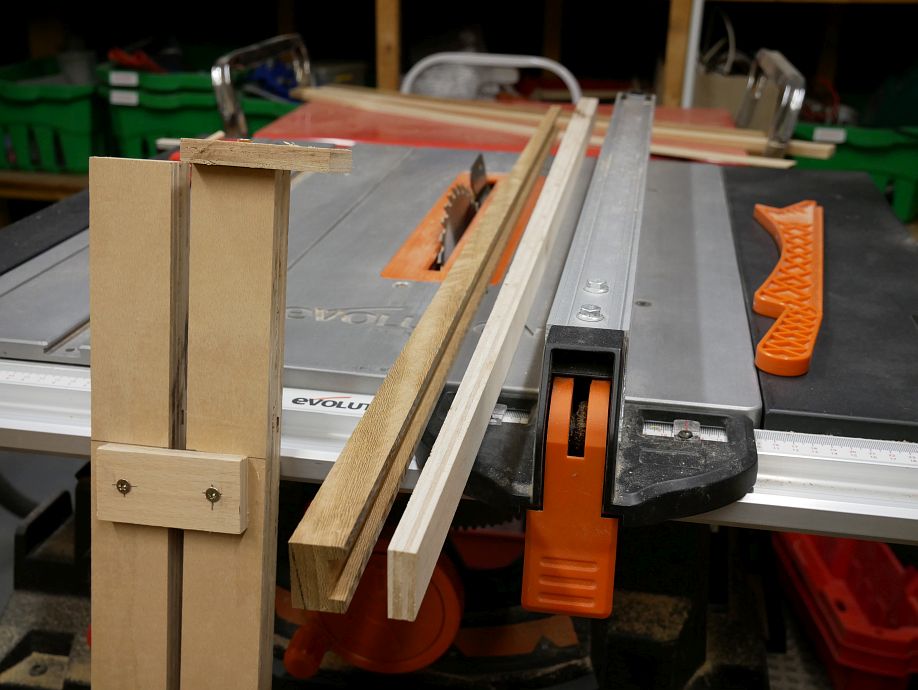
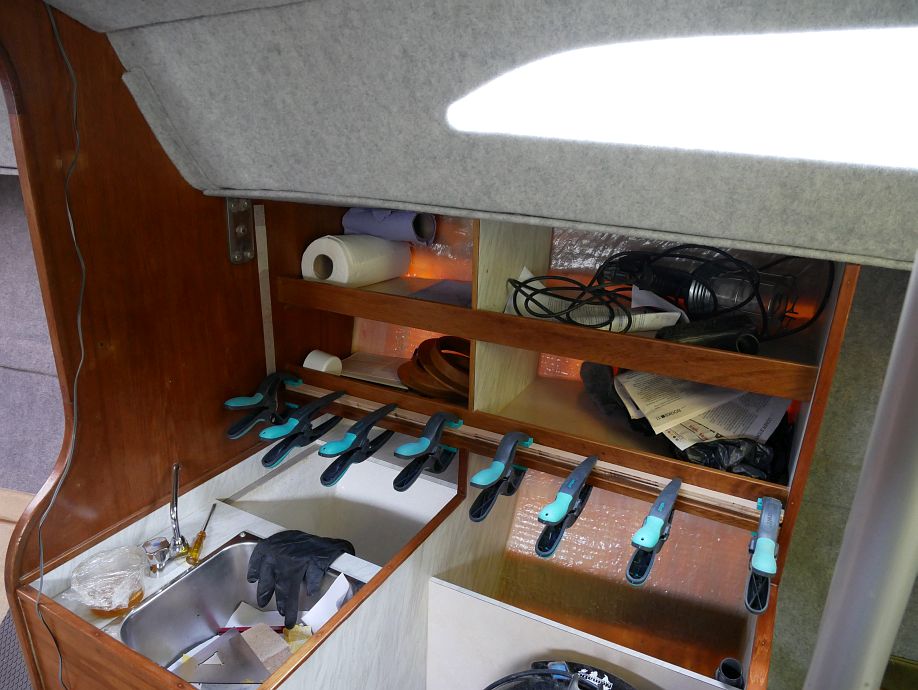
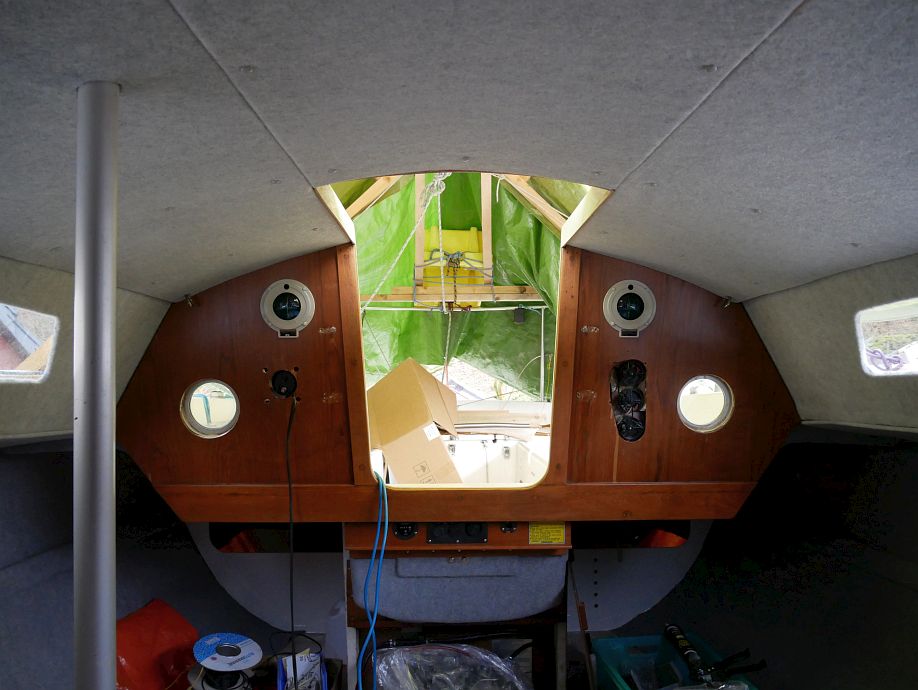
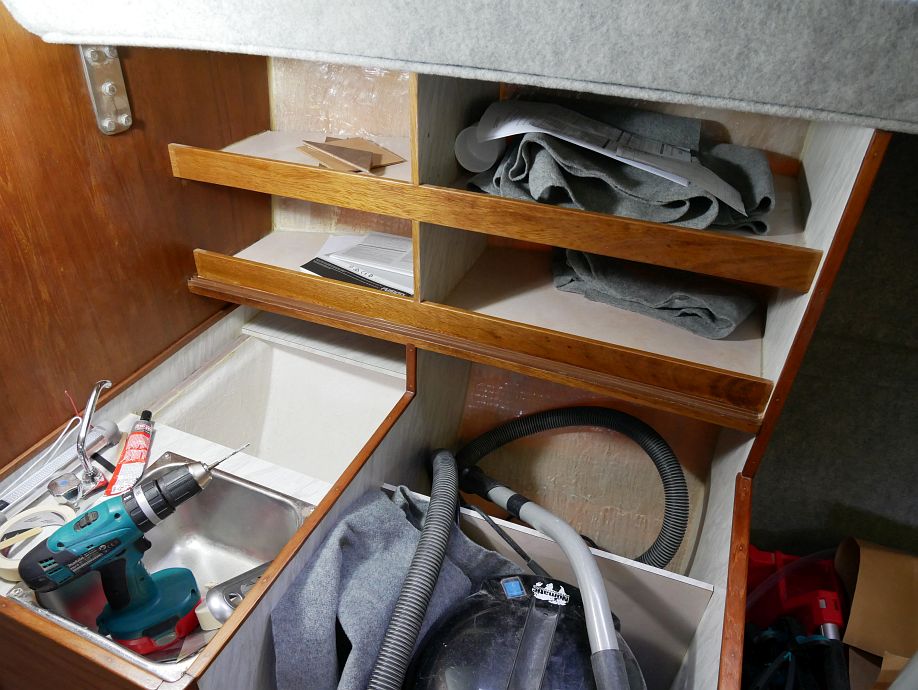
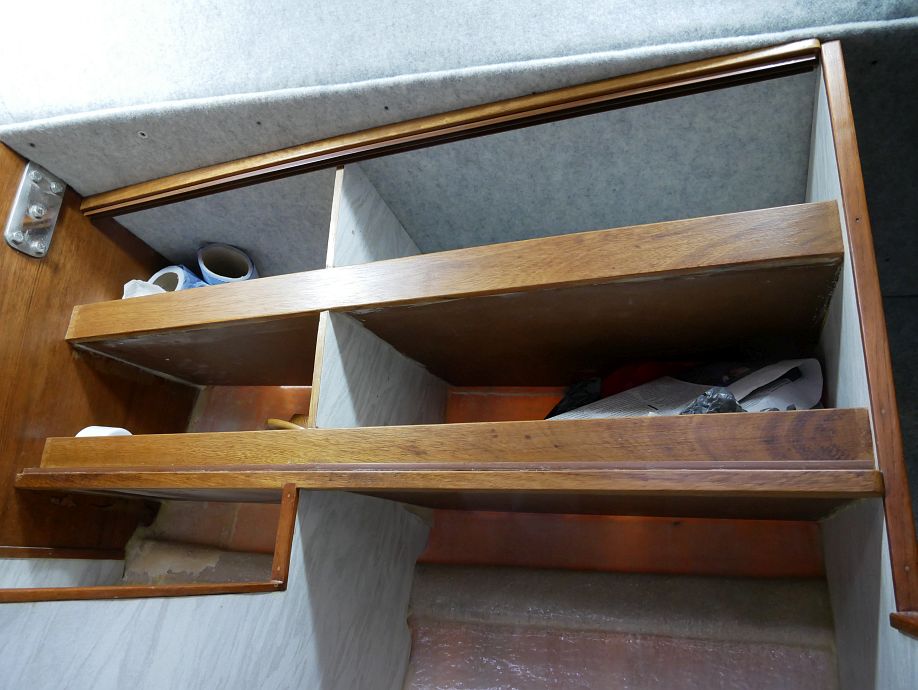
Finishing things properly takes time! Most of what I’ve been doing here (and continue to do) requires as much thought as doing, with the consequences of mistakes potentially spoiling things rather than icing the cake. Take the tracks for the galley doors, for example; I’d glued the bottom track to line up with the shelf edge trim, then took it off and pushed it back to the fiddle before taking it off again for a complete dry fit with top/bottom tracks and plywood props in lieu of doors that finally told me where it needed to go:

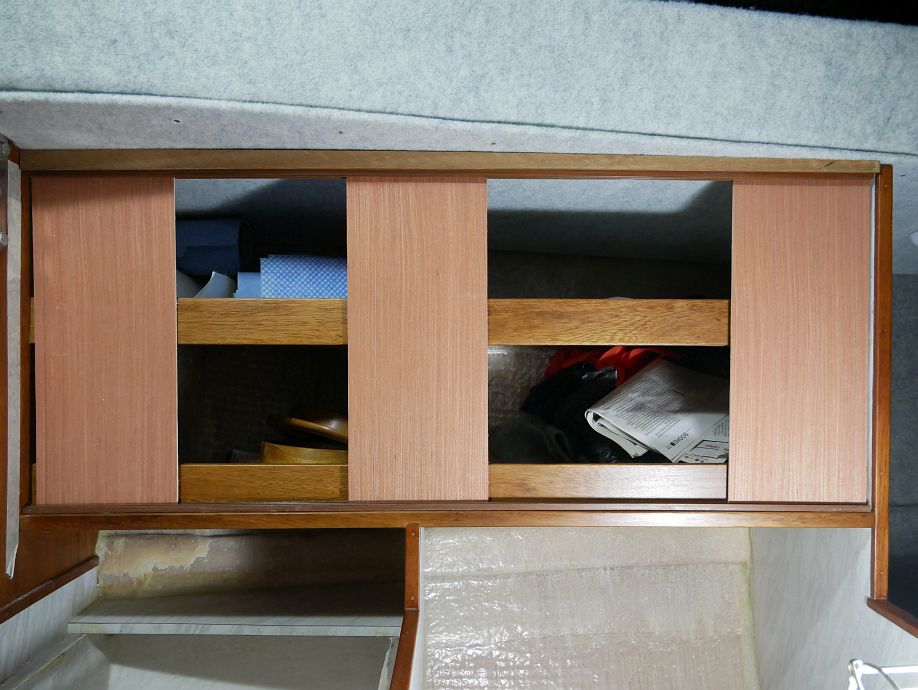
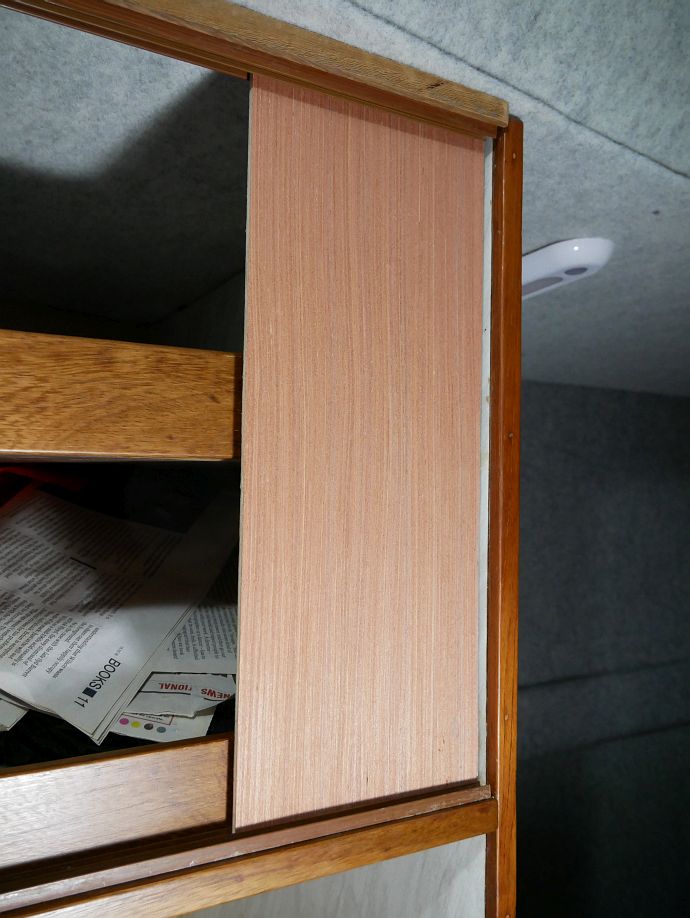
So my third and final attempt to fix the bottom track set it against the fiddle at the aft (right) end but spaced to a constant distance from the shelf edge (not quite parallel with the fiddle) using a piece of 4mm ply as a kind of feeler gauge to replicate the dry fit:

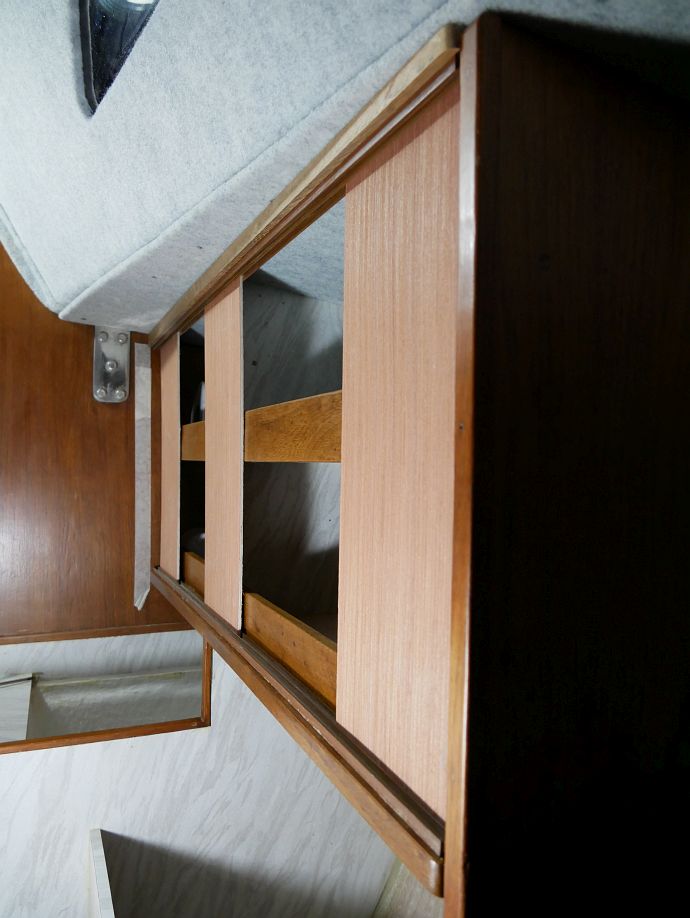
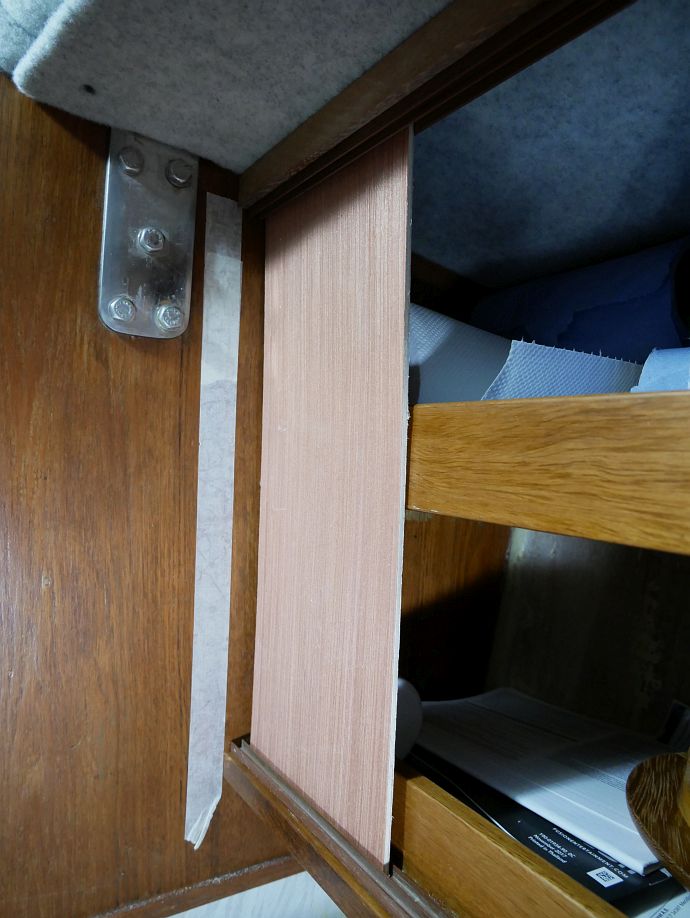
And this was what I wanted despite leaving a wedge-shaped sliver of space between track and fiddle that I’d like to fill with something. But I still had to get my (now finished and varnished) shaped wood strip on right and trim the galley doors to fit, so two more fiddly and quite nerve-wracking procedures to replicate what’s easy to mock up with no screws, glue or irreversible cutting. And I’m happy with the result although still considering a couple of things (probably some quality double-sided tape to fix the top track which is currently just a snug push fit in its mounting strip, and maybe trimming the edge of the left-hand door where the main bulkhead’s not quite square, but not rushing into that when it would be so easy to spoil it and I can also think of reasons not to do it!):

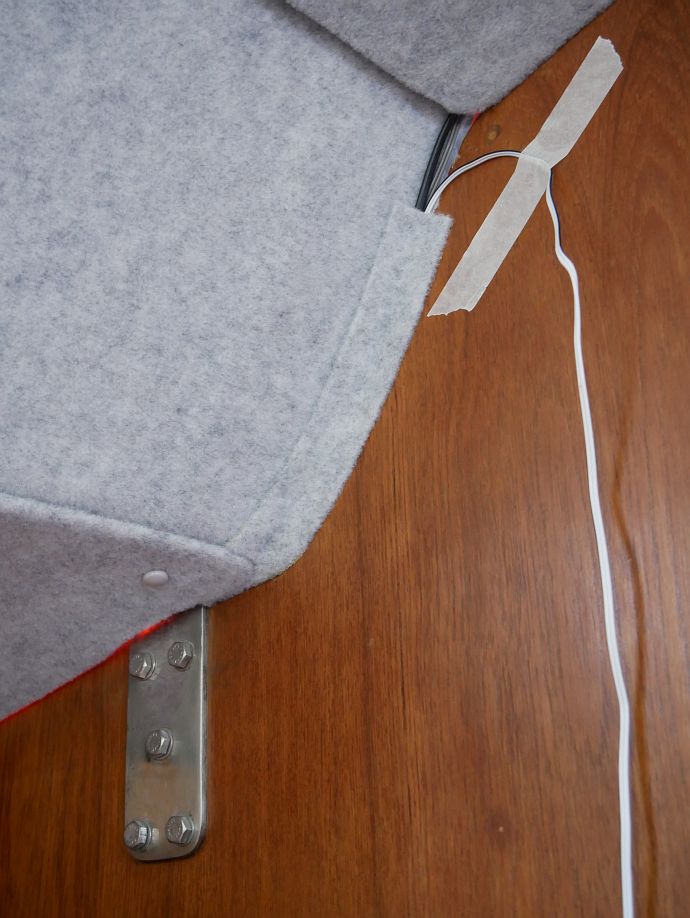
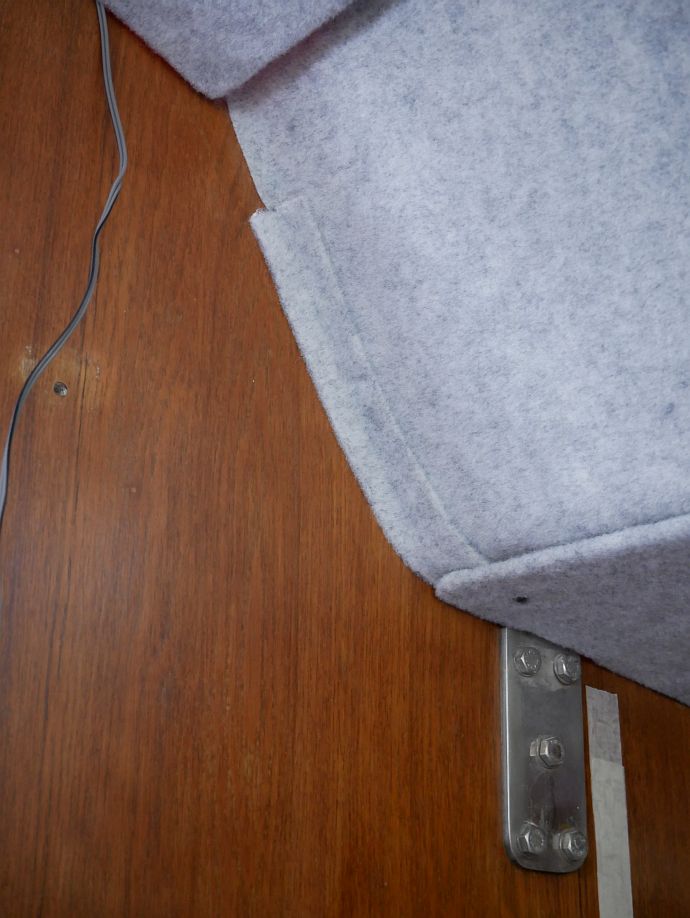
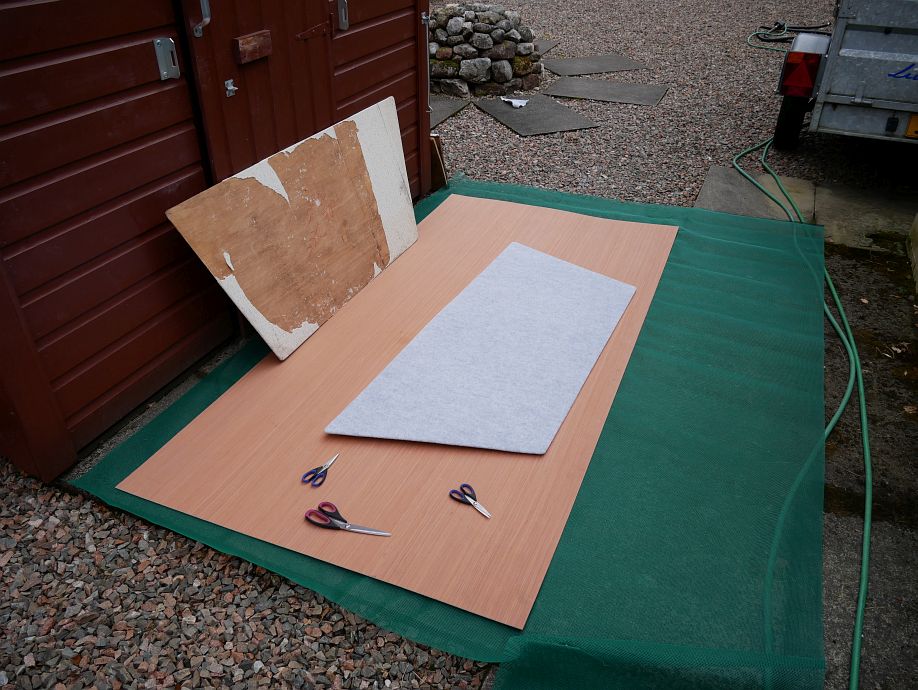
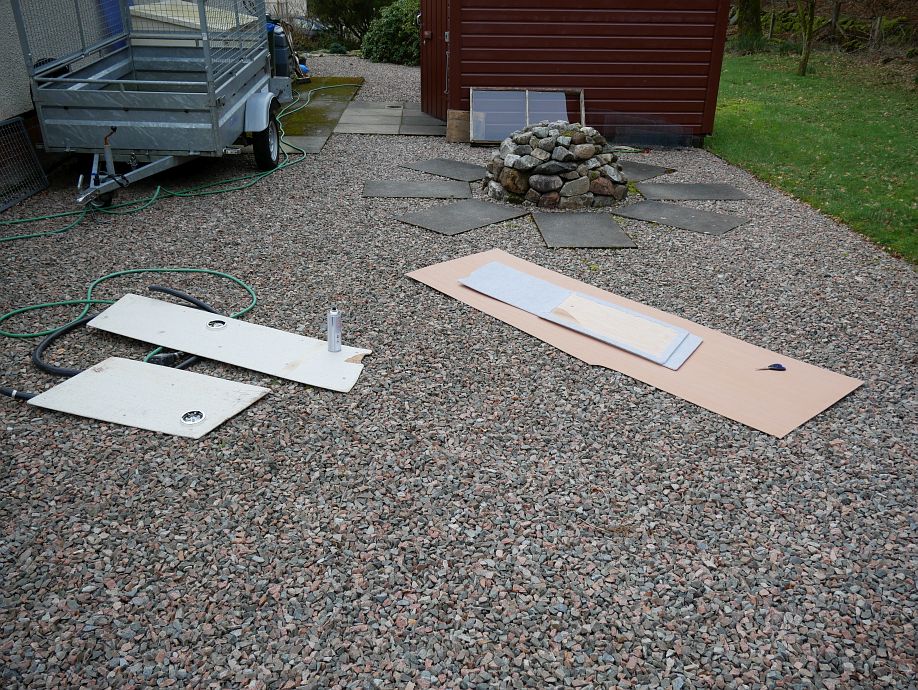
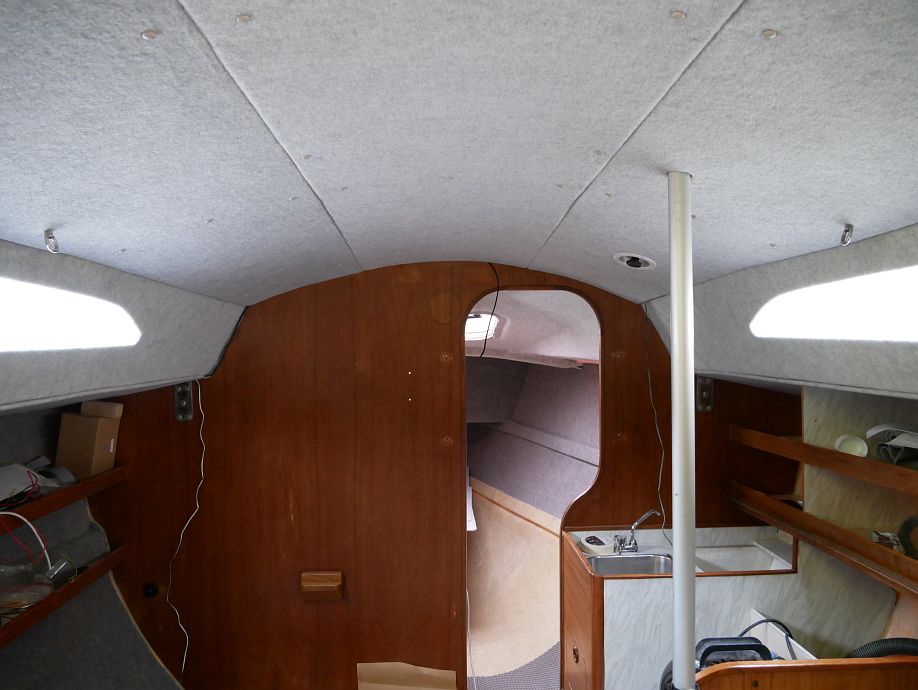
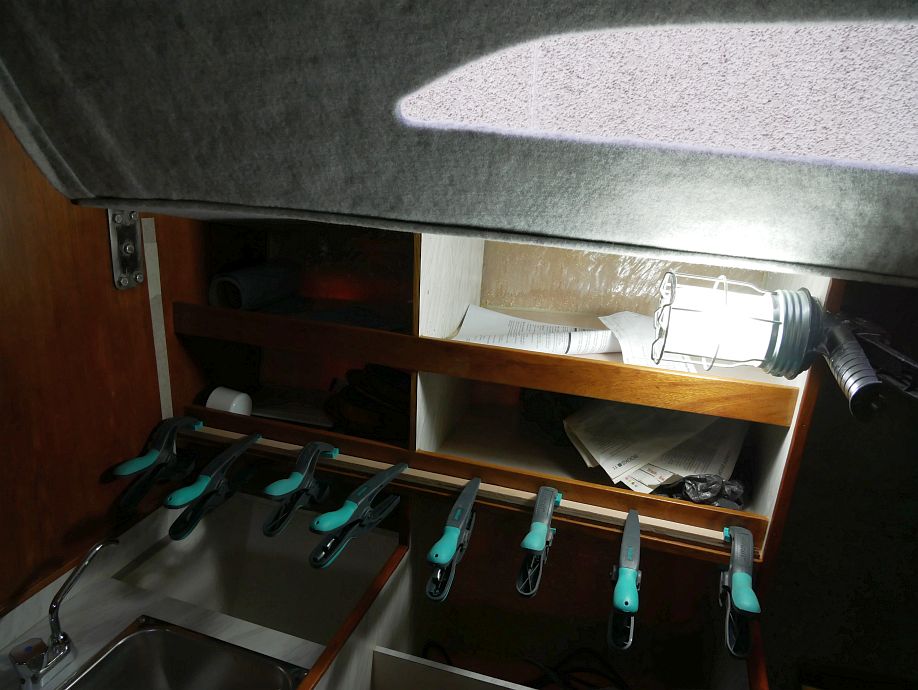
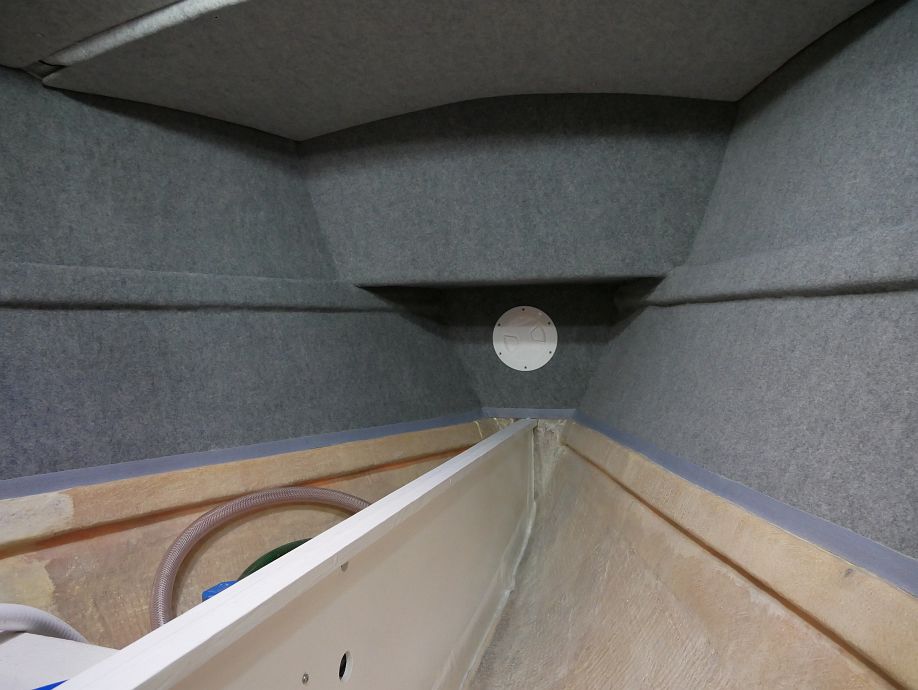
I’d been planning since we lined the forecabin to trim the exposed, difficult-to-finish-neatly, bottom edges of carpet with webbing tape, but couldn’t be sure how that would go till I tried. And the answer is OK, but it takes time and eats Evo-Stik! Which isn’t that easy to spread economically on narrow porous surfaces you want to cover but not overrun (the spray glue used for most of the linings goes far further but is less practical here as well as less good for really firm edging), with my 250ml tin virtually disappearing between gluing down some obvious loose edges and fixing my tape, but I’m both relieved and pleased with a job well done and have another two 500ml tins on the way assuming that’s more than enough for everything I’ve still to do:

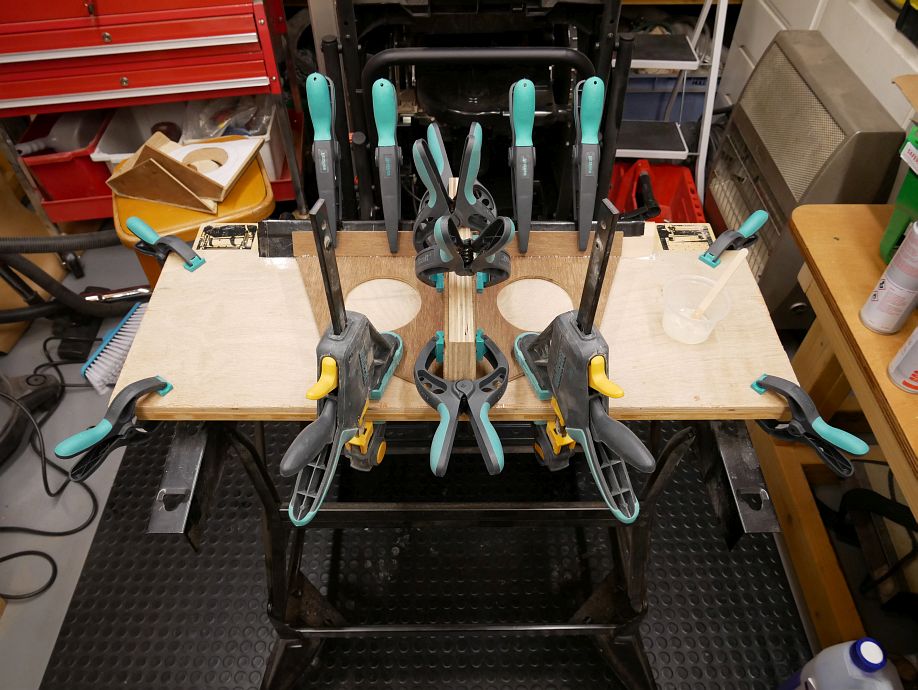
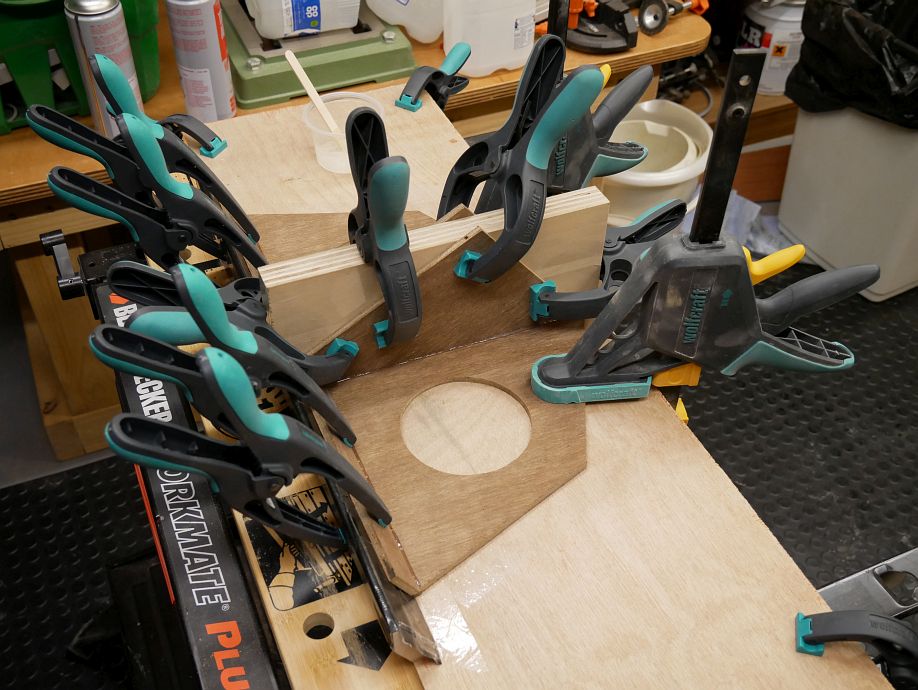
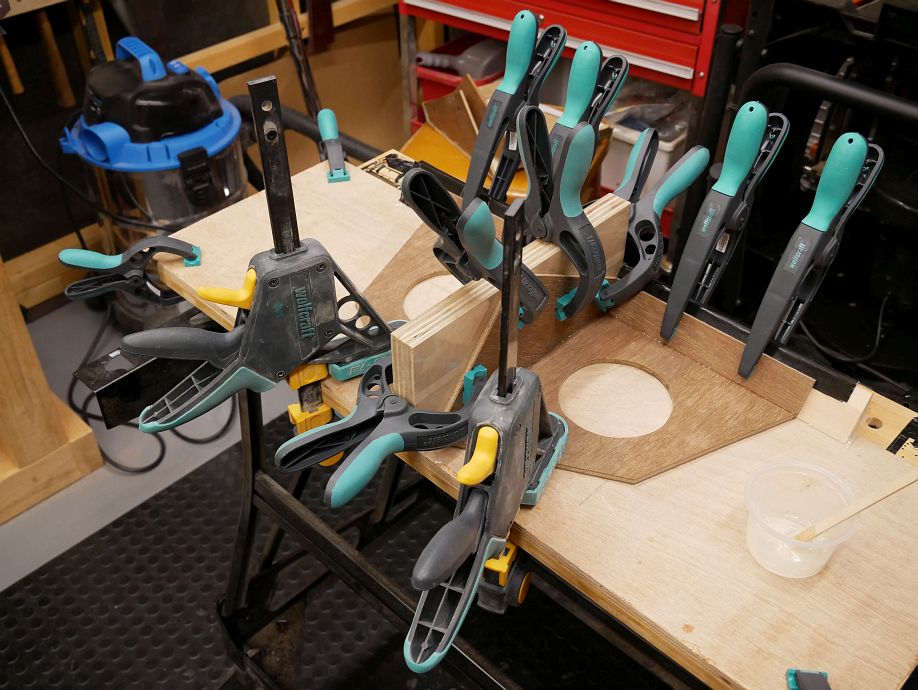
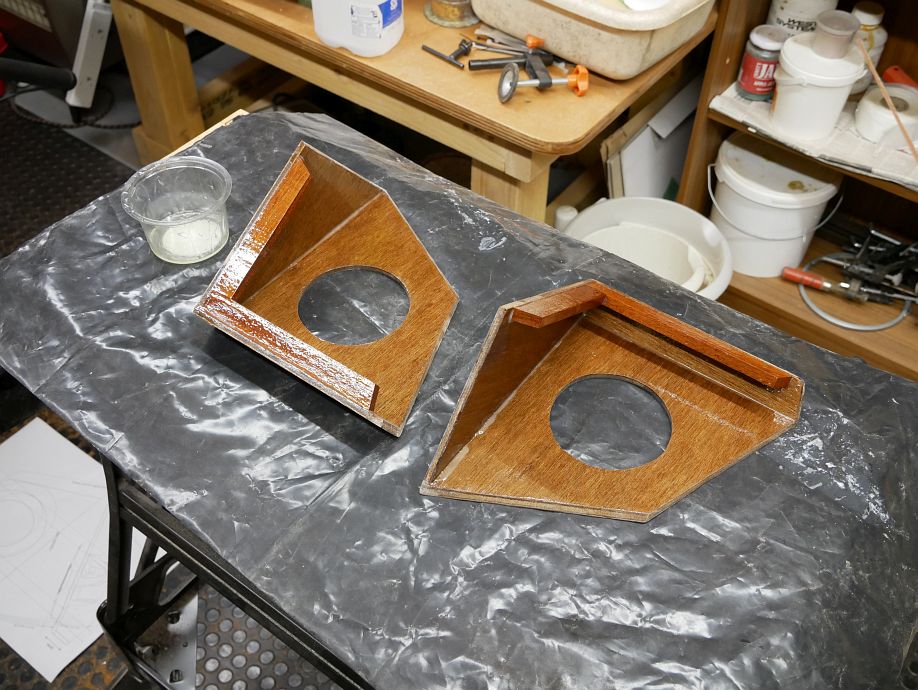
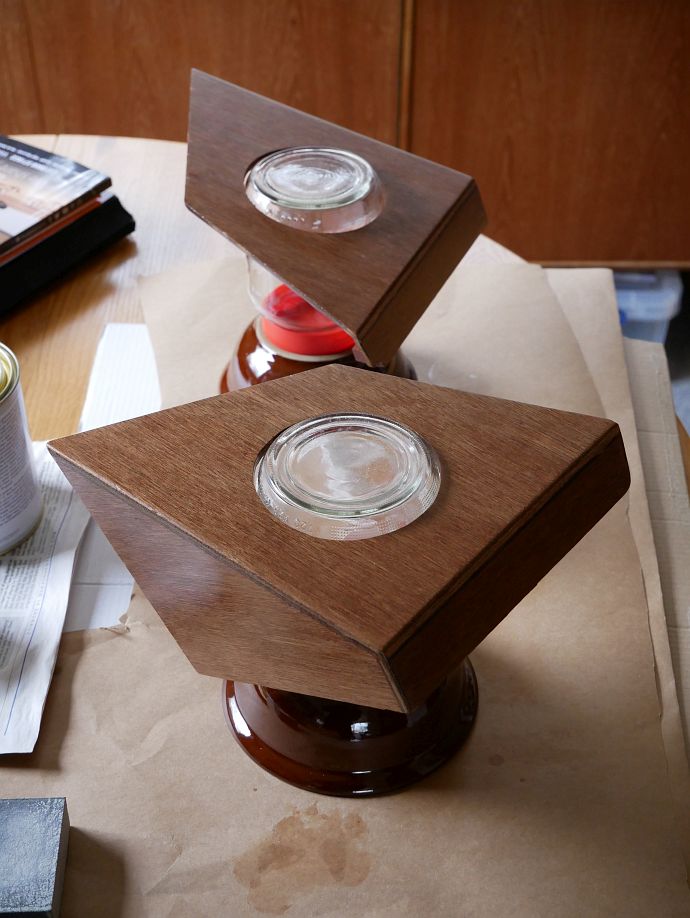
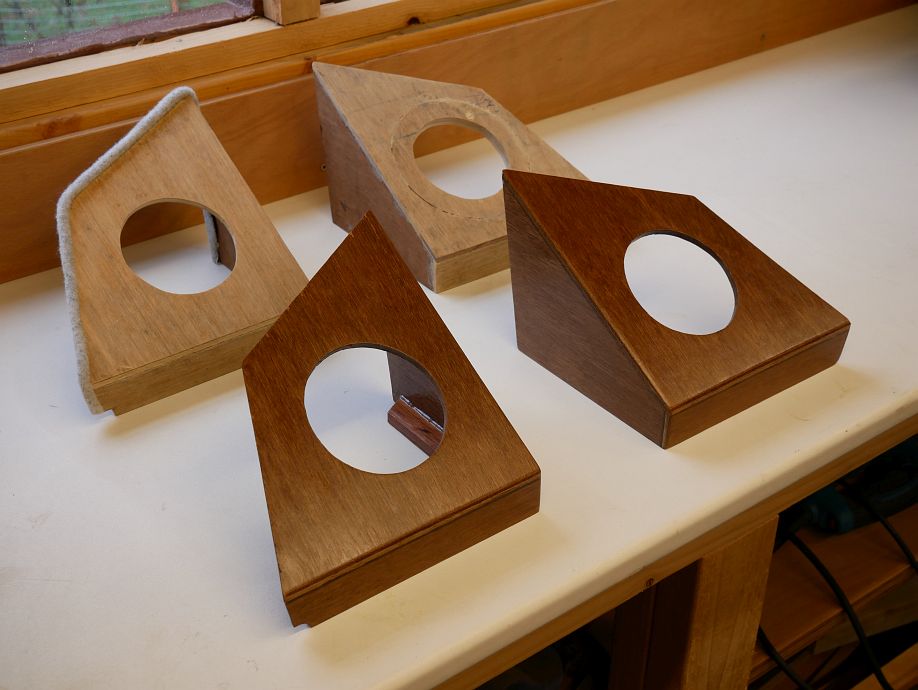
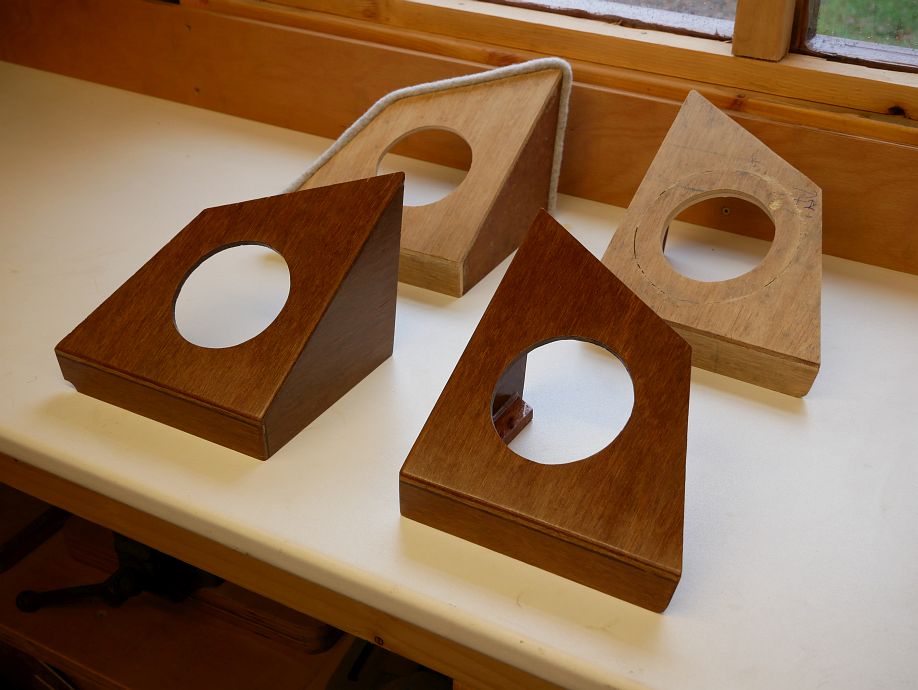
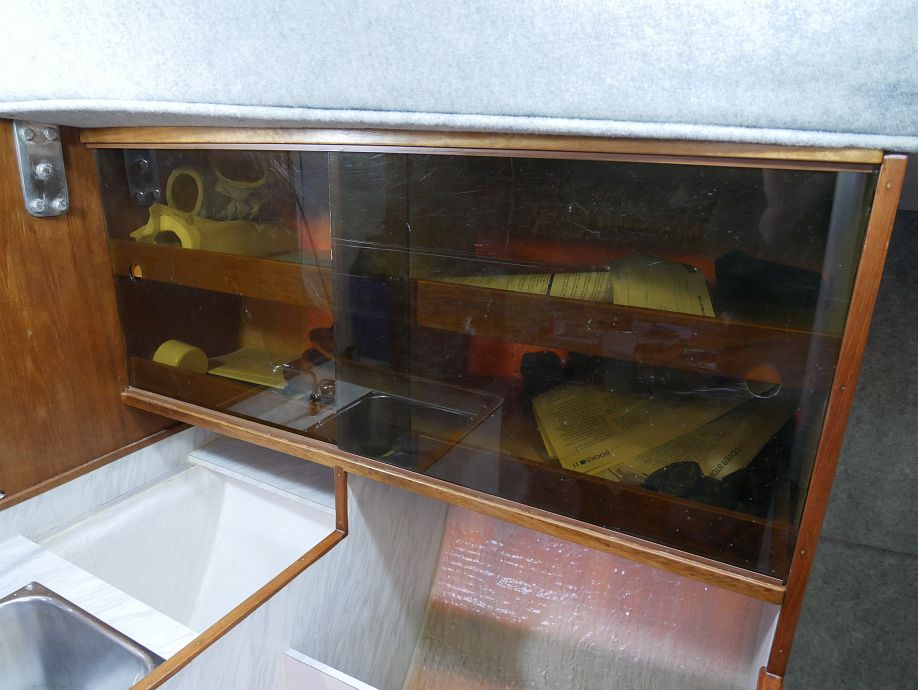
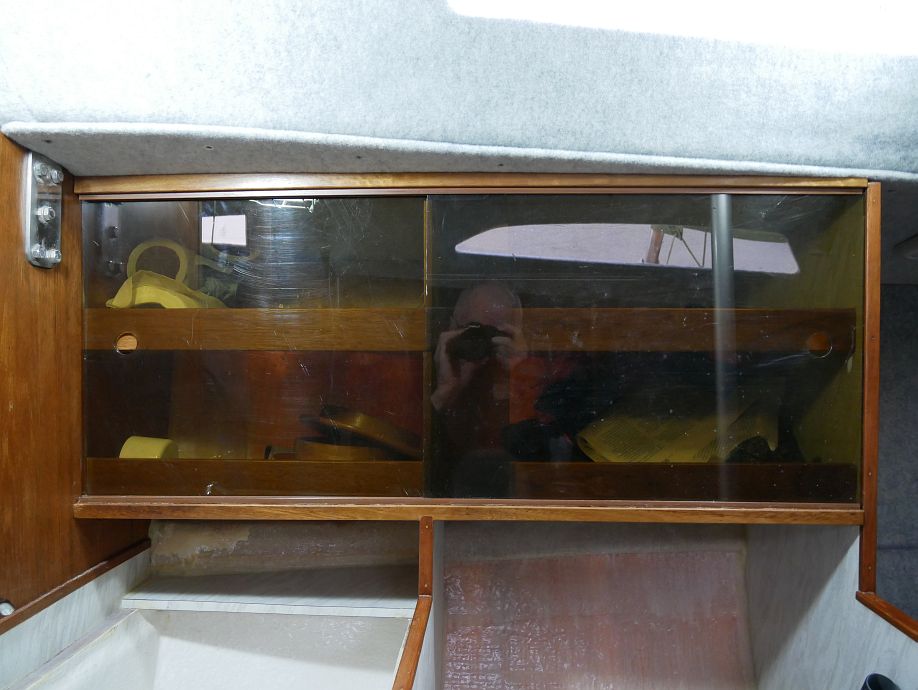
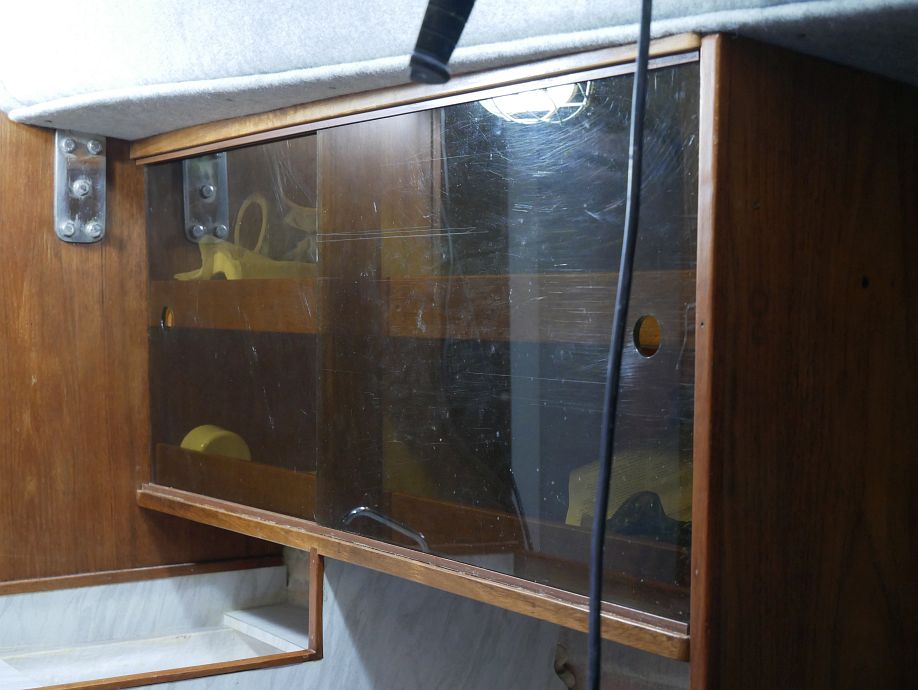
Might add that I’ve also been busy with other ‘little’ things you don’t see here, but have neither photos to show nor motivation to explain everything; there are other small wood parts taking shape and/or being varnished, screws on order where I don’t have quite all the ones I need to fix them all and, well, just more than enough going on to keep my head spinning and dominate my ‘free’ time! ;-)

17 March 2019

Tricky stuff

Filed under: Sailing — admin @ 9:57 pm

While I’ve spent many hours (most weekday evenings and all weekend) on Fly since last weekend’s blog, more of that time’s probably been spent thinking through tricky stuff and making sure I get it right than actually doing. So no prizes for speed with what you’re about to see, but still considerable satisfaction on not only avoiding most of the potential banana skins but also making a good job of some tricky parts…

Let’s start with my new mount for Fly’s top galley door track, which brings the tracks properly parallel by allowing for deck rise and camber when the standard method of fixing doesn’t. To do this I had to establish both angles and cut some test pieces to try in place, knocking up a taper jig for the table saw along the way and working out how to cut the angles for rise (about 10mm over the galley width) and camber (6° rather than the 10° you see set up in the first two photos) in separate passes because the saw blade tilts the wrong way to do both together, but happy to say I’ve got this piece dead right:

Next (well, not actually next because I also made some other small parts you don’t see here) we come to my folding leg for the folding chart table, which looks so simple when done, but isn’t because you have to consider:

  • What length should it be to keep the table true when you’re working with one corner unsupported?
  • Where should it meet the bunk top fore and aft and where should it be attached to the table to keep it vertical in both planes?
  • Is it going to be strong enough (fit for purpose) both in itself and how it’s attached?
  • Will it fold up neatly out of the way?
  • What happens if someone knocks it from an unexpected direction?
  • How do you hold all of this where you want it to jig it up for drilling?
  • And did you get it right?

Now, what you see here isn’t quite finished because it still needs corners rounding, varnishing, a longer bolt, penny washer between leg and table, and a locating socket bonded to the bunk top, but I think I did OK:

Two more things worth noting about the chart table before I forget are that 1. I’ve fitted my final choice of catches (toggle latches from China as the most attractive and size-appropriate option turned up by hours of Googling), and 2. I can’t remember whether we’d previously noted that the new lower nav. shelf restricts the lid opening angle to c.45°, but it doesn’t really matter because that’s probably far enough anyway and we can get quite a lot more by chamfering the bottom of its edge piece if necessary!

And so to yet more speaker enclosure tweaks. I wanted to add cosmetic trim pieces (same way I still plan to finish most visible lining edges) to the corners between coachroof sides and main bulkhead to cover the port-side wires and some over-neat starboard-side finishing, which wasn’t difficult at all:

But then had to tweak the outside bottom corners of the speaker boxes to fit the trim, which could so easily have resulted in messing them up now, but didn’t:

And that’s about it for now, except to show you bottom galley track fixing, take two, where take one had assumed I needed to fix the track as far out as possible for vertical doors to clear the top shelf at the main bulkhead end, but I’d not liked what I got so reevaluated carefully:

10 March 2019

Things to see or just talk about

Filed under: Sailing — admin @ 8:57 pm

Quite a lot happening to Fly since my last blog, but it’s not all on camera yet so there’s some you can see and some we can just talk about…

Two weekends ago we got all but one of the new headlining panels done and most of them up, but only one covered outside before the Saturday rain drove us inside to work in more awkward conditions (NB old panel standing up and new one flat on the ground):

So the following four photos come from the Sunday (24 February), when we were able to take the glue spraying back outside (note the mix of old and new panels again):

And here are the main cabin panels in place (most of the others only went up this weekend):

Also happy to note that the new panels are much lighter than the old, with some of the saving coming from slightly thinner ply (3.5mm instead of 4mm), but the bulk of it from the new lining carpet being significantly lighter than the old ‘mousse’.

Before fitting the new panels we also reseated the six coach bolts for the pilot berth hanger eyes, replacing the suffering original plywood spacer disks with more robust plastic ones I made weeks (or maybe even months!) ago:

My made-to-measure porthole liners (from Midland Chandlers) for the companionway bulkhead have arrived and are going to look great, but still await varnishing and fitting:

Last weekend I was on my own with only one full day available, so got stuck into building the speaker enclosures I’d previously prototyped with the jig I’d built (and now fine-tuned with thicknesses of tape) after learning from that experience. Which, despite now knowing how to get things right and not mess them up, I’d guess still consisted of about 90% thinking to 10% doing as I planned my cuts from a single, small, and very finite, piece of reclaimed teak-faced ply and so on:

These then got attachment brackets (lugs?) added and their backs epoxied (for speed over varnish) before applying multiple coats of varnish to the outsides over the past few mornings and evenings:

Leaving just some clever carpet trim (seen here testing on one of the prototypes) required to ensure the best possible fit to the boat when there are various issues (e.g. my 30° front panels crossing the main bulkhead tabs at half height) conspiring against perfection even after careful adjustment from the prototypes:

But, as suggested by my blog title and opening paragraph, there’s plenty more been happening you can’t see here because I’ve not got it all photographed yet… like all the new deckhead panels (including the heads, which never had one before) and interior lights (finished today) in place. Some mild frustrations this weekend because I was necessarily limited in what I could do while Twig got wired in to testing electrics etc., but I did get the bottom track for the sliding galley doors back in, and have a lengthy list of small wood parts to make and tidying up jobs (lining trim edging etc.) to do while I’m on my own:

[Edit, 12 March 2019: took that galley track back off tonight to redo after changing my mind about its best alignment, but no problems doing so when it was stuck down with contact adhesive.]

Blog powered by WordPress. Feedback to webmaster@petestack.com.