So I’d got the cladding and sarking done and the store now has a door, which first needed a finished doorway to measure up and fit it to…
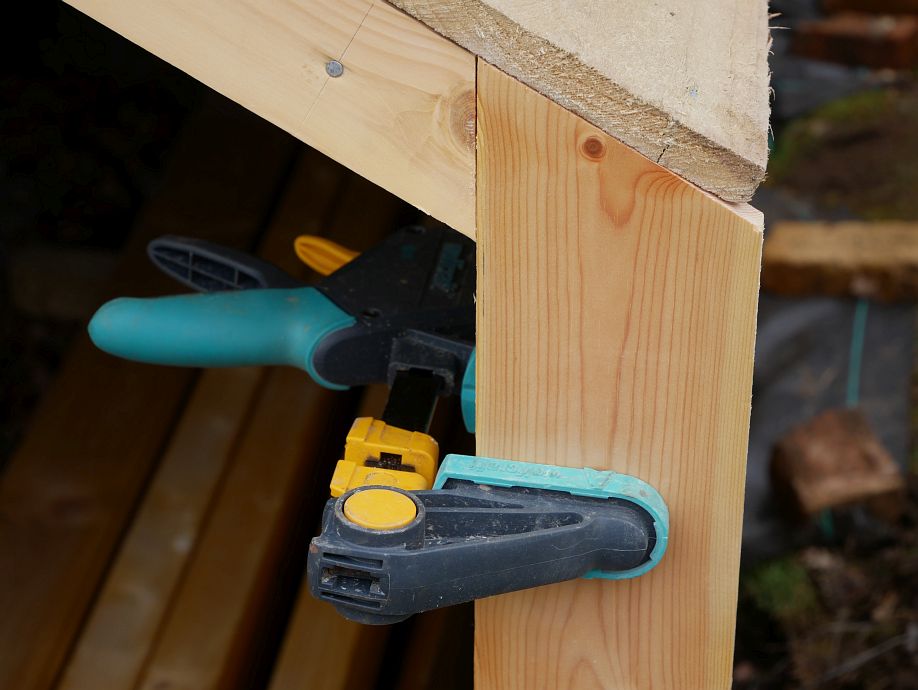
Here I’m testing a piece of trim before deciding after nailing it on that it shouldn’t have overlapped the post below!
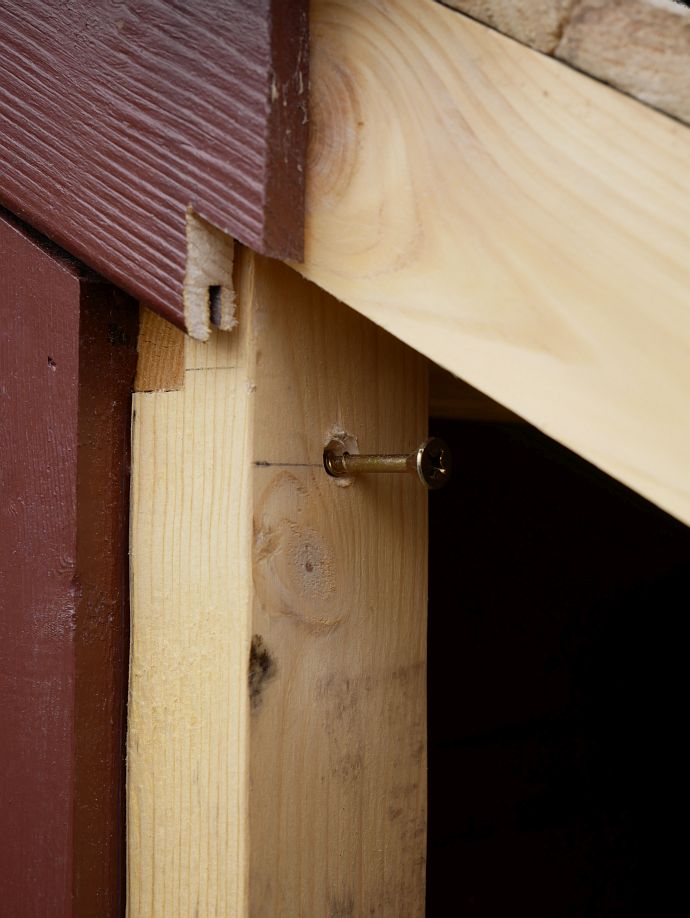
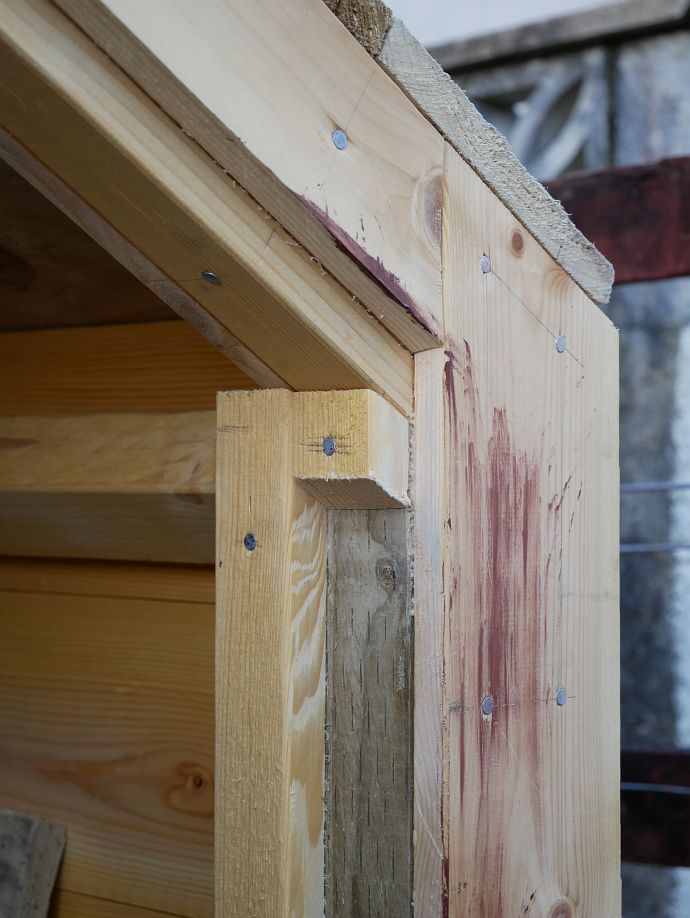
Despite much careful thinking on Tuesday, I still didn’t really think through that top screw, which is why I drilled an extra hole below and you’re looking at a shorter screw for the top hole that I eventually got in with a hex-shanked bit and shifting spanner. The back of the original shed trim has also been rebated to take the new trim behind, with a further new piece yet to be added to sit flush with the old:
I decided after fixing this trim I’d done it wrong too, so marked it to cut back with the multitool…

And refined the cut with a chisel. The vertical piece you’ll see in the next photo can now go to the top and overlap another vertical piece on the side wall although my after-the-fact cut didn’t need to be that neat when it’ll be covered by another sloping piece above the door!
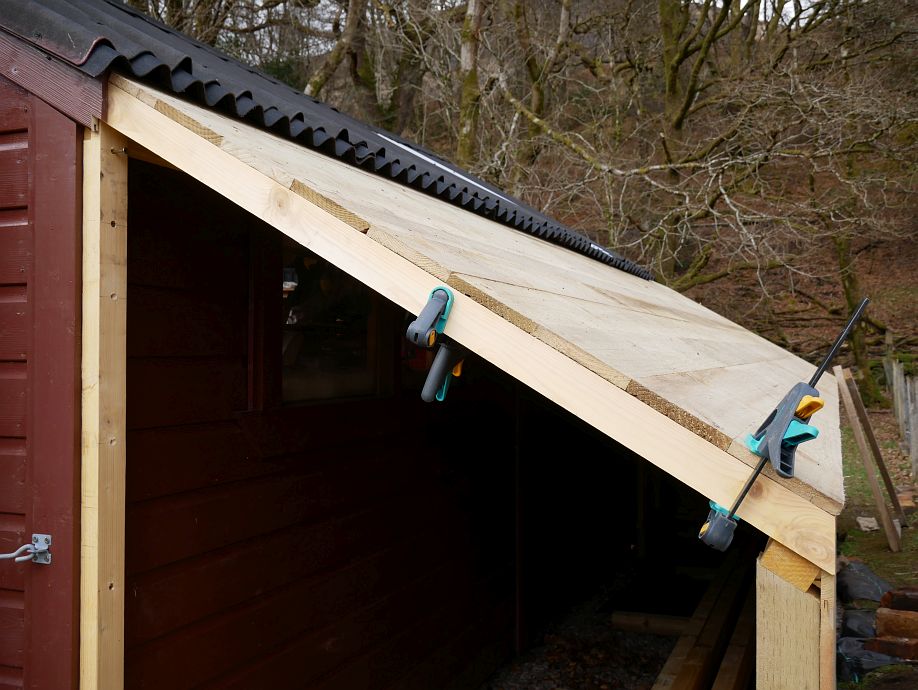
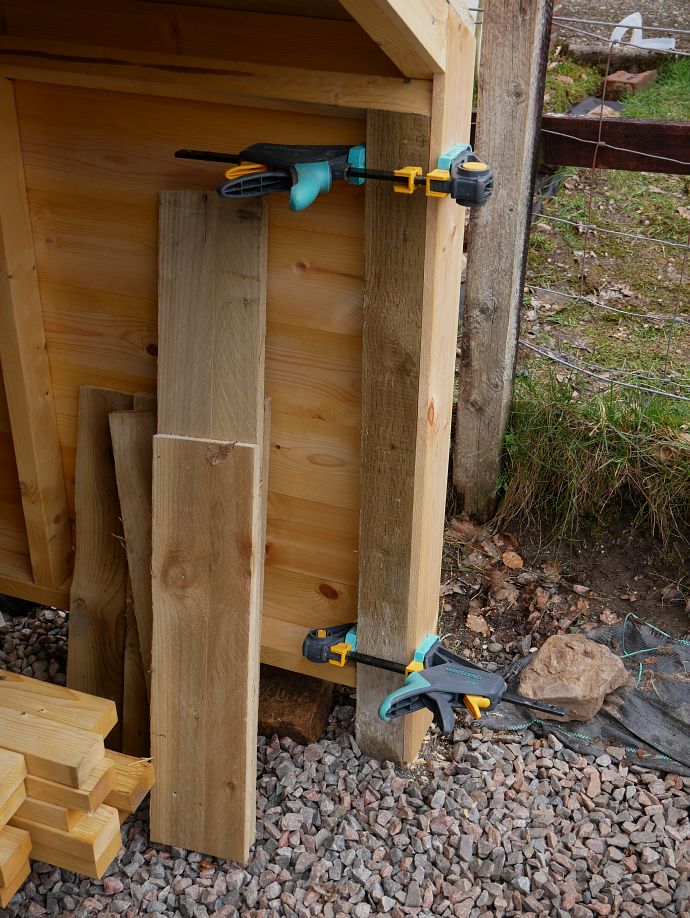
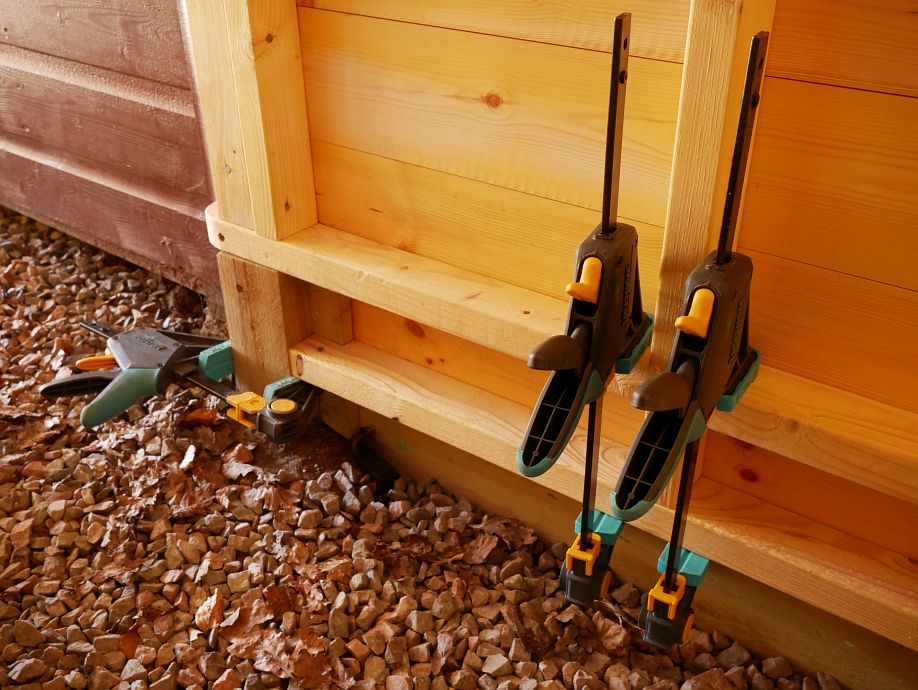
I just clamped the vertical piece on to test because I hadn’t yet decided how close to the ground to take it, but later cut it to match the bottom of the door:
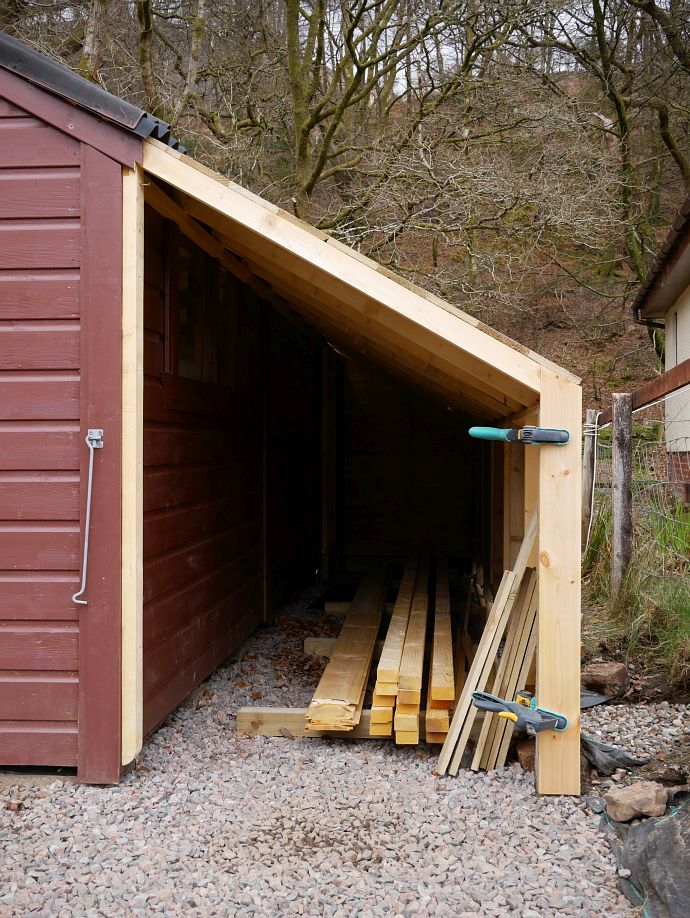
It was still definitely too close to the ground here:
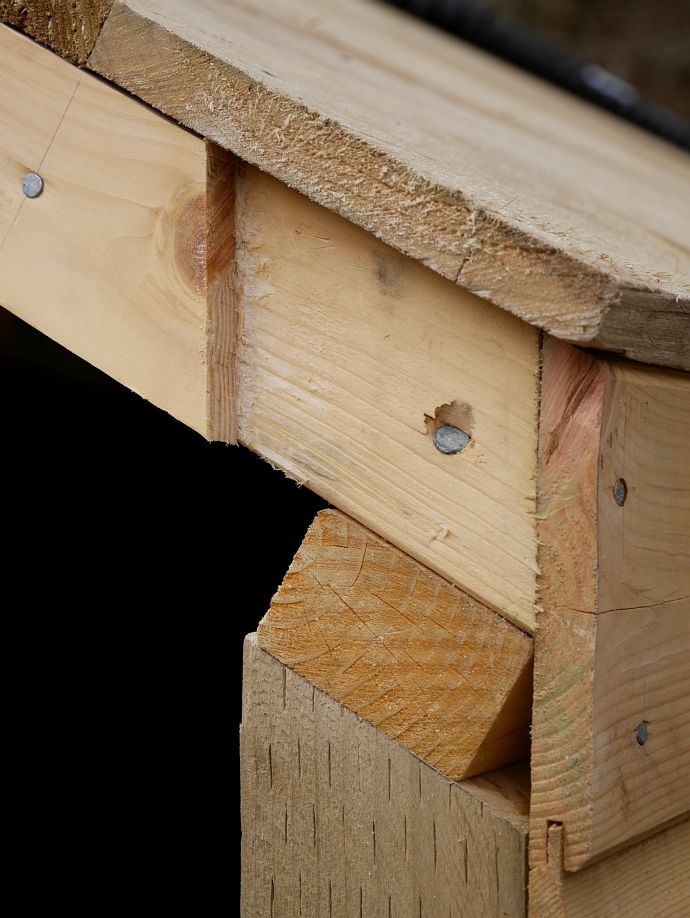
Like I said, the join didn’t need to be that neat because it’s not going to show, but I’m me!
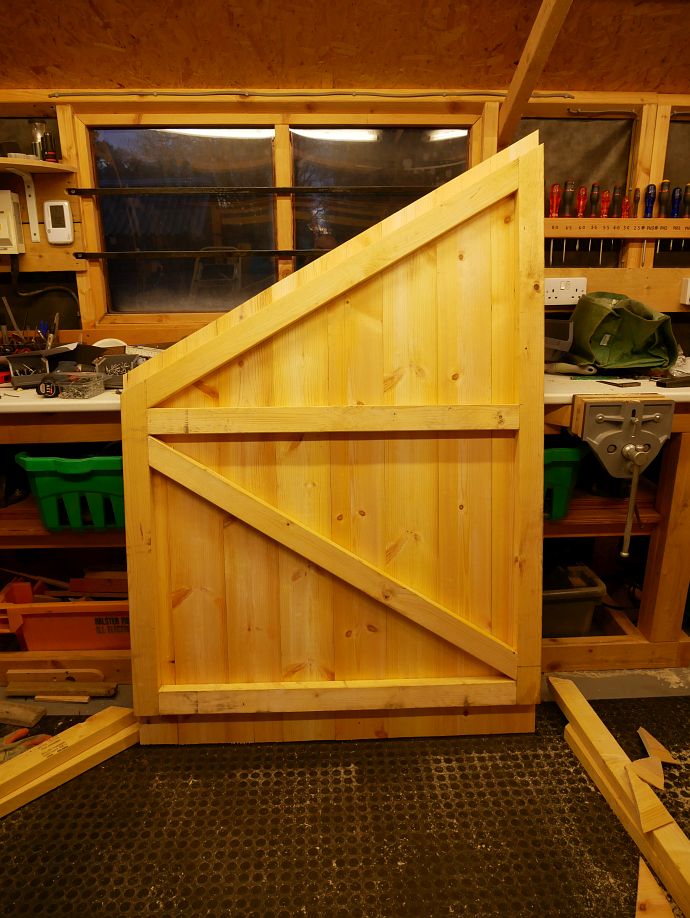
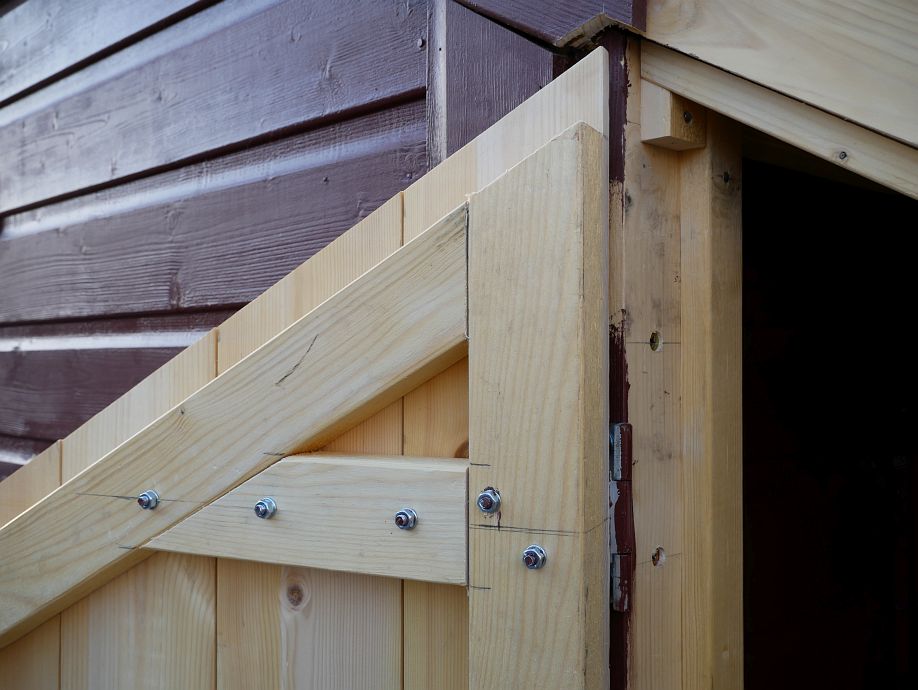
Something I fortunately realised the night before I built the door is that you need to watch the thickness of a door with a sloping top or it will jam at the top corner when opening. Because the roof (and top of the door) are at a 30° angle, the back of the door needs to be 30° lower than the front for the same clearance when opening and, because I also wanted to fix a lip inside the opening for the door to sit against, I needed more clearance yet. But, having worked this out, it wasn’t difficult to apply to the design and build of a door that actually works. It took time and much careful measuring and checking, but the final fit is good with the top of the cladding sitting proud of the frame to create the required front-to-back drop:
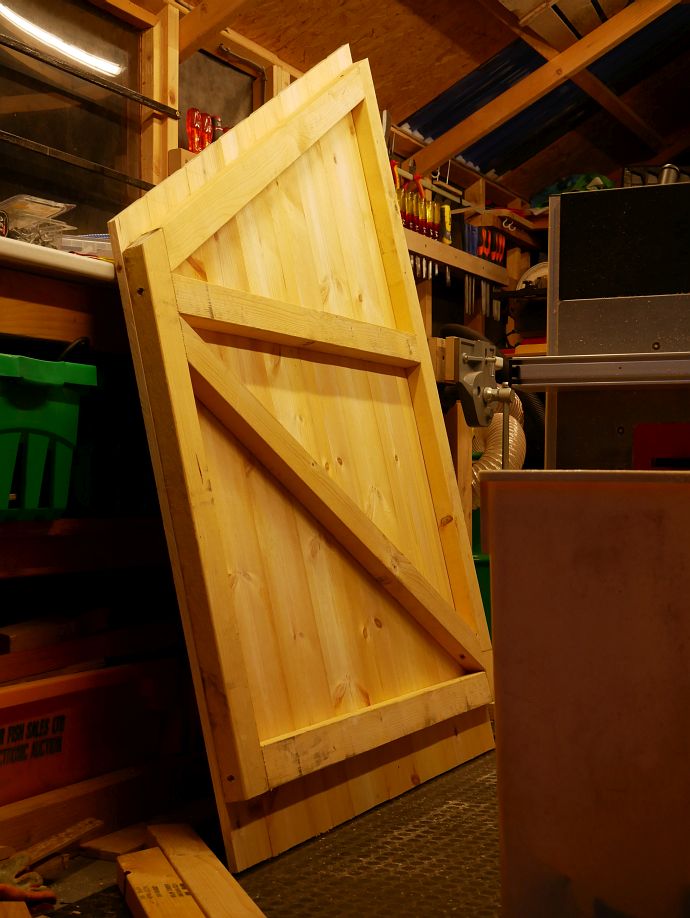
It’s difficult to keep weatherboarding exactly parallel when fitting, and here you see a slight mismatch between cladding and frame towards the top of the short side which I later planed off to restore the parallel fit I’d previously achieved between frame and doorway:
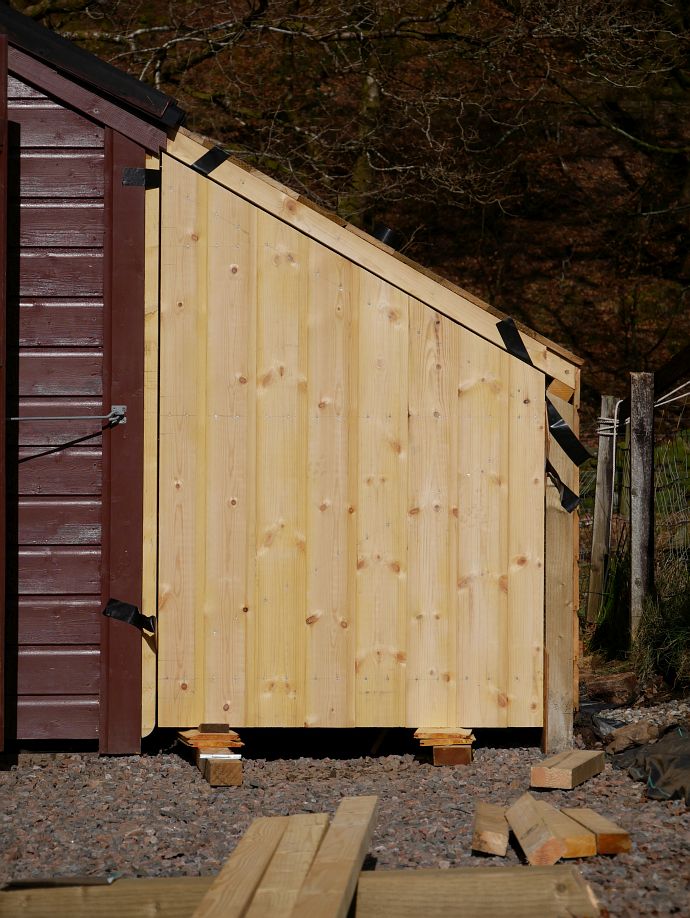
So I made the door on Wednesday and had hoped to hang it on Thursday, but left it till Friday because it was raining with sunny days forecast. And my only photo from Friday shows it all wedged in place before getting to work on the hinges:
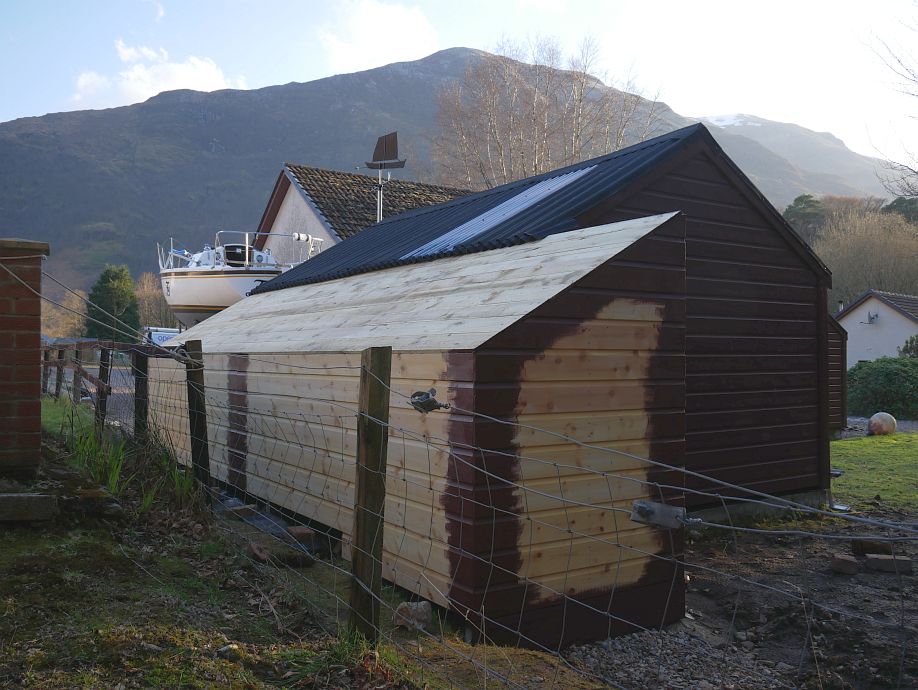
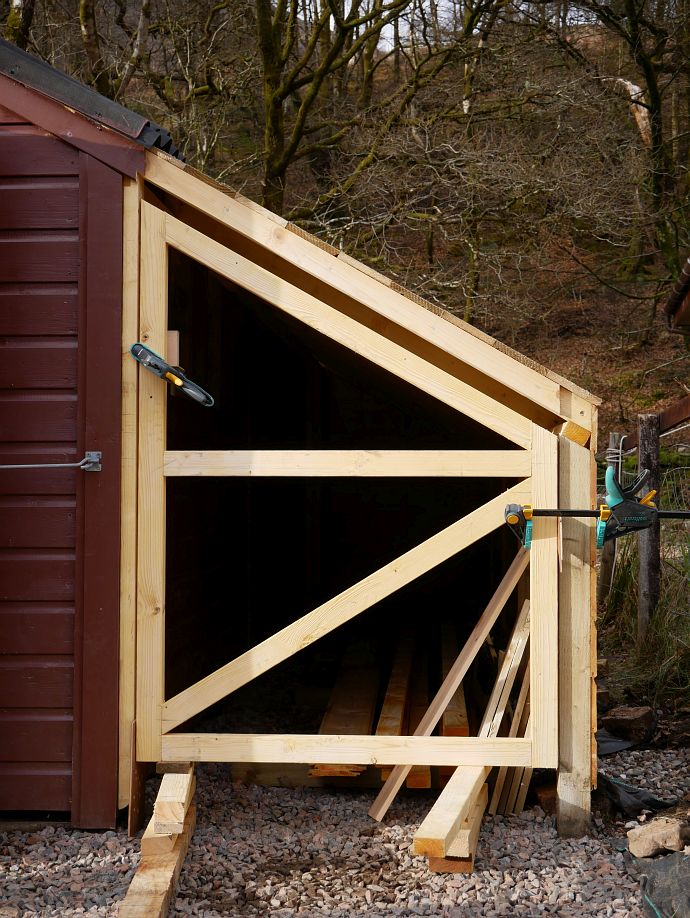
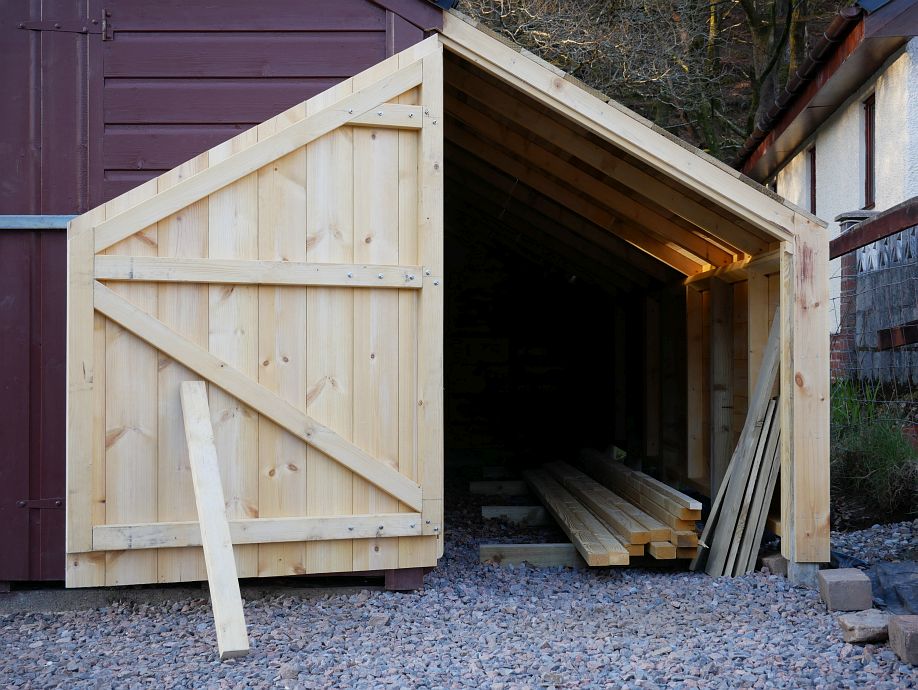
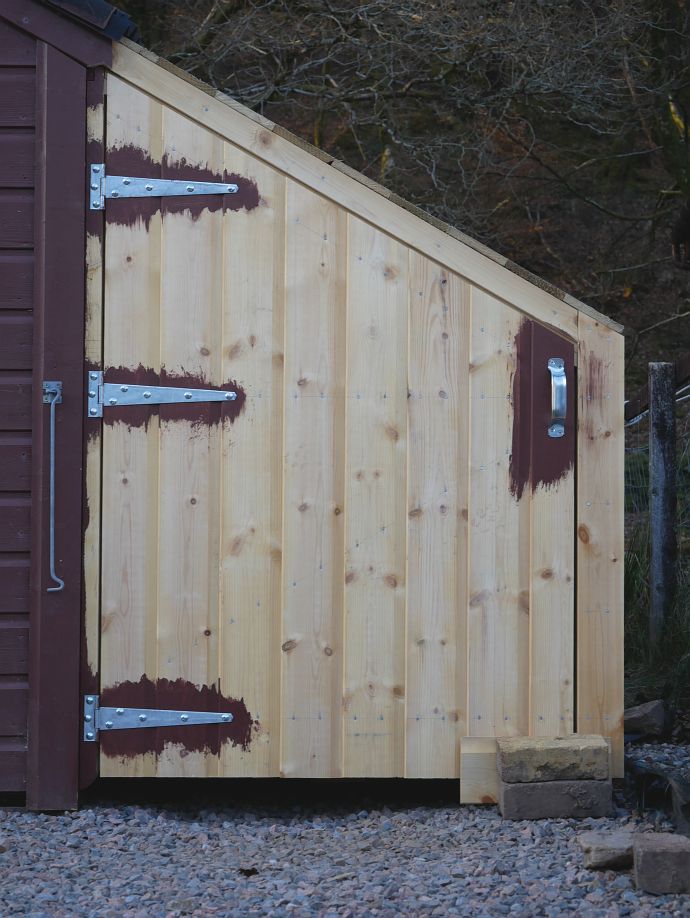
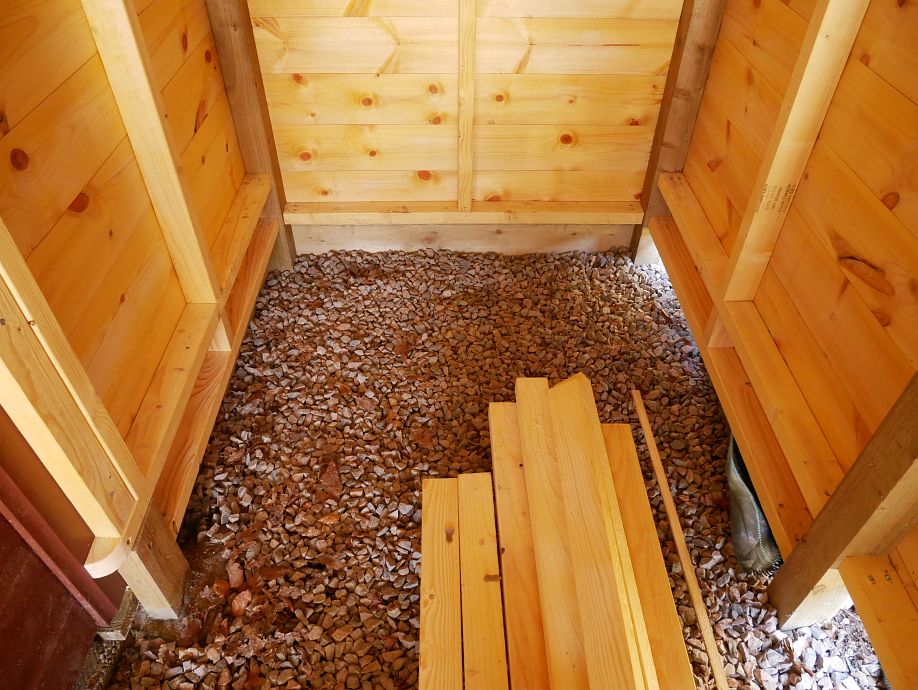
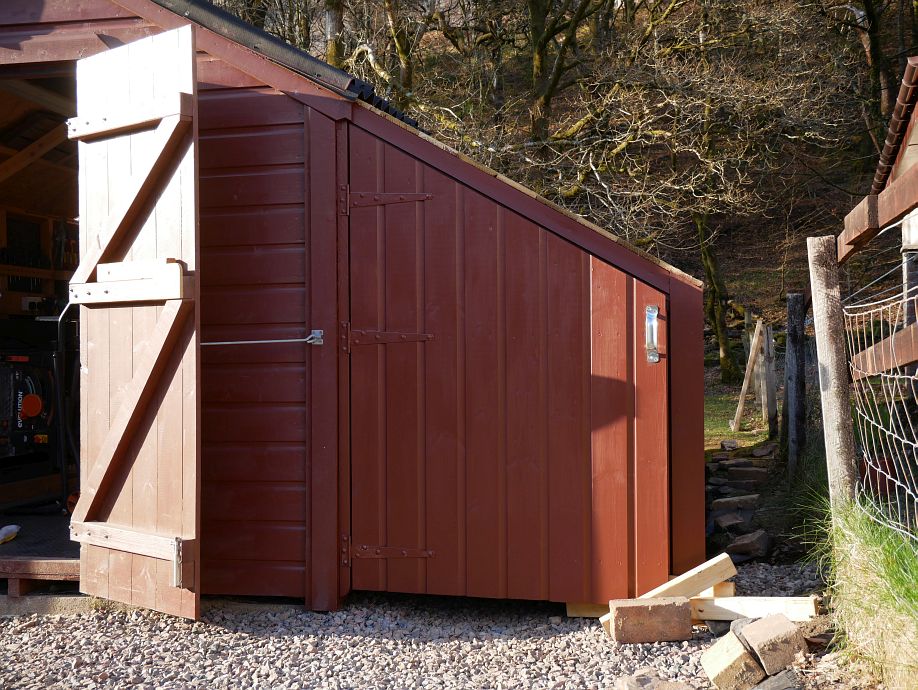
Now here’s a whole sequence from Saturday showing not just the fitted door but all the pieces it sits against in the opening. While I’m still waiting on more wood to make trim like the overhanging piece above the door and roofing to get the roof finished, I’d say I basically have a store here:
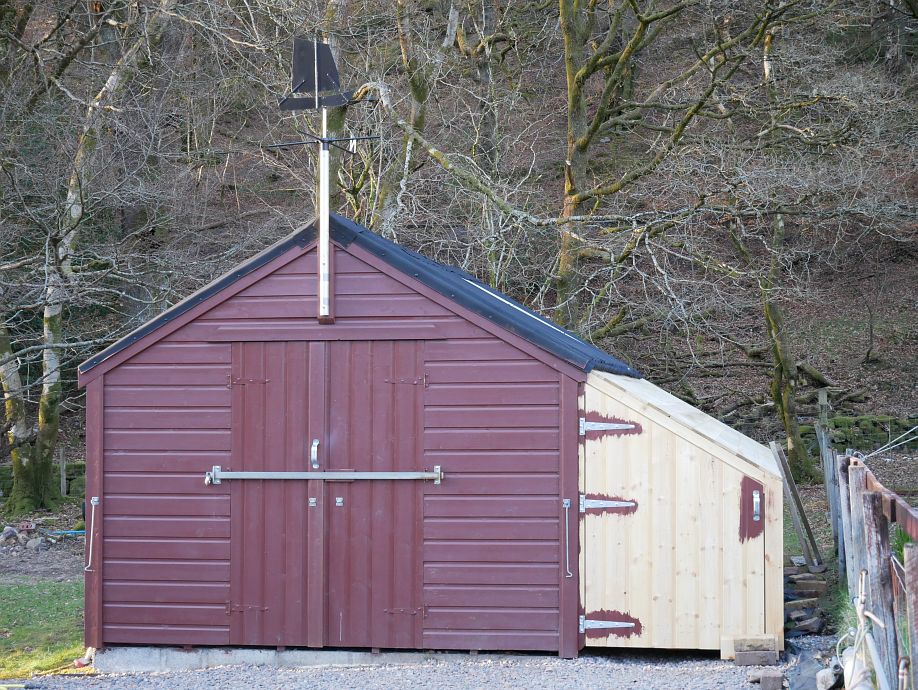
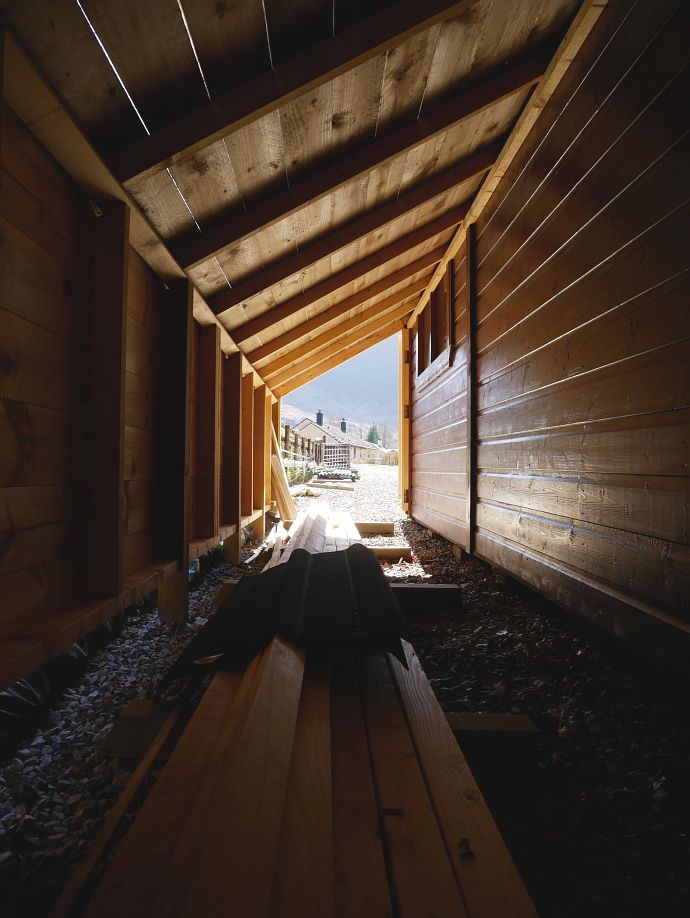
And here I am today framing the additional weatherboard at the back and starting to paint some bits. These back bits are where I wasn’t originally sure what to do with the falling ground, but are better framed now they’re boarded:

Quite striking how much the sarking and the cladding have dried out and shrunk back already since I put them together with tight joints!
So I’ve got a coat of Demidekk on the door…
And any corners/joins I’m planning to cover with further trim…

And might yet paint the rest while waiting for the wood and roofing I need to finish things off!