Petestack Blog

27 January 2019

Things right and not right

Filed under: Sailing — admin @ 12:12 pm

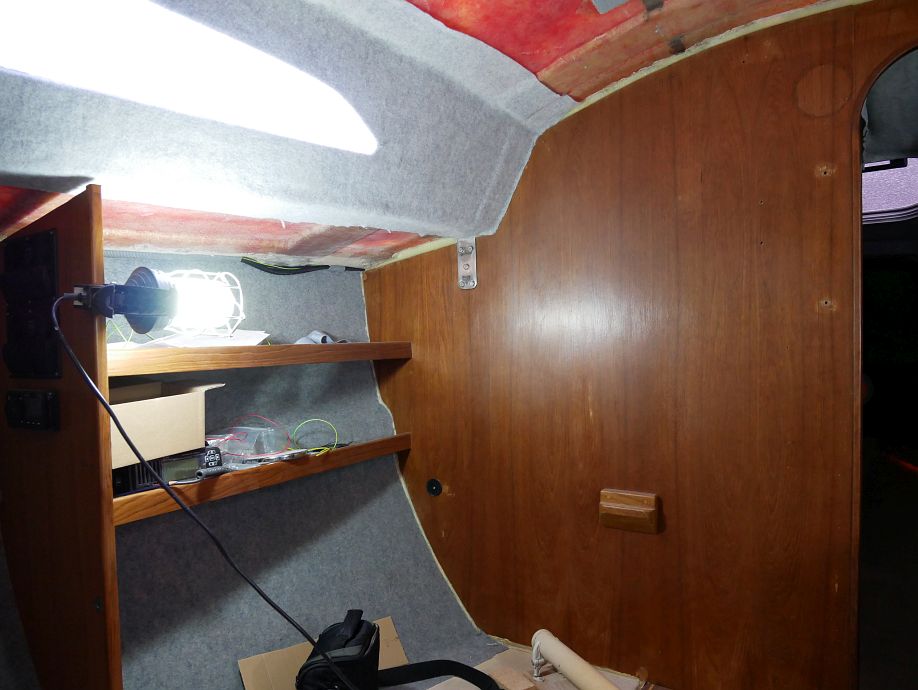
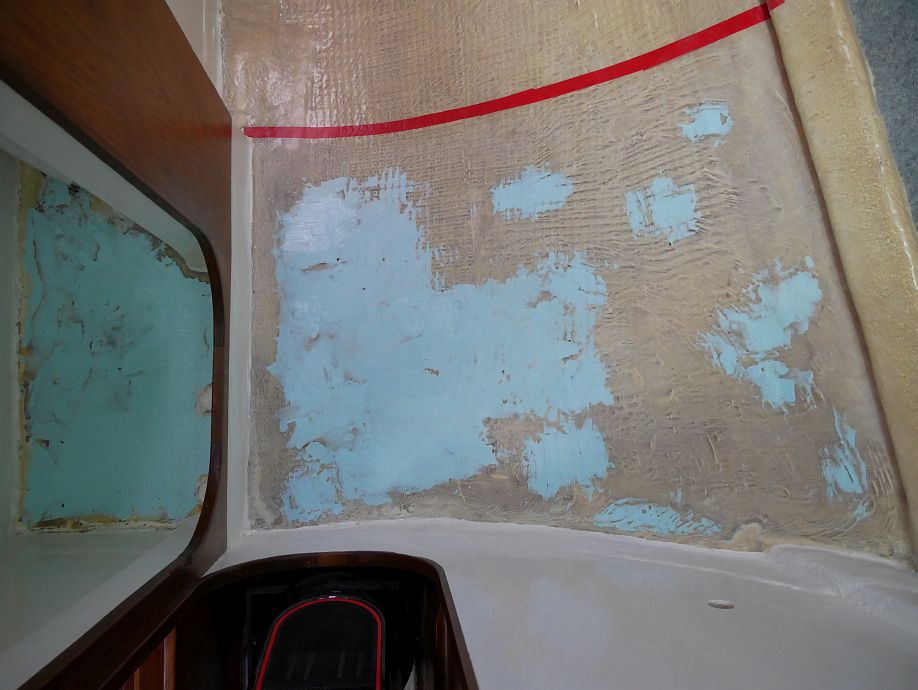
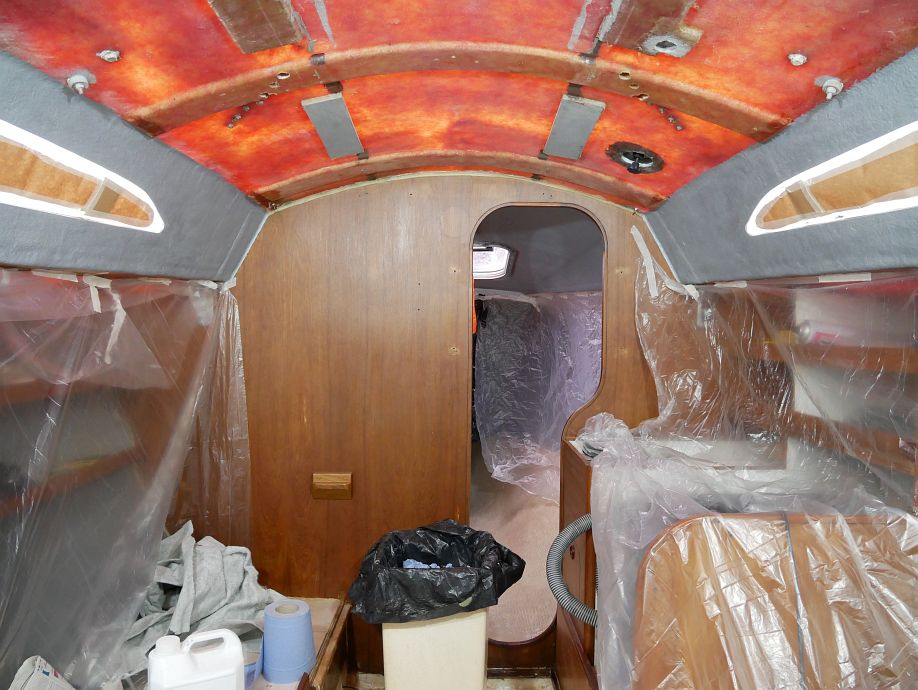
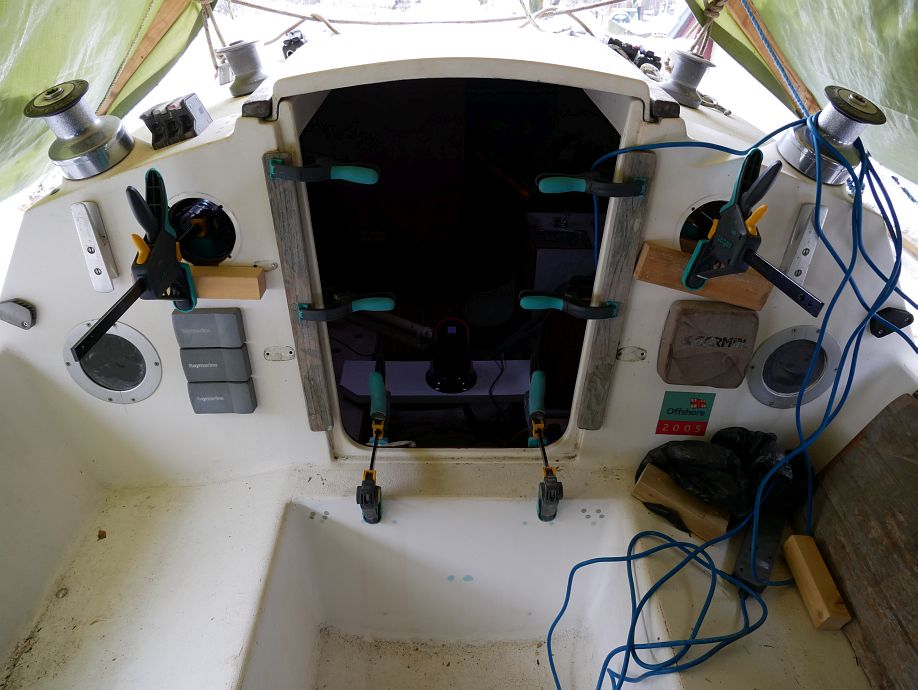
Last weekend Twig and I got some tricky Fly jobs done in lining the parts of heads, forecabin and coachroof where the liner’s stuck directly on (there are removable panels elsewhere) then refitting the companionway bulkhead facing, and were quite relieved to get through this lot with things looking good and no major mishaps. But some things turned out to be not quite so right when I returned in Tuesday’s snow to take the photos…

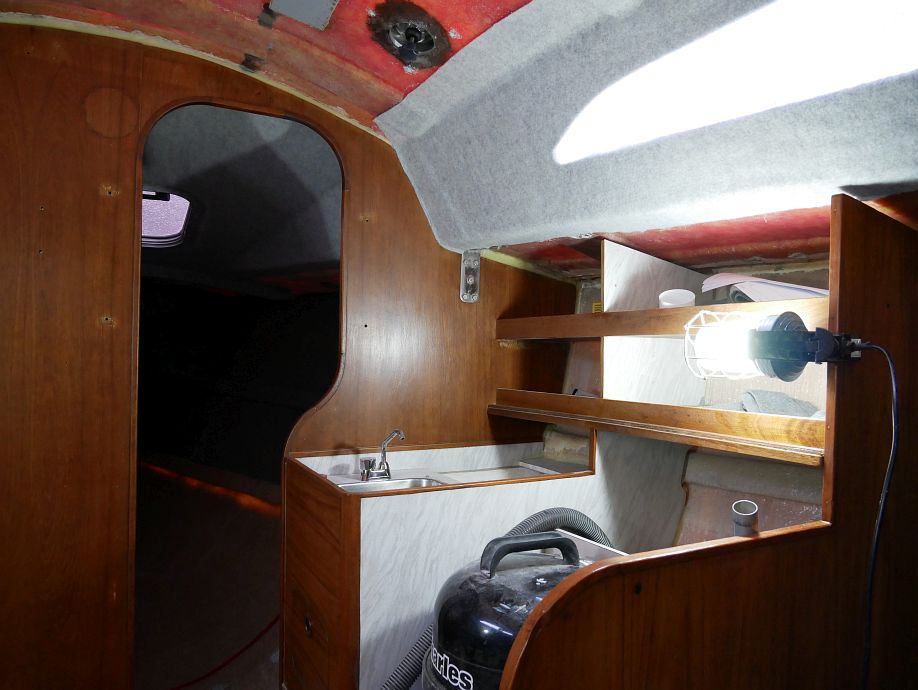
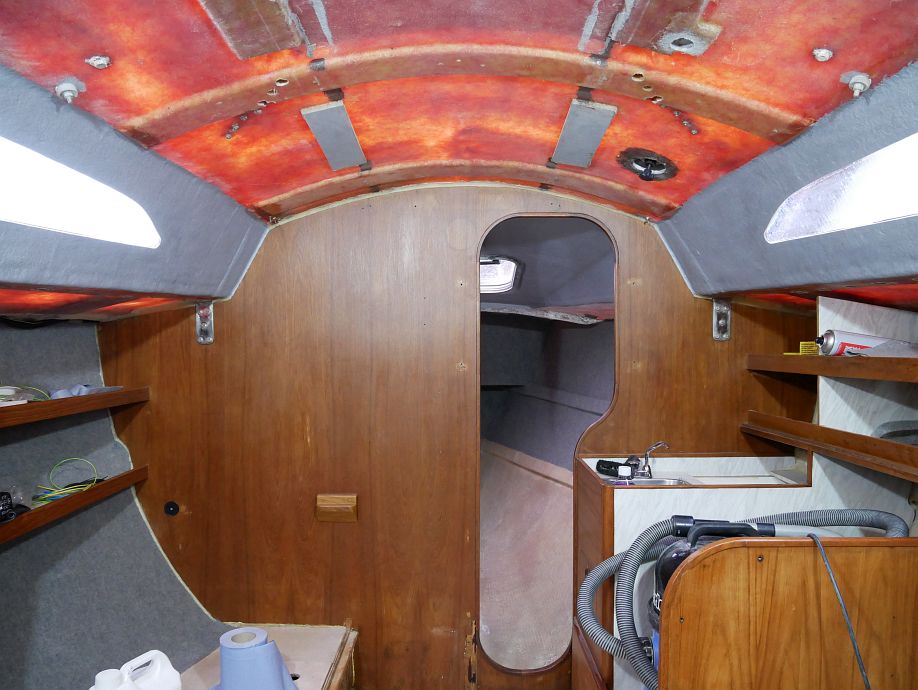
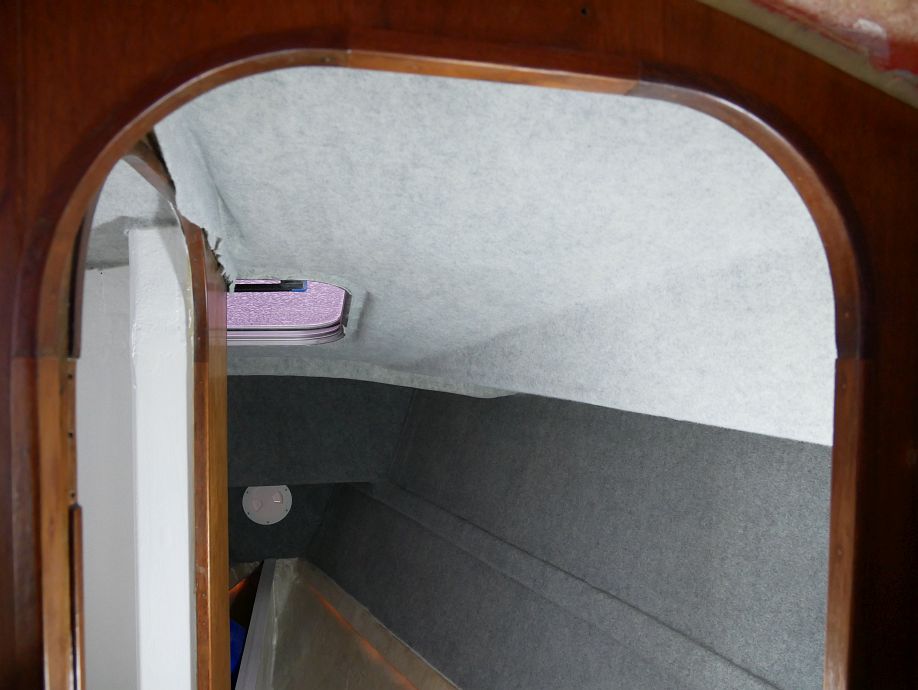
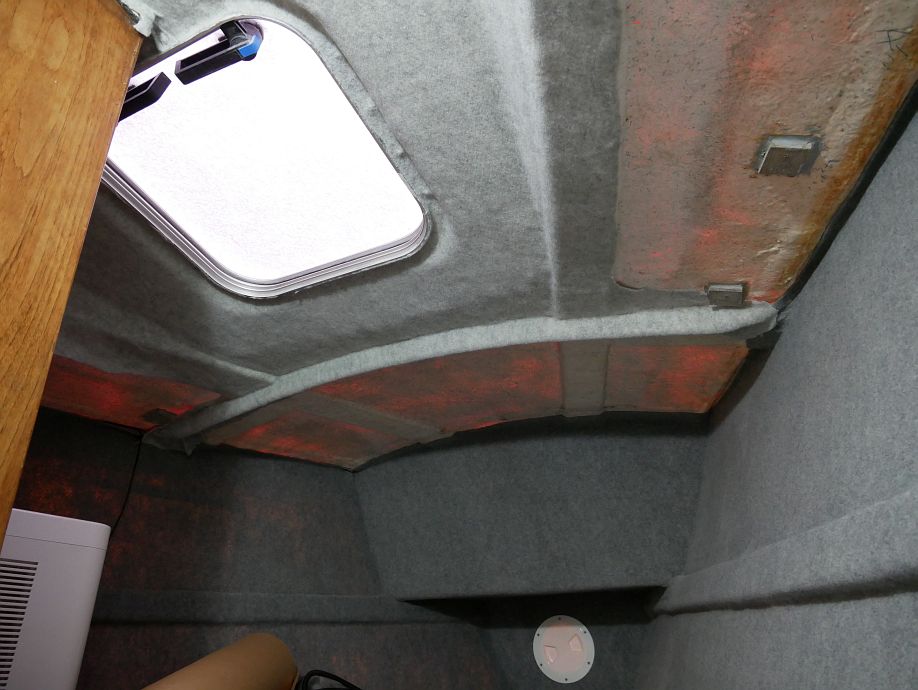
The heads and forecabin linings are fine when fitting and gluing the carpet to these tricky 3D shapes could so easily have gone wrong, but note that the edge above the heads door isn’t finished yet:

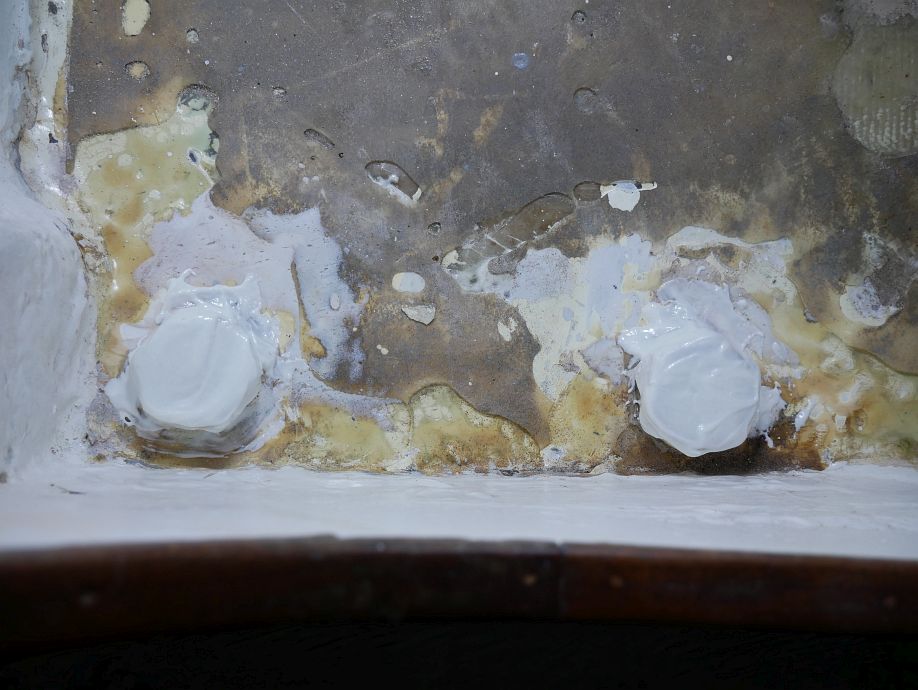
There was a small damp patch below the bottom right corner of the heads window (see the darker patch there?) that needs checking out because it’s a new window:

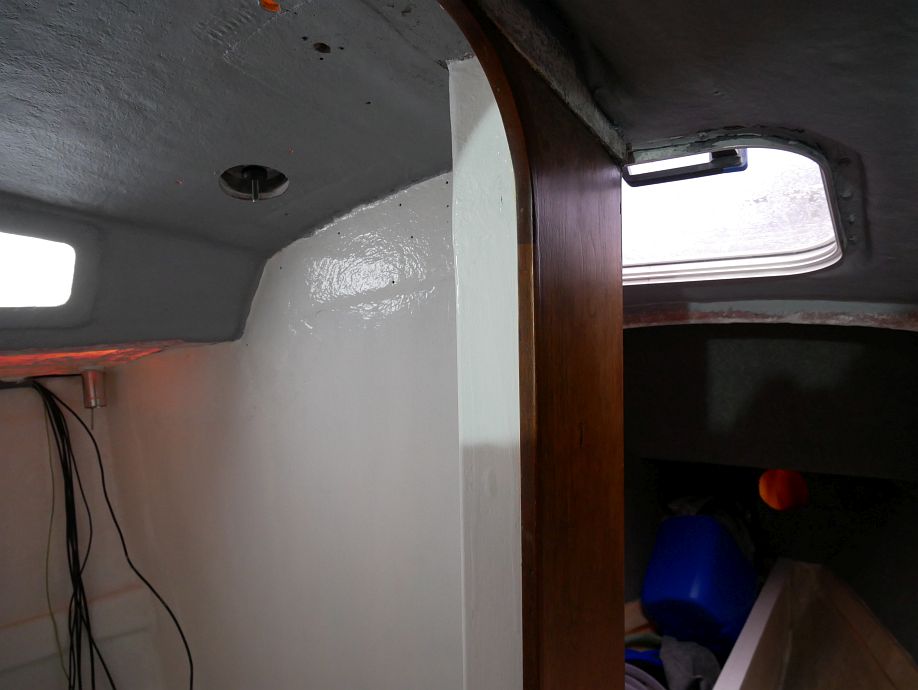
And you can see bright light off the snow getting through the topsides carpet (like the deckhead problem we resolved by painting first) to the lower left. So, while not planning to sail the boat through snow (!), I may still have to put up with some of this for summer sailing till I get the (exterior) topsides painted?

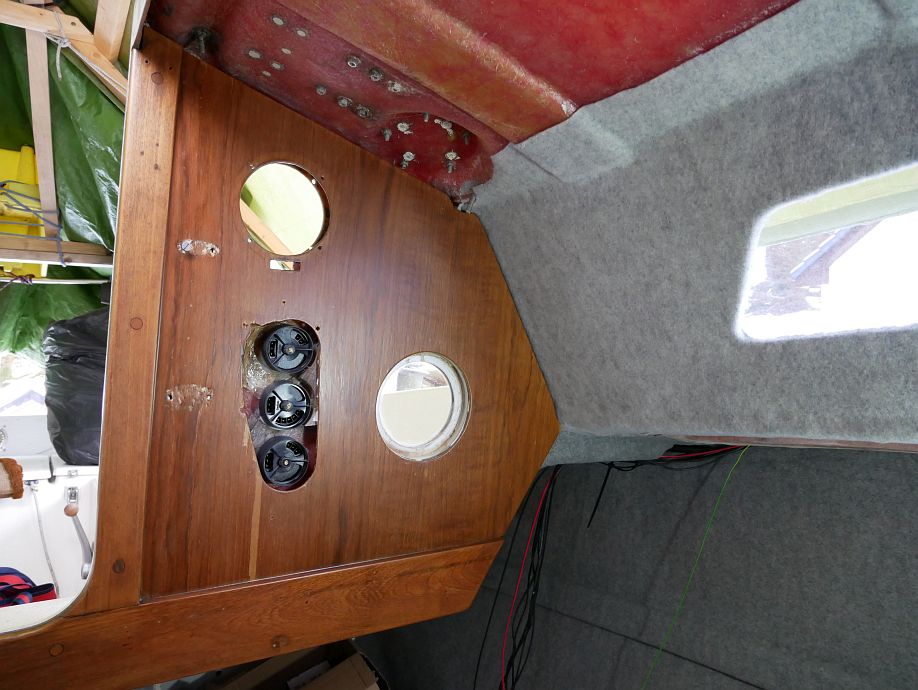
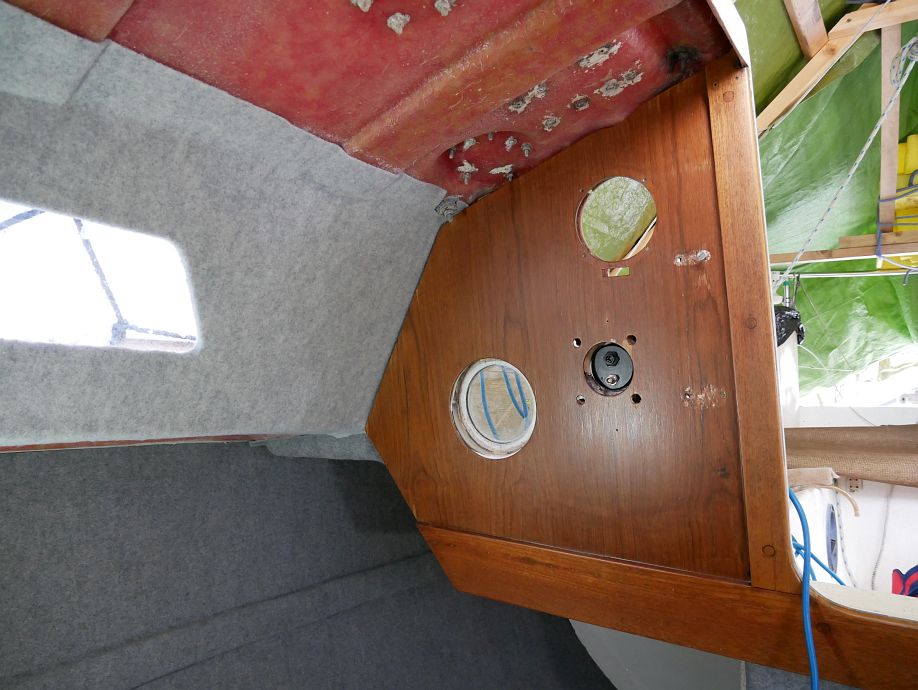
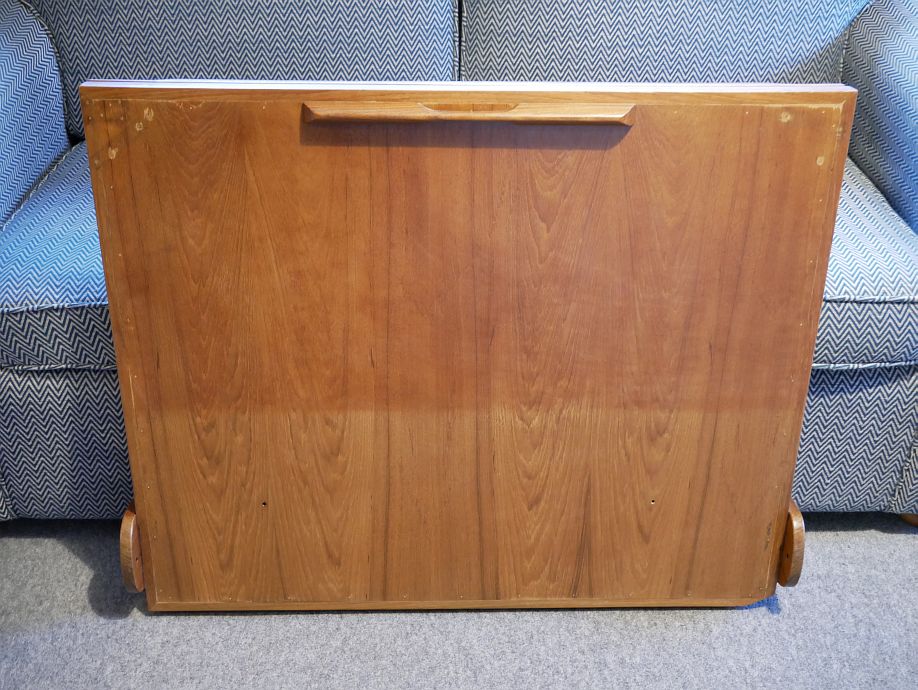
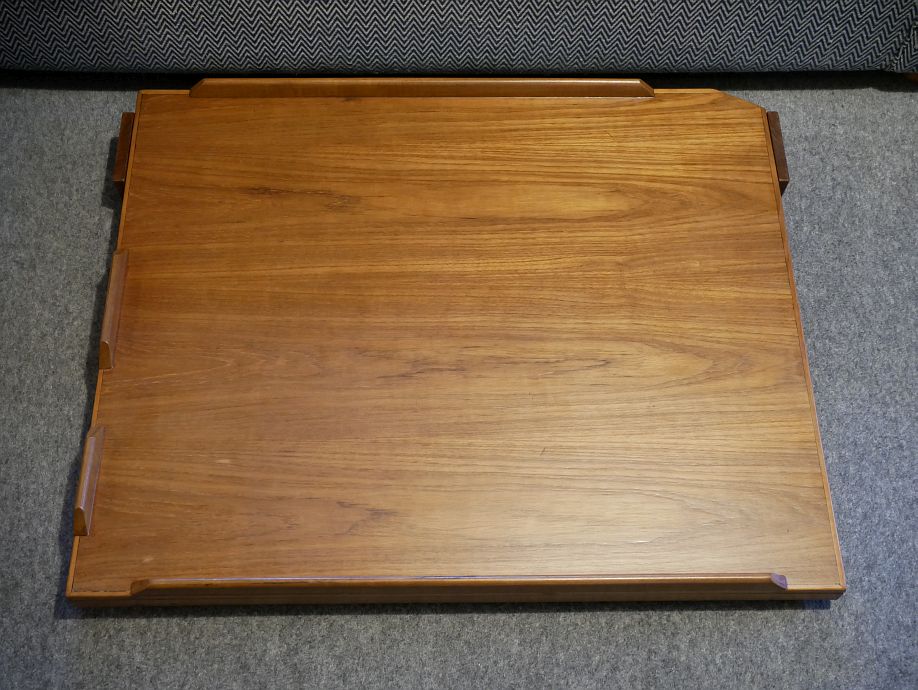
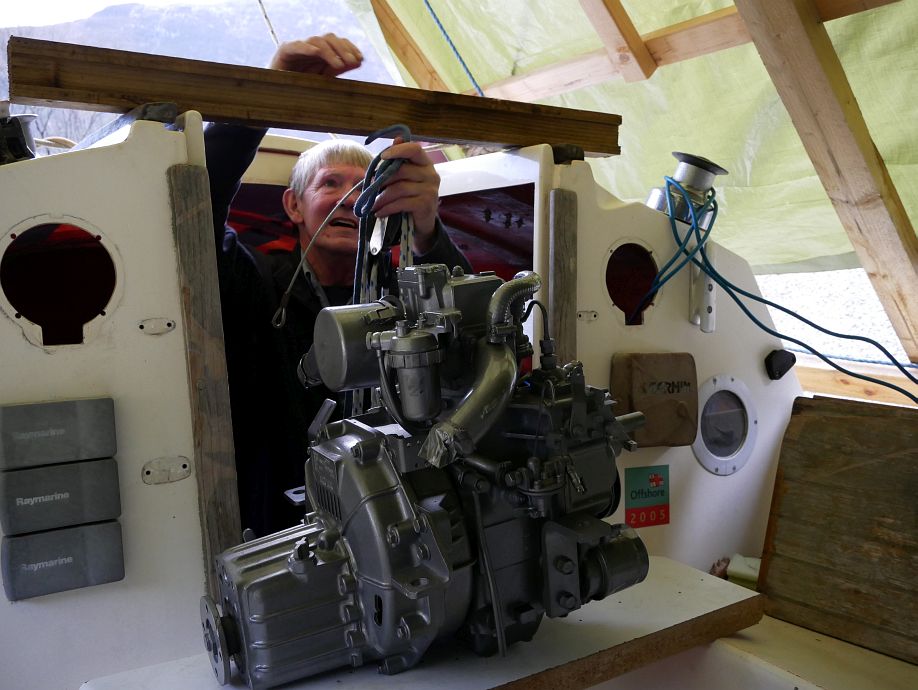
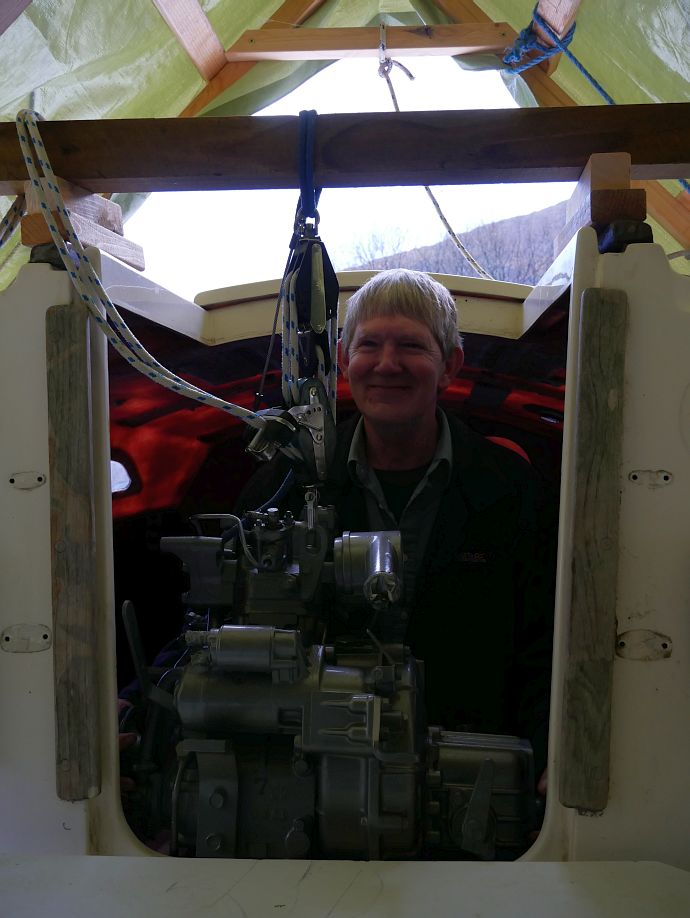
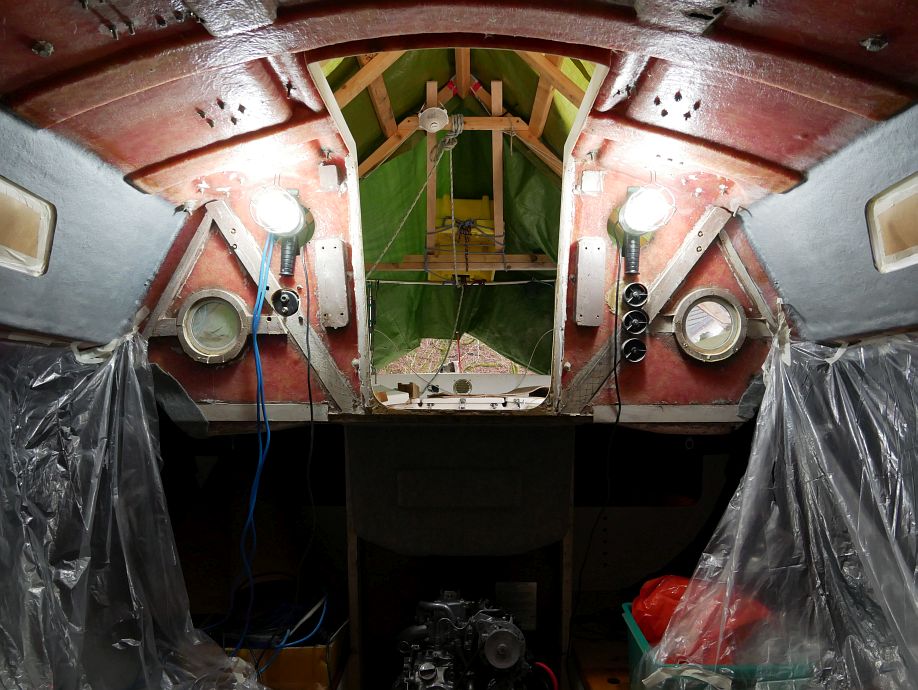
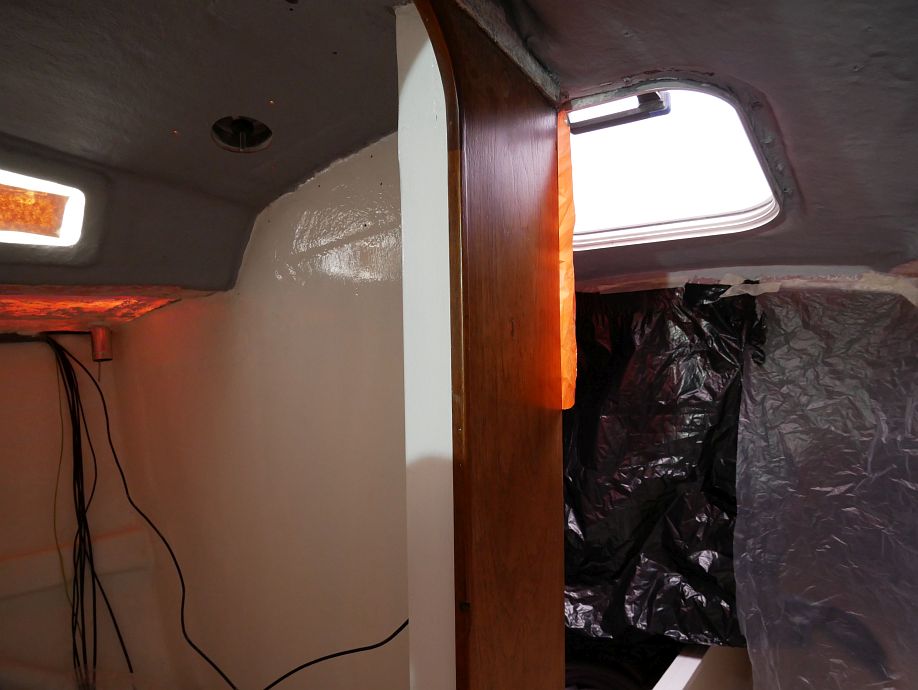
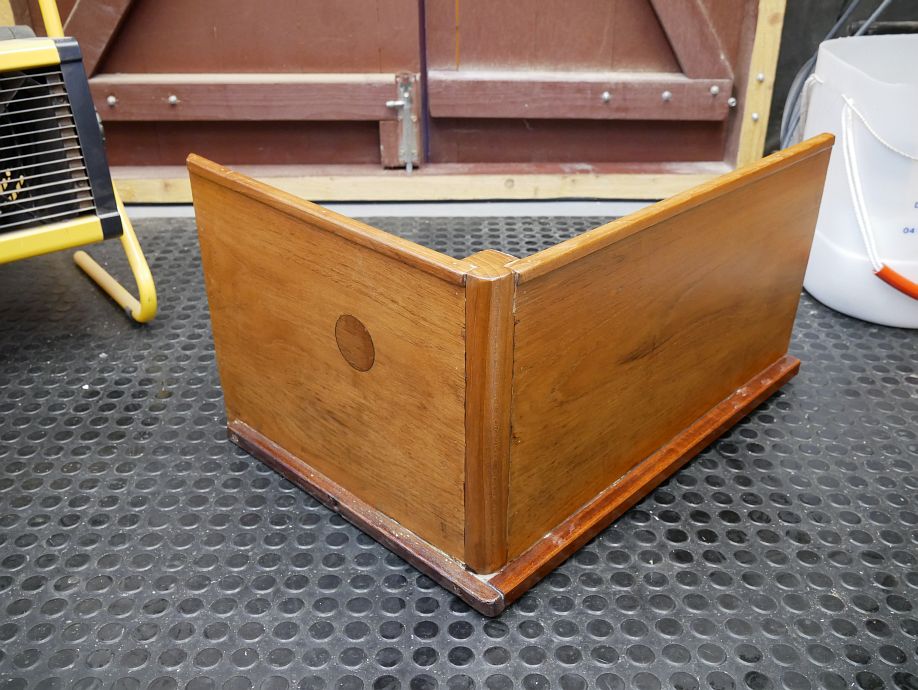
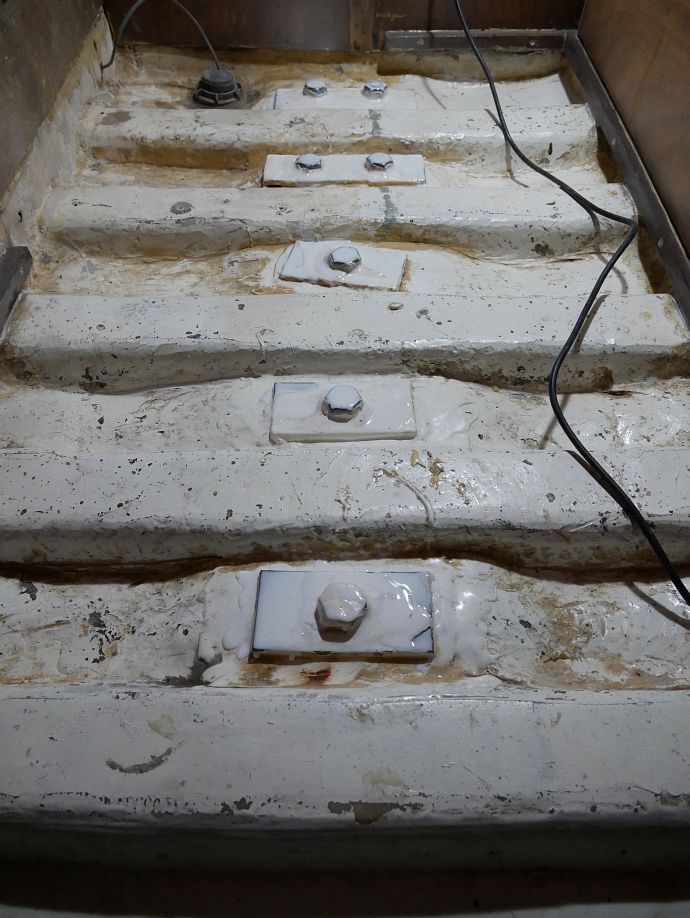
The bulkhead facing looks great in the photos but, despite two machine screws through the grab handle holes to line it up, is now firmly bonded a couple of millimetres below where it used to be. Not the end of the world, but still needing some thought in places. And, for those who’ve seen the cut on my forehead this week, the clamp to the left in the first photo is the one that attacked me when I ducked through the cockpit cover!

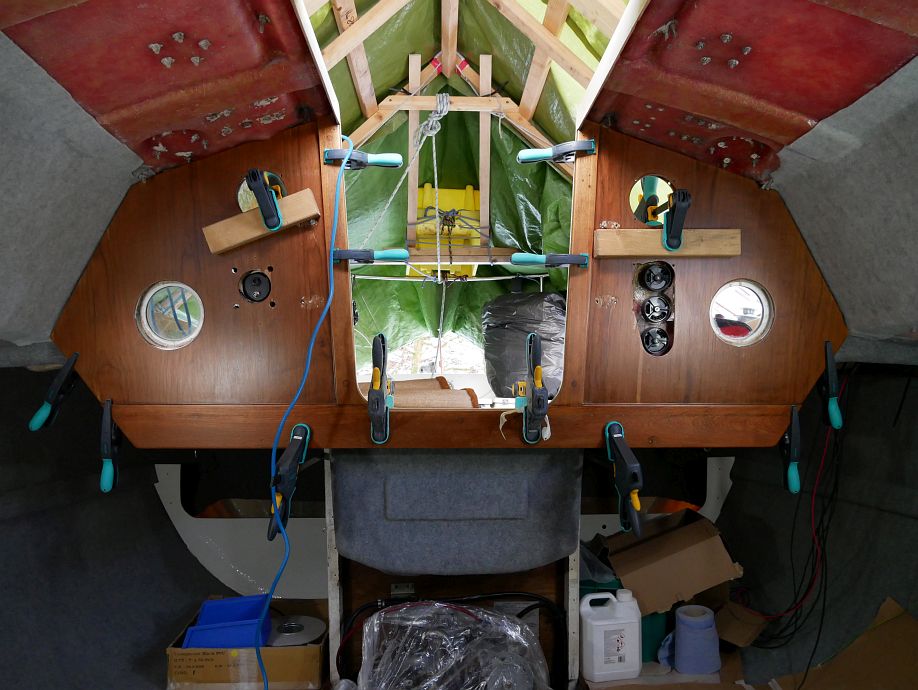
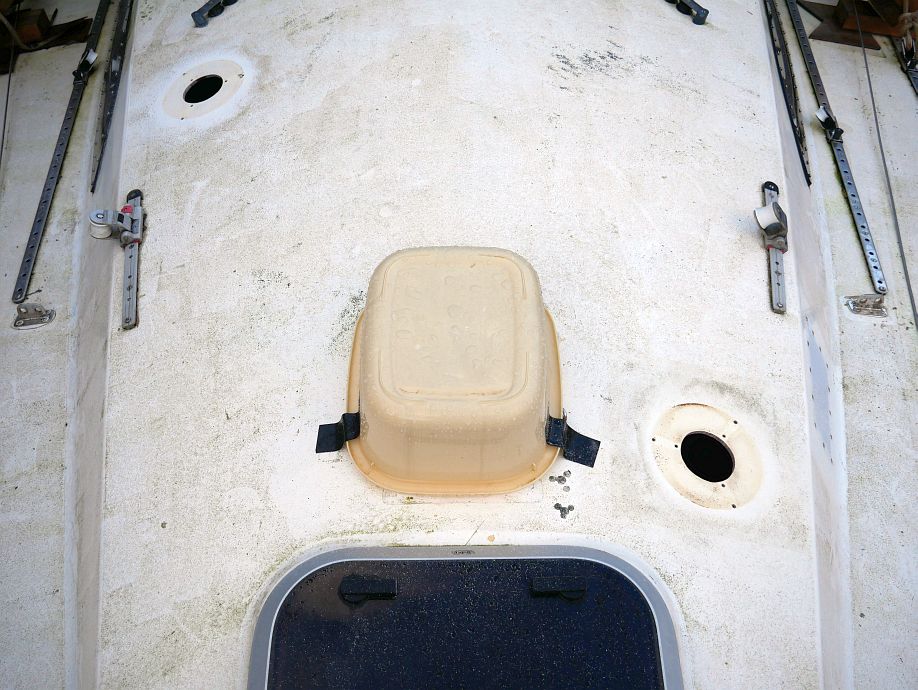
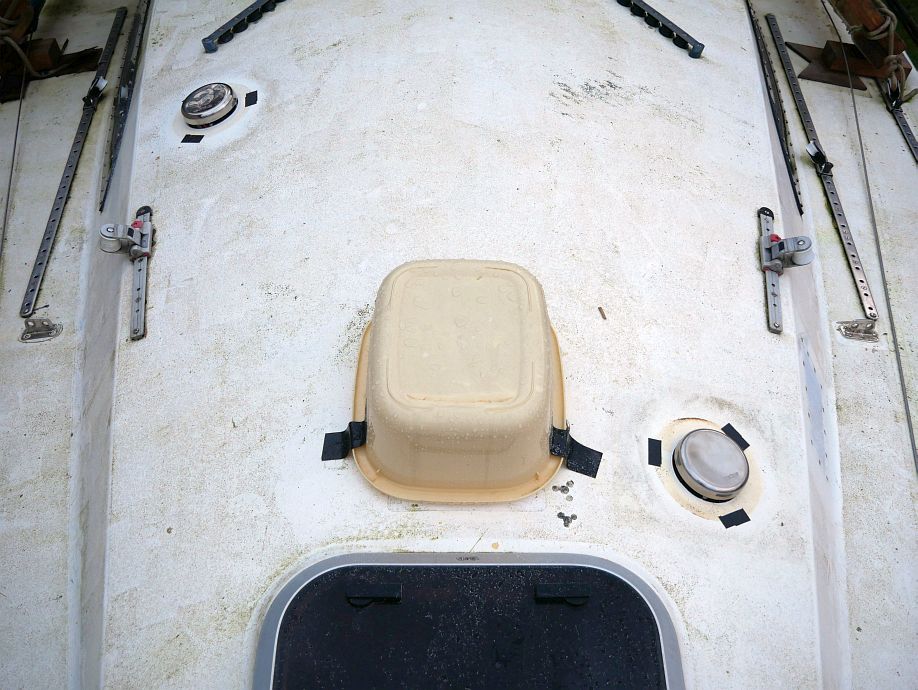
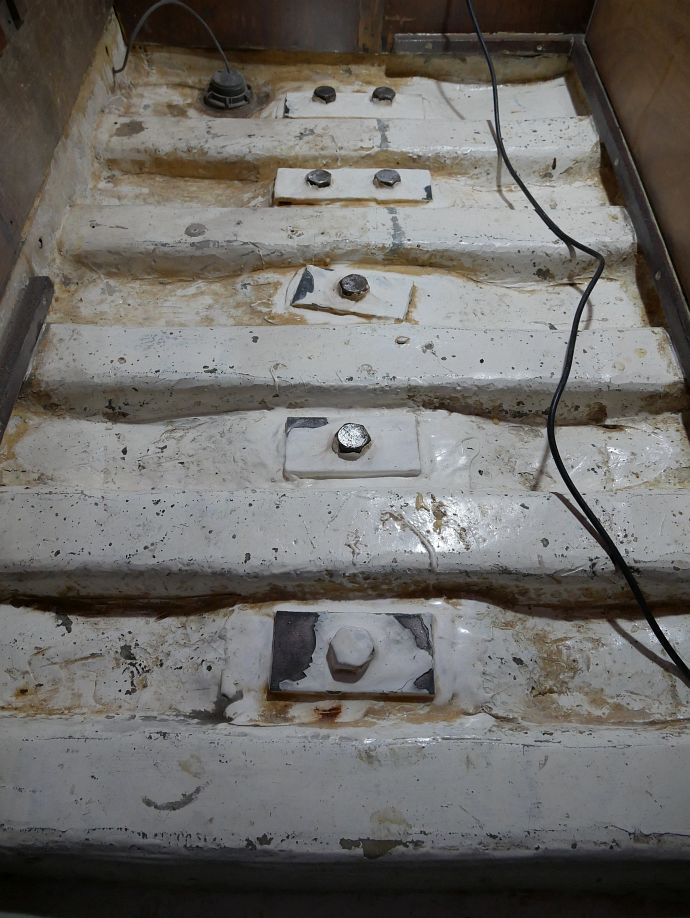
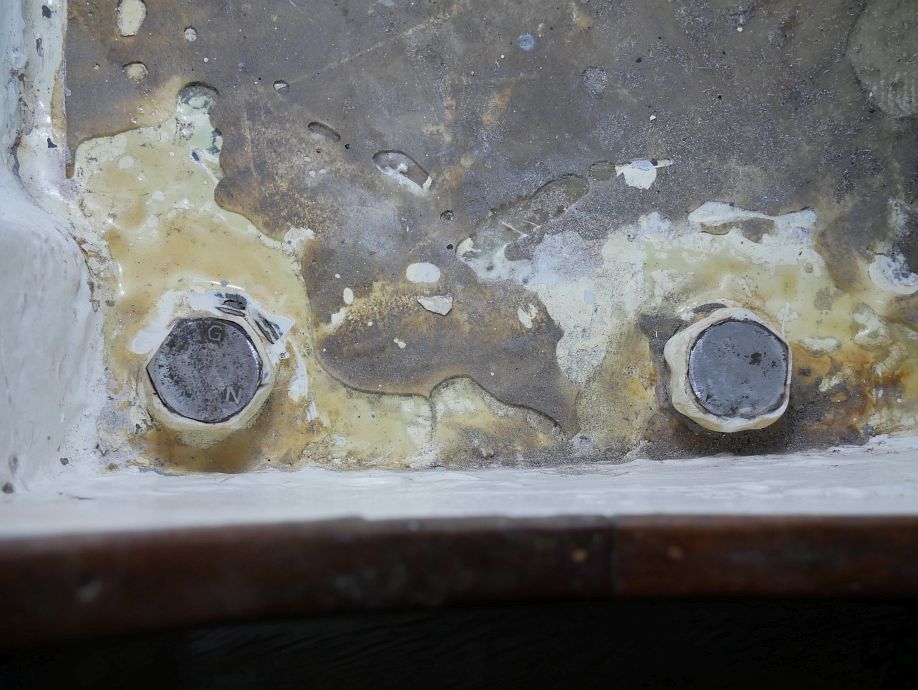
The most obvious problem (even if not obvious in my resized photos) is the porthole cutouts no longer being concentric, but I think that can be disguised with new liners where I’ve found a place that makes them for a reasonable price and can do iroko for a decent match to the teak. Not all of the screw holes line up and the compass cutouts are also slightly out, but will probably all be close enough, and I was already considering fitting a protective strip across the companionway bottom edge where it takes the most wear, but probably don’t have to for cosmetic reasons because the mismatch doesn’t look too bad there. Hindsight says we should have pushed the facing hard up under the hatch rails and used more screws for lining up when some of the holes through its thin plywood are slightly ovalled, but hindsight’s a wonderful thing when it’s firmly bonded with epoxy and Sikaflex and what could have been a ‘perfect’ job has turned out merely ‘OK’! :-/

13 January 2019

More bits and pieces

Filed under: Sailing — admin @ 5:42 pm

While Fly work’s obviously no longer progressing at late December/early January pace now I’m back at ‘work work’ for the new school term, it’s no way grinding to a halt either with various bits and pieces on and off the boat still getting evening and weekend attention…

The battery box(es) actually went back in on 2 January, but I’ve just caught up with the photography today. It was a surprise to discover expensive, striped, cabin sole plywood when I stripped the paint from the lid back in August (?), but I’m guessing it got used as the piece needing to be cut from the original sole there anyway:

Other ongoing projects from the first week of January that you don’t see here include stripping the pilot berth structures of flaking paint (something I’m only doing outside when I’ve got both daylight and mild, dry conditions) and engine alignment (done by Twig). But I’ve got some work done on the tiller (which we’d removed to get the engine through the pushpit) this weekend, making a wee repair where the exposed end grain was suffering. Think I might finish that by epoxy-coating where I’ve chamfered the corners and a bit down the sides, but not till I’ve got some mixed up for another job:

The restored/improved chart table is all done apart from some new catches to hold it shut and a folding leg for the non-bulkhead end. While I was tempted by sprung ball catches, I’m going to fit magnetic ones because the dimensions suit better and and they’ll be much easier to fit. It used to have two horrid wee hooks on the outside, but I’m fitting catches to the inside front edge (there’s plenty of room for the charts):

Here it is in the stowed/upright position. The teak handle (which I found in a box of bits stashed in my loft) replaces an ugly alloy one. There’s also a cushion to go back where you see the slightly lighter wood and two screw holes:

And here it is as you’d use it (well, not on the floor!). The fiddles (edges) to stop things sliding off are new; it doesn’t need one to the right because there’s a bulkhead there, and the left ones have been left partial to fold up over the nav. station shelves:

Finally (for now), I’ve been fairing the surface ‘craters’ (mostly legacy of the 1999–2000 keel repair) in forecabin and heads prior to sticking down some new Treadmaster. The first pass has been sanded and I’ve done a second where necessary, but can’t sand that till Monday or Tuesday evening:

1 January 2019

Flying into 2019

Filed under: Sailing — admin @ 6:30 pm

So it’s 1 January, Fly relaunching year, and the refit continues apace…

Last Thursday (27 December) we got the engine back into the boat (handy things, six-part mainsheets!), and Twig got it bolted down and connected to the new battery cables on Saturday:

The day we did the engine lift, we also managed to fit new Vetus mushroom vents to replace the tired original vent lights, where the transparent part of one was already cracked/leaking (from memory perhaps from a physical blow?) and the other surely just a matter of time:

Saturday also saw a wee hiccup to the interior lining programme when we cut a piece of carpet to line the heads deckhead and started gluing it up there, only to discover that light was shining through it in the most unpleasantly uneven mottled mix of semi-translucent GRP deck and intended carpet white-grey! So we took it straight down again to ponder a solution, which pretty well had to be blocking the light with paint. It was a surprise because we’re getting next to no light through the already-lined topsides, but the decks have different thickness and composition and it’s taken me two coats of grey primer to achieve 100% coverage, doing the second coat with no light in the boat so I could track down all the ‘leaks’, and adding about half a kilo of otherwise pointless weight in the process. The finished lining will be the lighter grey of the wasted piece visible bottom left of the first photo:

Now, you might wonder why we hadn’t noticed the problem before we got to the glue, but we were working from a paper template and knew the piece would fit, so hadn’t thought to hold it up dry. As to whether I’m really happy with ‘next to no light through the already-lined topsides’, well, yes… it is almost none and will be none when I get the (exterior) topsides painted next year or the one after, so no need for more paint in the boat there!

The new stereo is also fitted (that’s just the corner of the protective film looking a bit funny at its top right corner) and, after long deliberation about what speakers to fit where when space for them is tight, I’ve decided to build custom enclosures for 4-inch round full-range units at the top corners of the main bulkhead (where I used to have smaller, plastic car-speaker-pod-type things). What I’ve designed to fit the space (which really stops at the starboard-side grab handle) luckily comes out at near as dammit the optimum 2-litre volume for unported enclosures for the units I’ve ordered, and should be quite straightforward to build from 6mm plywood:

The battery box is ready to go back in after restoring from probably the most water-damaged visible wood we’ve kept to something semi-respectable. While some of the staining (small black marks) resisted oxalic acid and wire brushing, I’m happy enough with the result including my nice round inset piece where there used to be a misshapen ex-socket hole in its aft face:

But refitting the battery box isn’t just about the box itself when support rails for the cabin sole and exposed areas of the keel bolts and their plates needed recoating first (these metal parts also needing cleaning to recoat). So that’s got done alongside the deckhead paint job, although the keel bolt/plate job’s spread from the old year to the new after I didn’t think to thicken the resin first time and had to revisit that today:

The new diesel filler is also in, with the battery box first on the agenda for tomorrow.

Blog powered by WordPress. Feedback to webmaster@petestack.com.