


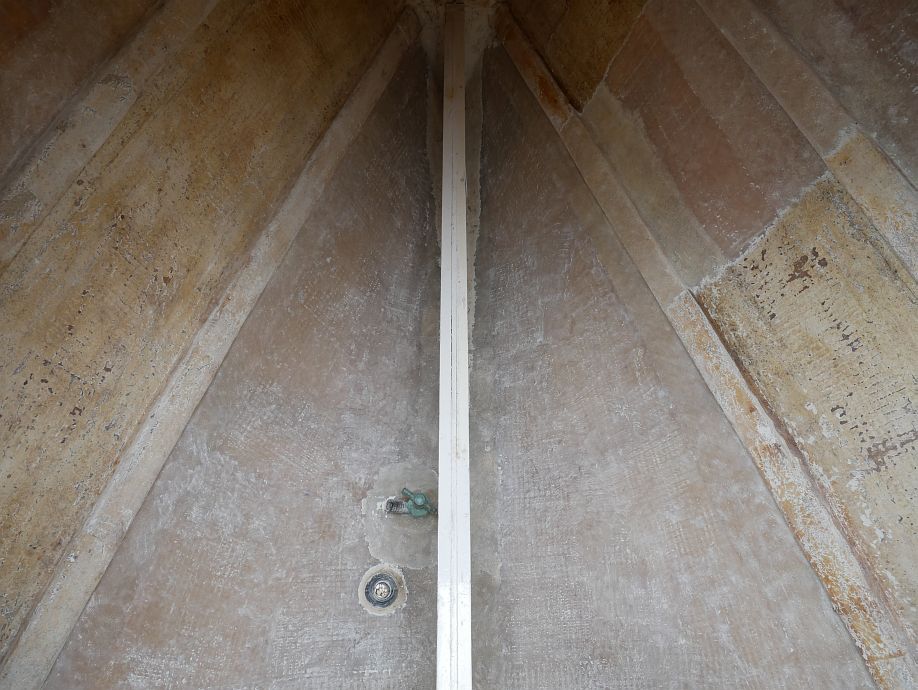
With work (yes, the ‘day job’!) looming on Monday and no chance of a fifth week full-time on Fly, I’m not going to get the forecabin fully stripped this holidays, but it’s getting there…
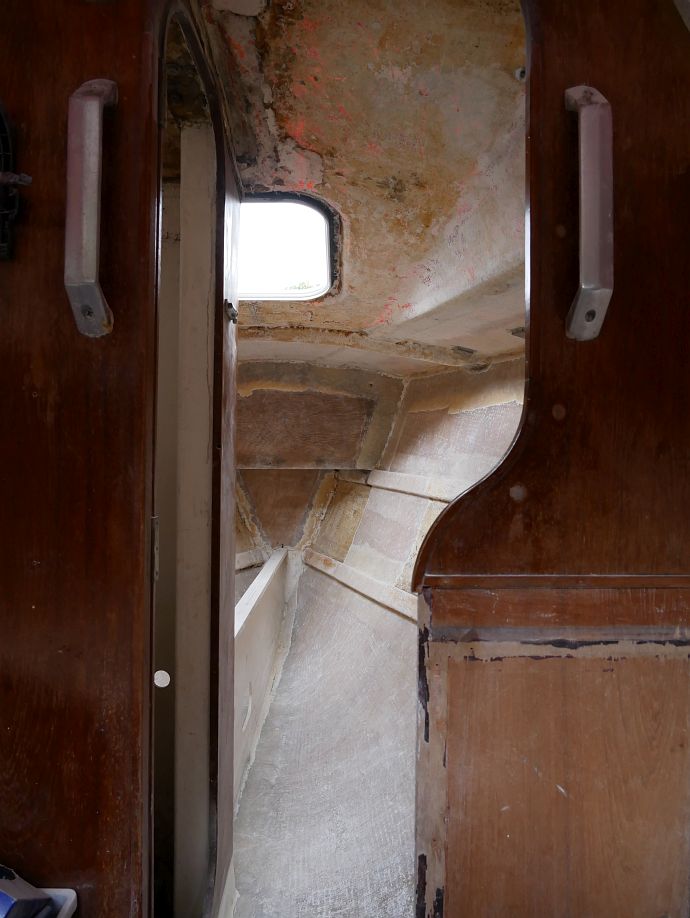

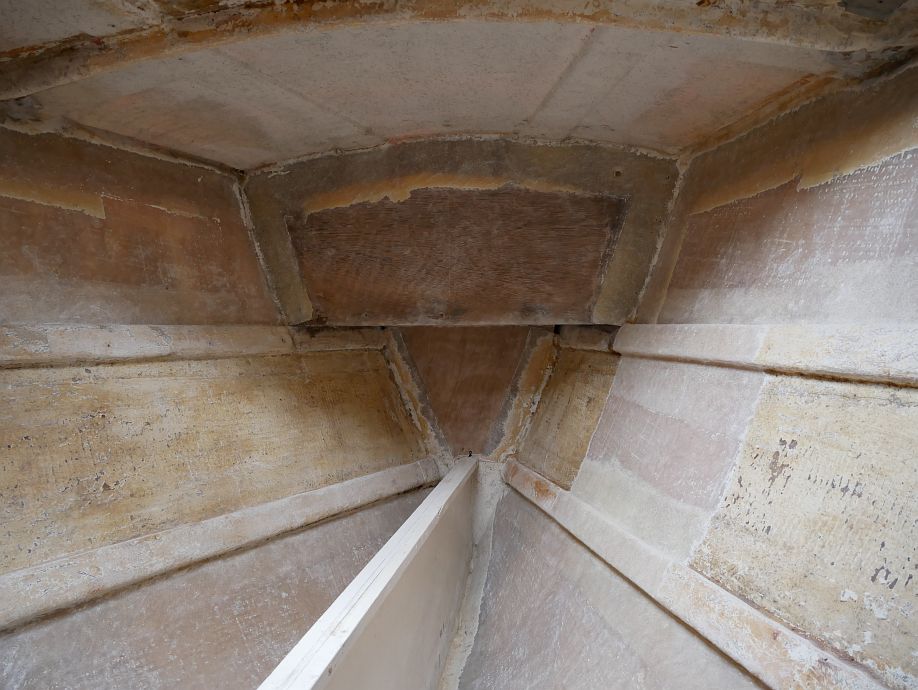
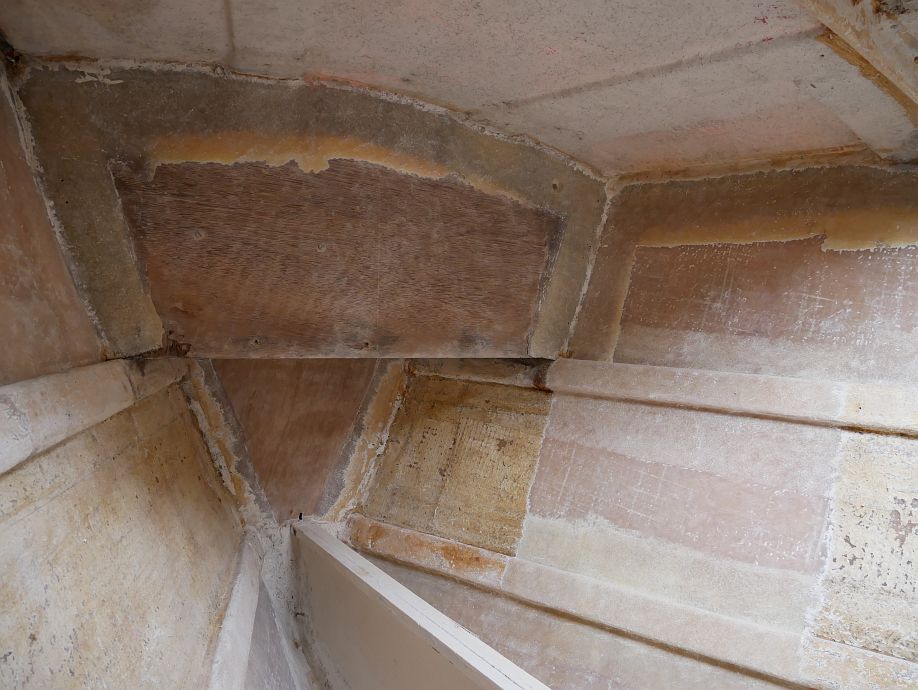
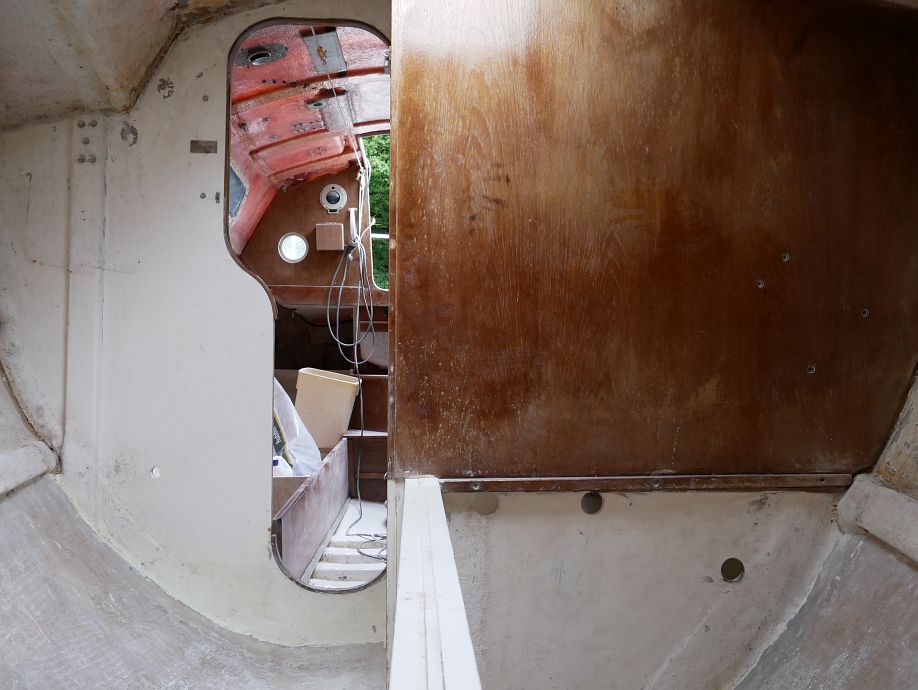
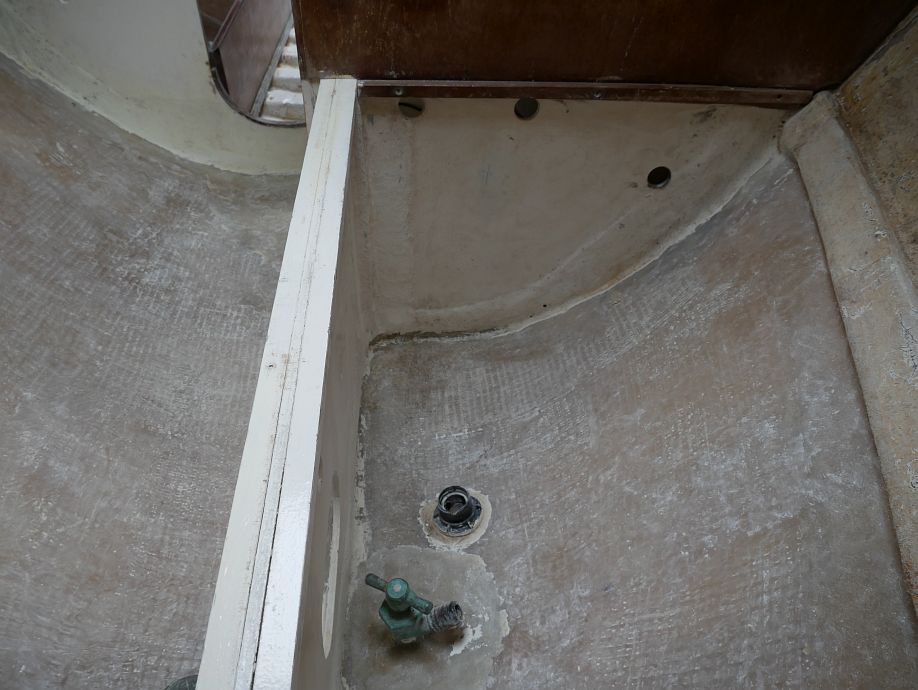
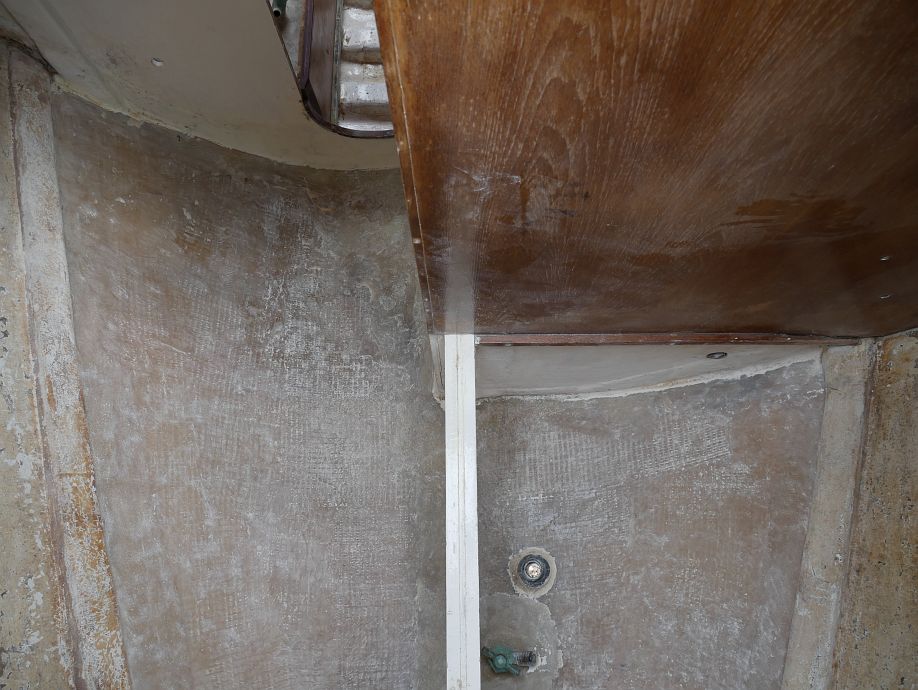
Interesting to compare the bow well to a week ago. While the rot’s dried out a lot with the removal of the old linings previously hiding it and preventing it doing so, the way it tracks along the corners above the stringers has me once more suspecting external (rather than internal) causes and guessing we’ll probably have to cut out most of the floor after all to repair it properly. Another interesting observation visible in the ‘bow’ photos is the clearly original nature of the paint up the topsides, where the overlap of hull-to-deck join and paint in places can leave no doubt that the hull was painted internally up to a certain level before the deck was bonded on. Not that it makes any difference now, with said paint flaking over much of its area and mostly coming off along with (or at least quite easily with) the glue, which must come off to get good surfaces to stick the new linings to. And the white paint (of unknown origin) below bunk level likewise all needed to come off in preparation for a more durable solution having been the flaking bane of my life over several sailing seasons.
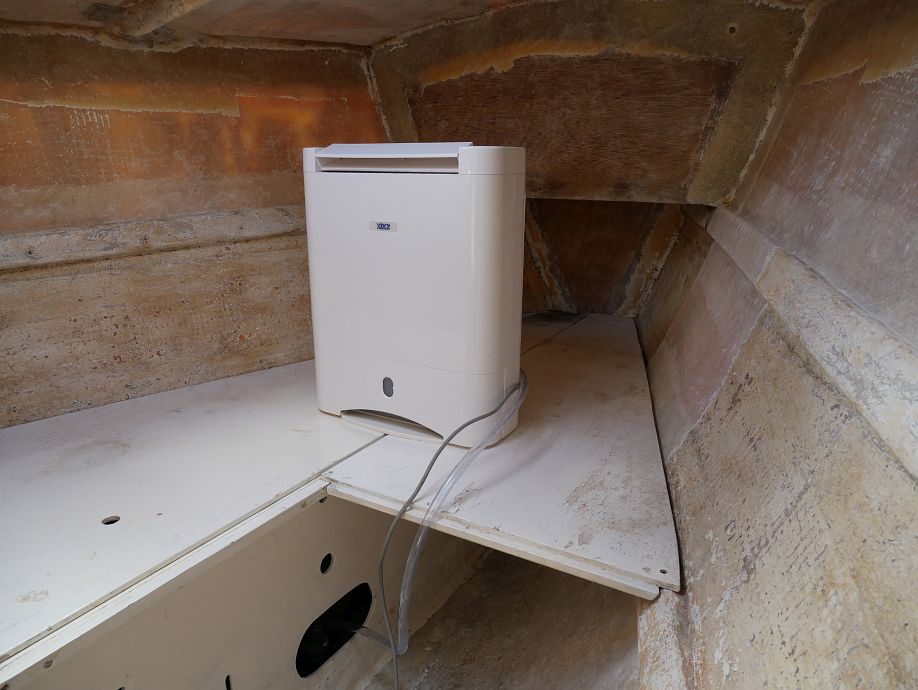
While taking a ‘break’ from paint stripping today to sort other stuff and not kick up any more dust before Twig’s here to start fixing things, I put the dehumidifier back on board in search of optimum conditions for epoxy work in this currently not-so-dusty space. I’d thought of doing this last Tuesday when Twig was here, but left it because it needed a new piece of hose, we were busy and I’d wrongly remembered needing to soften the hose end with hot water, whereas that turned out to be an easy push fit today with the heat only necessary to fit the slightly narrower hose I’d had it on it before. And I really couldn’t have left it on board anyway with the dust I’ve been kicking up meantime!

But today’s real fun job (1000% more pleasant than stripping paint!) was testing shape(s) for a custom water tank. This has always been problematic with Impala Class Rules stipulating ‘Water tanks of a minimum 10 gallon capacity shall be carried forward of the aft keel bolt’ (on which note I have some hazy memory of this possibly previously having been ‘forward of the main bulkhead’?) and the only other obvious compliant space (below the galley) being a poor, narrow shape with difficult access. So we used to carry two five-gallon plastic jerrycans strapped in where I’m looking at putting a tank now (well, one either side of the longitudinal bulkhead), but I never liked that arrangement… except that proper tanks to fit are rarer than hens’ teeth! Hence some experimentation with a view to commissioning a custom tank, and it’s looking doable…
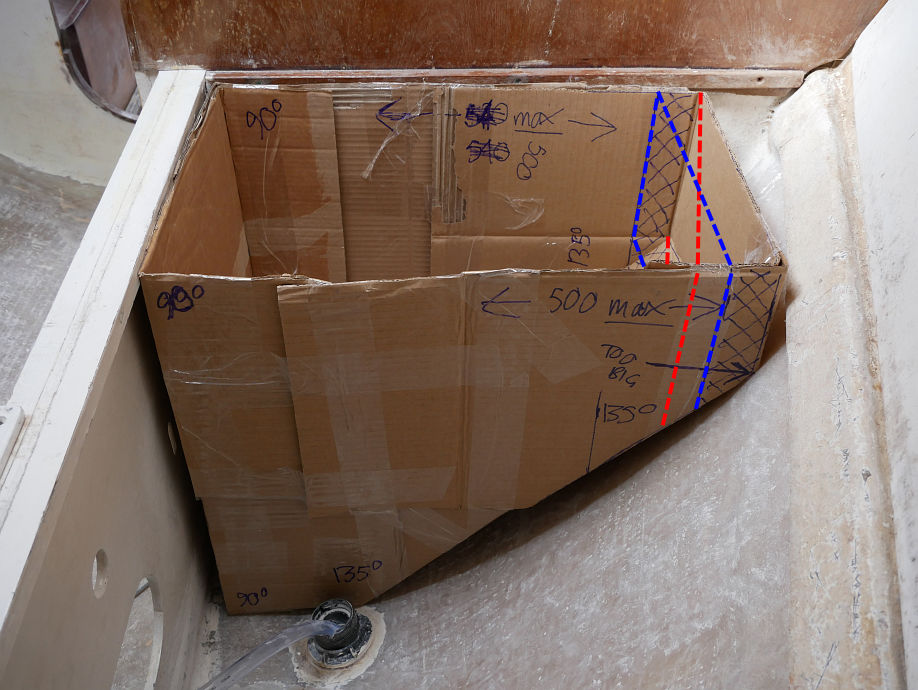
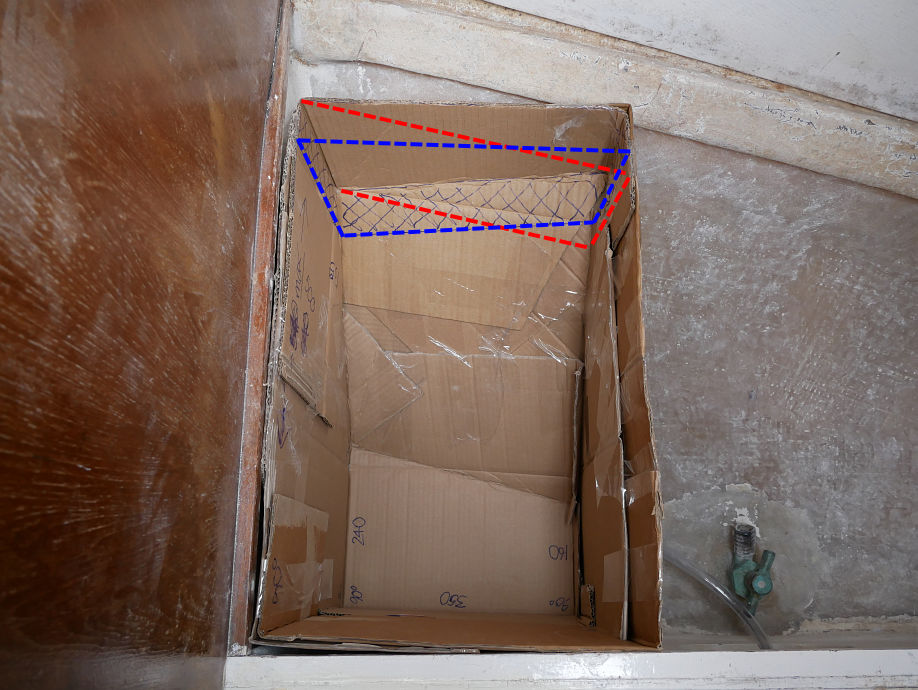
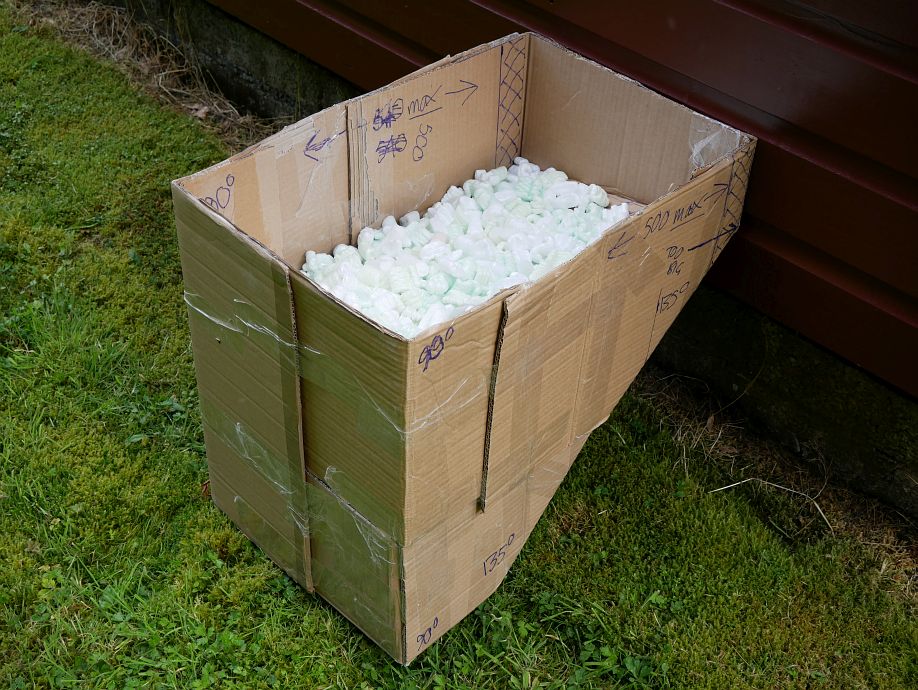
Now it can’t/won’t be as tall as you see here, but the bits of box I started with just coincidentally filled the space to the bunk top. Trying to keep the shape as simple as possible and need flat surfaces for manufacture, but don’t know which is better… blue dashes (cuboid with corner sliced off at a constant angle) or red (making the top the same shape as the base so neither are rectangular). Also struggling to work out capacity because I’m confuzzled by the maths, but looking for min. 45.46 litres (i.e. 10 Imperial gallons) and happy to go to 50 or 60 if I can get it, with third photo showing two 25-litre bins of polystyrene packaging tipped there by my mathematically-challenged brain. And perhaps I do like the red-dashed shape better though I’m envisaging reducing the top part of either (above dash level/polystyrene filling) by about half the height you see. Whatever, it’s a reasonable place for a tank, being low down in the boat and not too far forward of the keel, with 50–60kg down there not a huge deal when you also have the option of not filling it for the racing with the presence of the tank(s) rather than the water being what’s required!
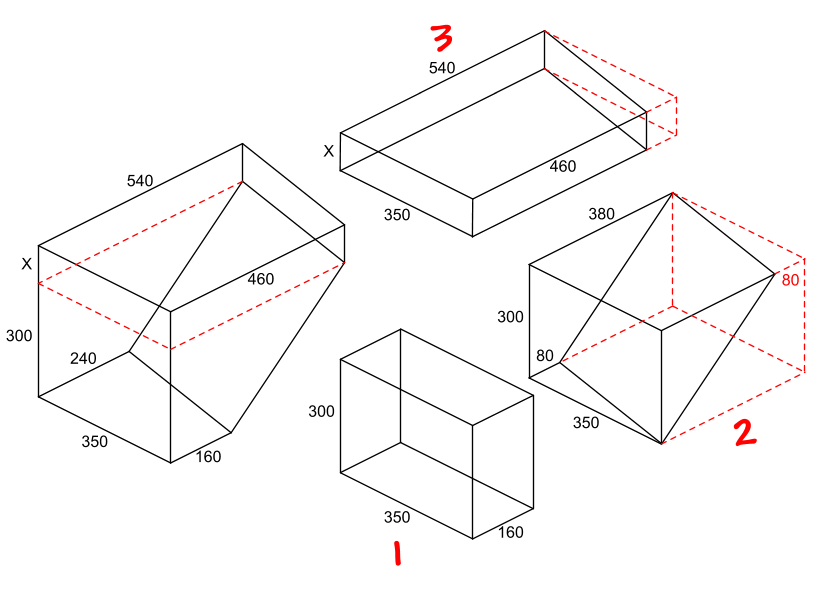
Edit (13 August): What a complete dummy I am! The volume of the bottom part (red version above) is 1. 350 x 300 x 160 = 16.6 litres + 2. (350 x 300 x 380) / 2 = 19.95 litres, which makes 36.55 litres. Add 3. 350 x 500 x 100 (assuming X-height of 100 where the mock-up is 190) = 17.5 litres, and you get 54.05 litres, which is fine (NB my ‘25-litre’ bin above turned out to be somewhat short of the mark in taking just four-and-a-half 5-litre buckets of water). But you don’t want to know how long that’s taken me to figure out! :-/
Seems my memory of the water tank rule specifying ‘forward of the main bulkhead’ was wrong and it changed from simply ‘shall be carried’ to ‘shall be carried forward of the aft keel bolt’ sometime between 1985 and 1992. Whatever, I still think below the galley (despite being perfect in fore-and-aft terms) is just too awkward a space and sticking to my previous site is right.
Comment by admin — 13 August 2017 @ 9:42 pm
Since the original Impala kit instructions state ‘The tank may be secured in the corner next to the centreline and against the loo bulkhead’ (why can’t they just say ‘heads’?), it seems clear that Hunter Boats (and probably the designer) expected it to go where Fly’s has always been and I’m planning to keep it.
Comment by admin — 15 August 2017 @ 8:55 pm
Just built/tested a more accurate mock-up of the water tank design and think it might still be better tweaked slightly. For instance, a 330 x 250 x 150 base (instead of 350 x 240 x 160), which might fit better but would still give a 51.15 litre capacity to the same height or adequate 46.2 litres with the height of the vertical top part reduced from 100 to 70mm.
Comment by admin — 19 August 2017 @ 12:14 pm