


Last April (just over a year ago), I wrote:
It wasn’t a great winter for Fly. Consistently cold temperatures, flu and other things contributed to losing most of December, January, February and March, so we find ourselves coming into spring well behind a logical projected schedule from the summer and autumn.
But it’s different this year when so much work since suggests expectations of a 2018 launch to have been optimistic at best. Having stopped last summer just to paint the house external woodwork and make a quick sea trip to Stornoway (my ‘summer holiday’!), I think I’ve worked on Fly pretty well straight through every holiday since (October, Christmas, Easter) as well as most recent weekend days and evenings. A veritable slog, but no question that it’s all coming together now and we’re surely just weeks from the water even with Tuesday’s new school term to keep me from constant boat work…
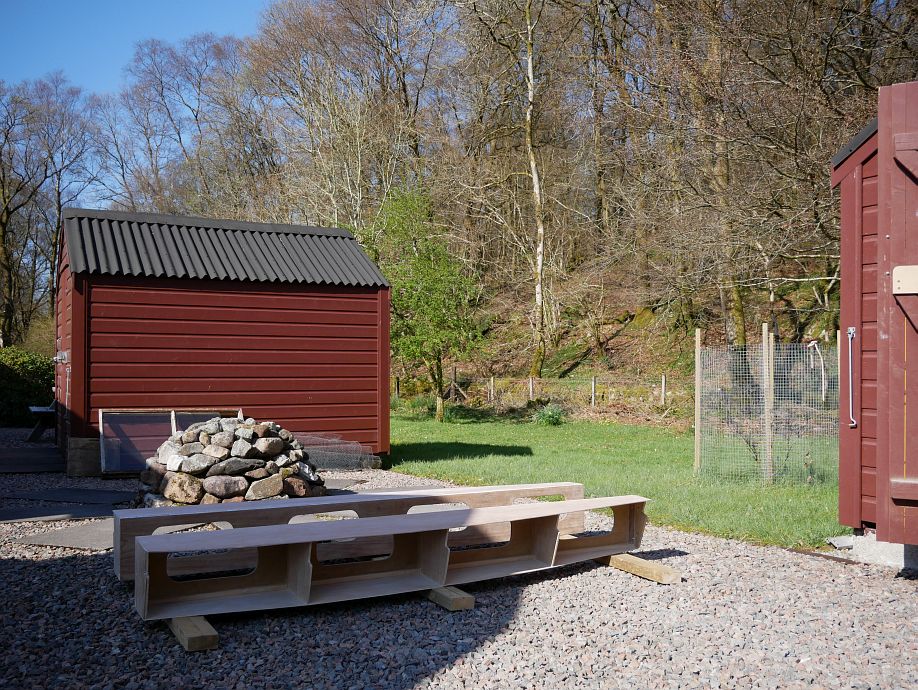
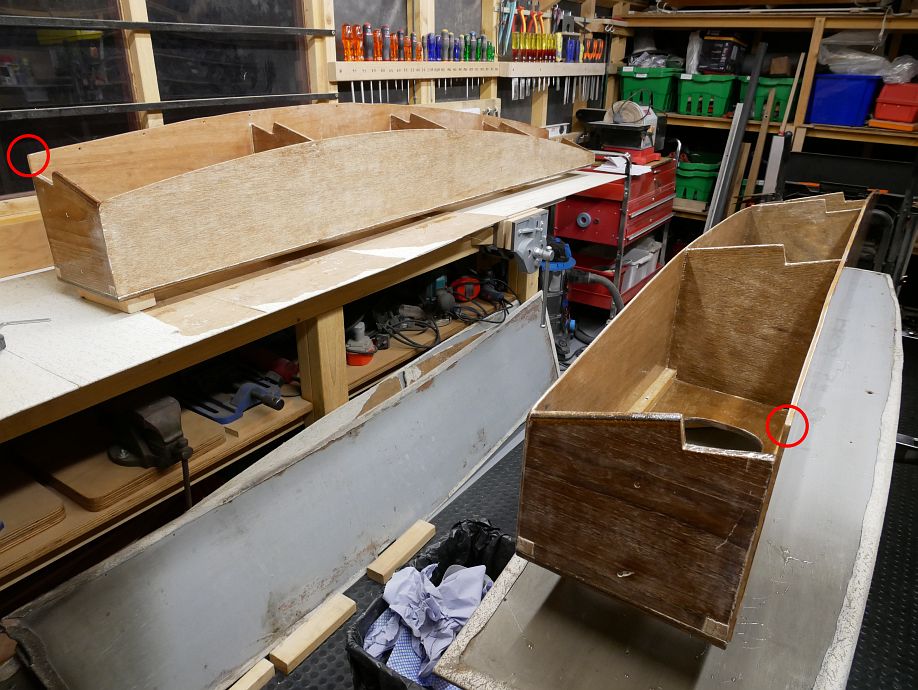
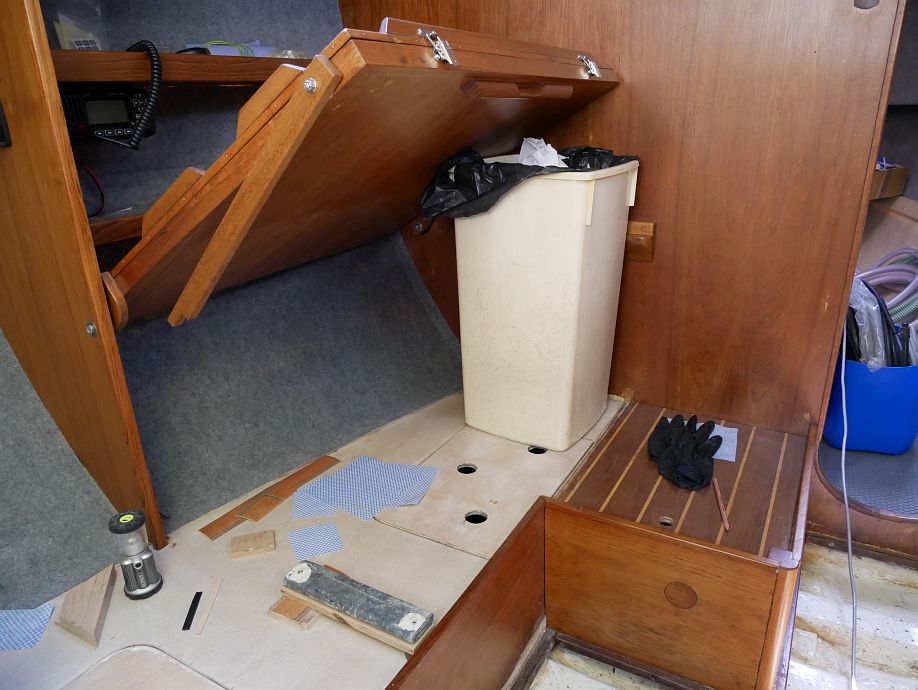
So here you see the pilot berth bases, which I’d started stripping outside one strangely fine and un-chilly day over Christmas before waiting months to get back out to continue making the mess I didn’t want indoors. Now there’s a bit of a pilot berth saga here because Twig had taken them away years ago to measure up, possibly replace the tops (which the terrible paintwork suggested might be suffering) and then repaint, but his new paint had subsequently started flaking disturbingly back off. So we concluded that something was historically wrong there (no primer?) and they had to be stripped right back, which meant more work for me with numerous awkward inside corners making those bases absolute pigs to do, but the finally-revealed wood surprising us by its excellent condition:
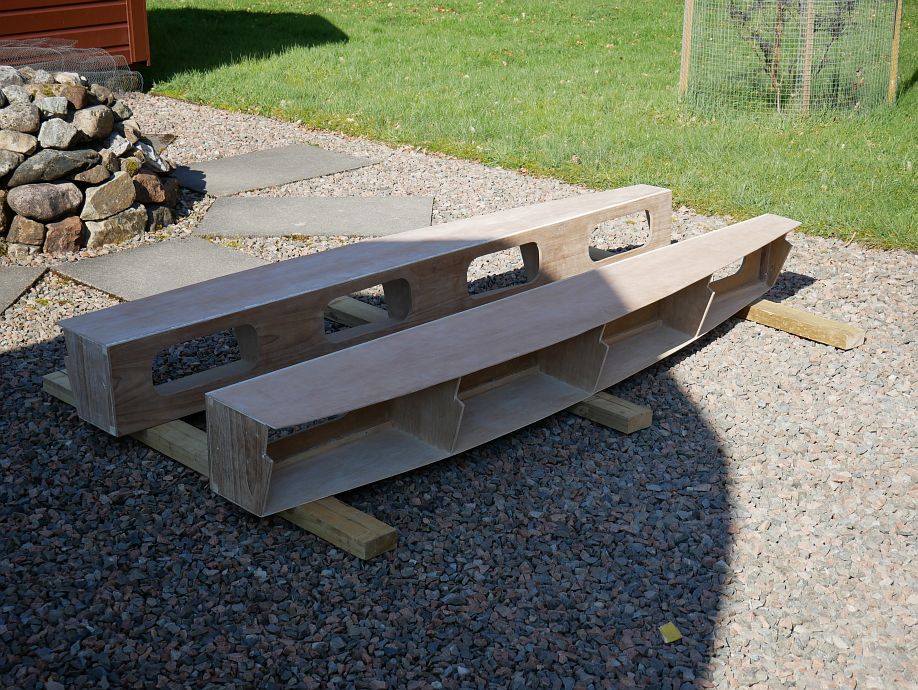
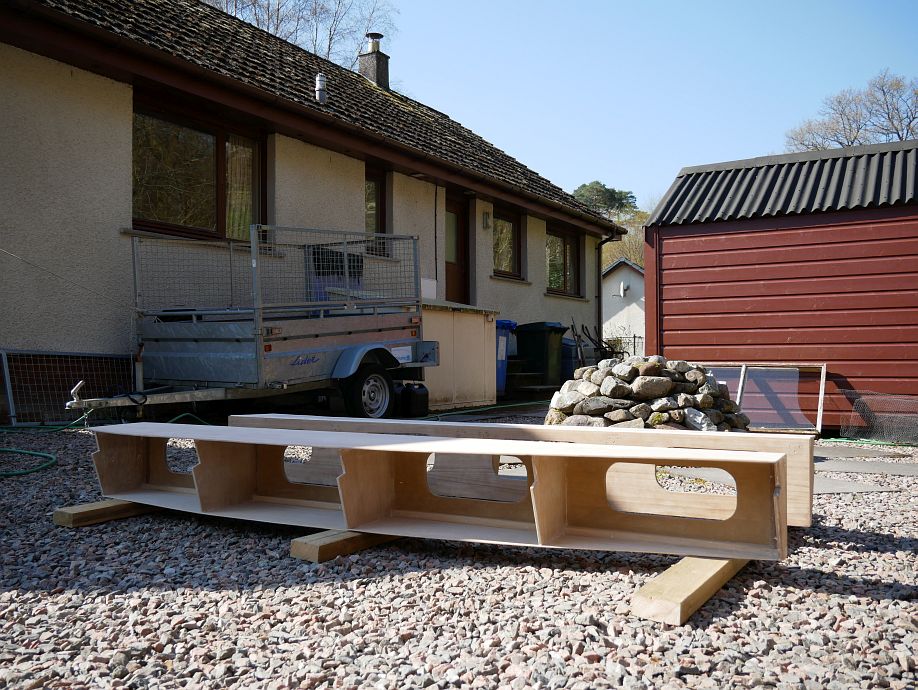
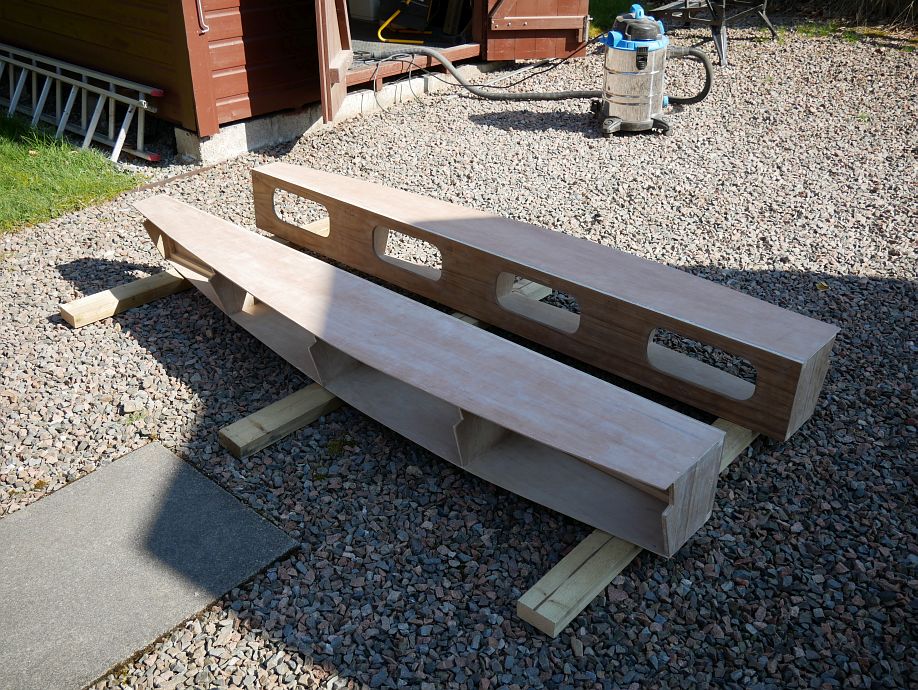
So I was able to get most of the surfaces epoxy-coated like all the other bunk tops etc., leaving the teak-faced fronts (which show when the folding sections hinge up for access to the lockers within) for further sanding and varnishing. And here they are just coated with wee reminders that (at that stage) I’d forgotten to round off two corners I meant to do for a revised fit:
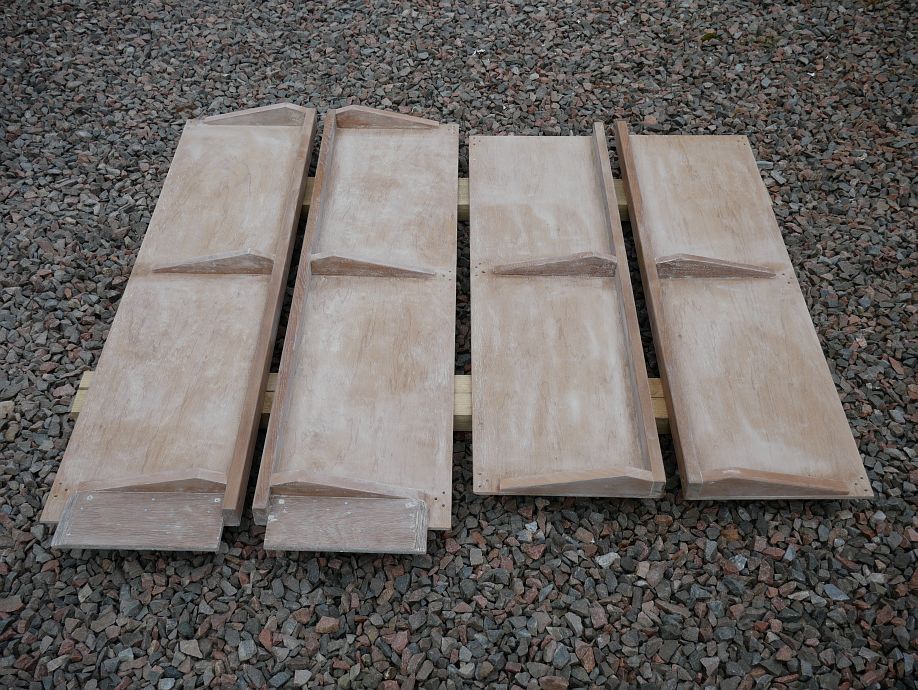
So that was the bases, but the folding sections still needed stripping, which was fortunately much quicker and easier at a single day’s work rather than a good four:

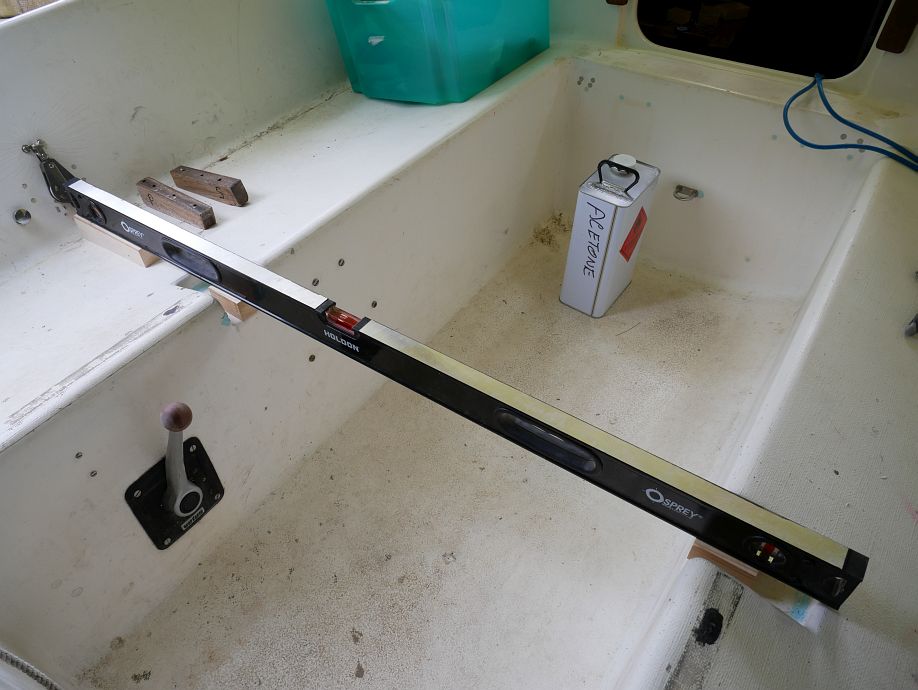
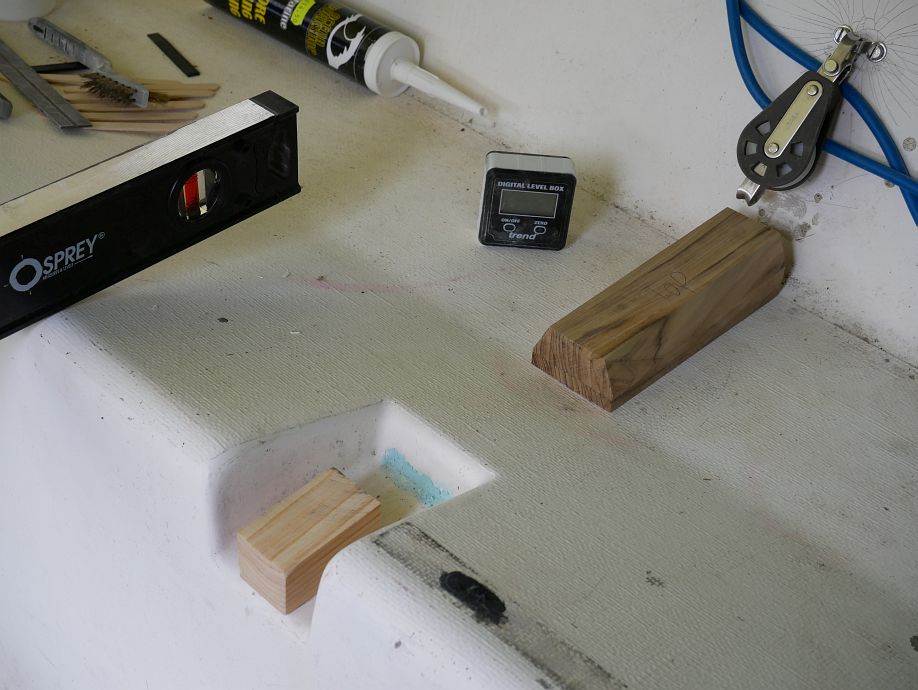
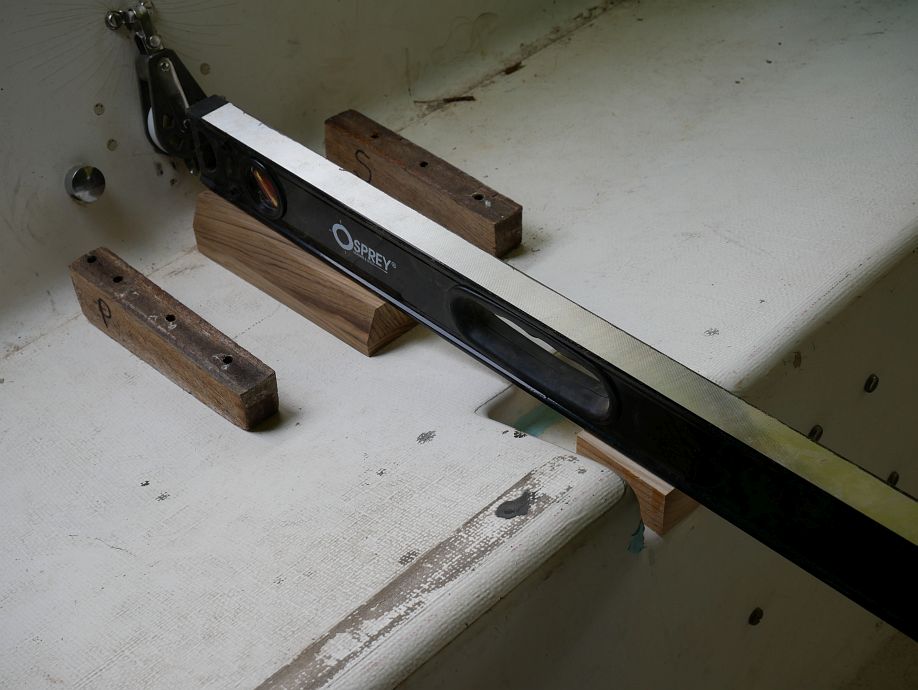
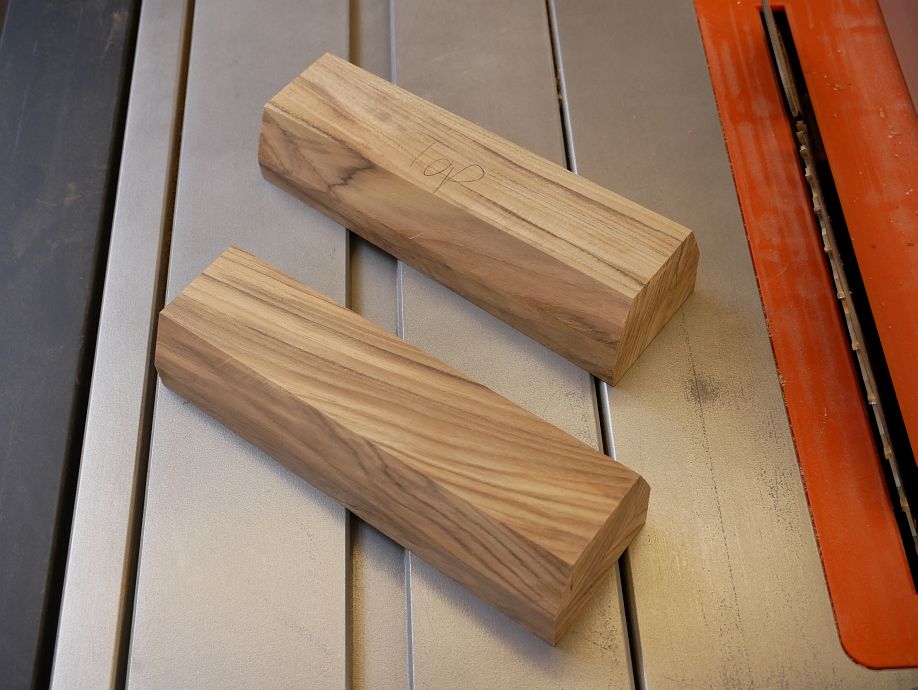
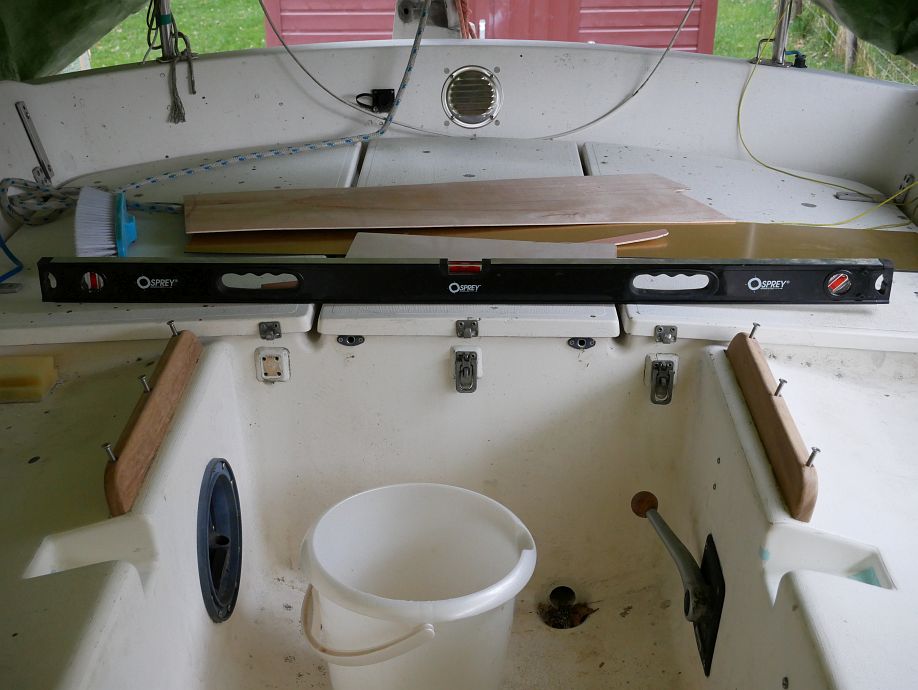
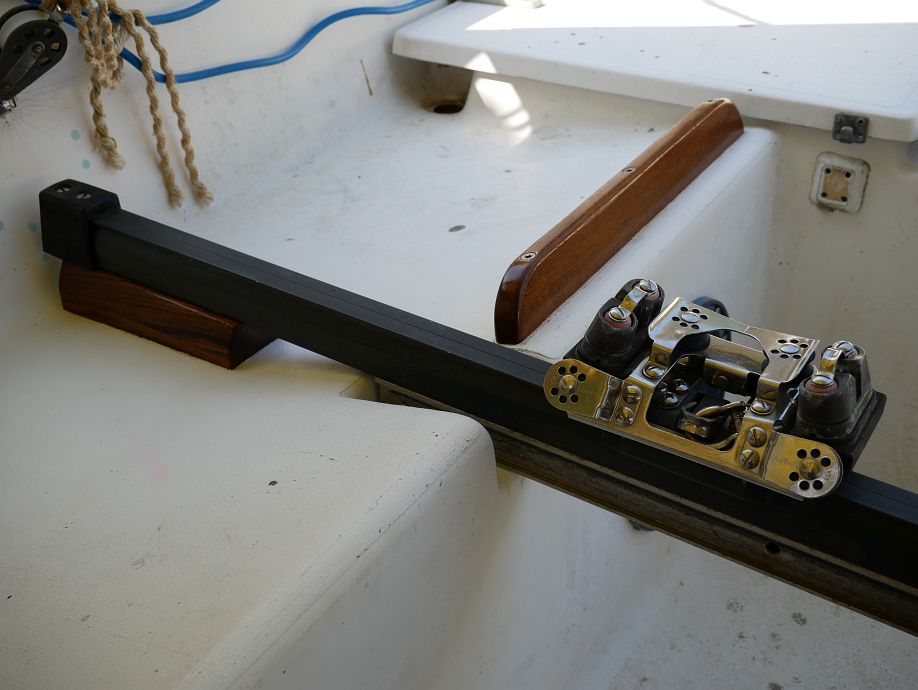
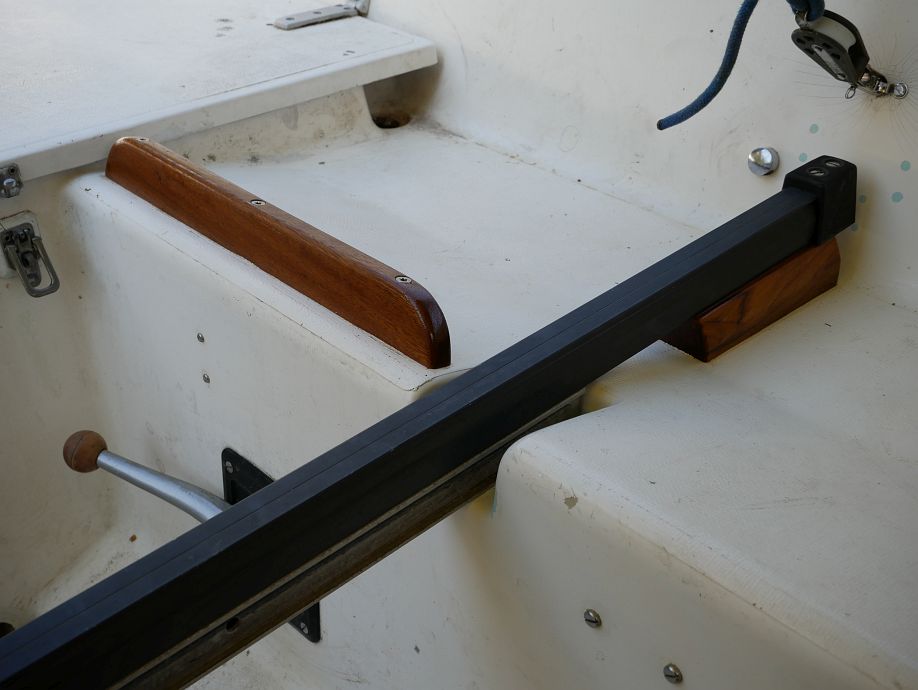
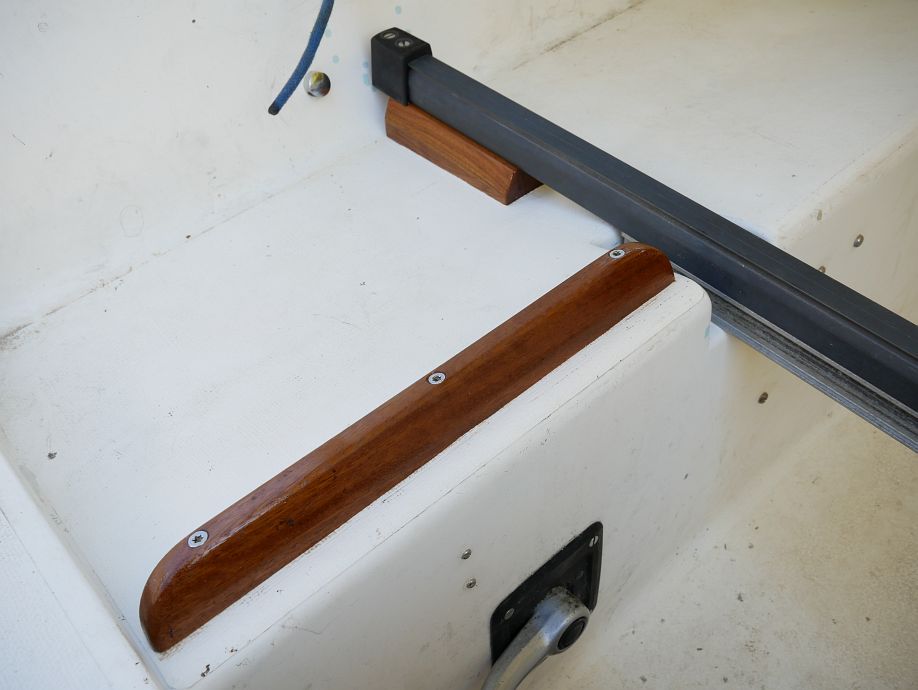
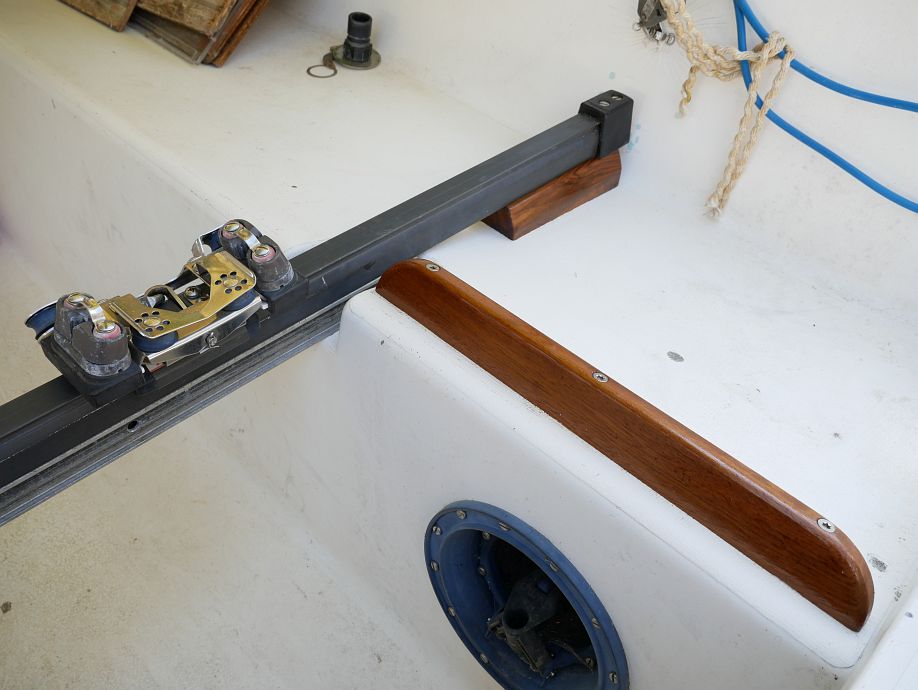
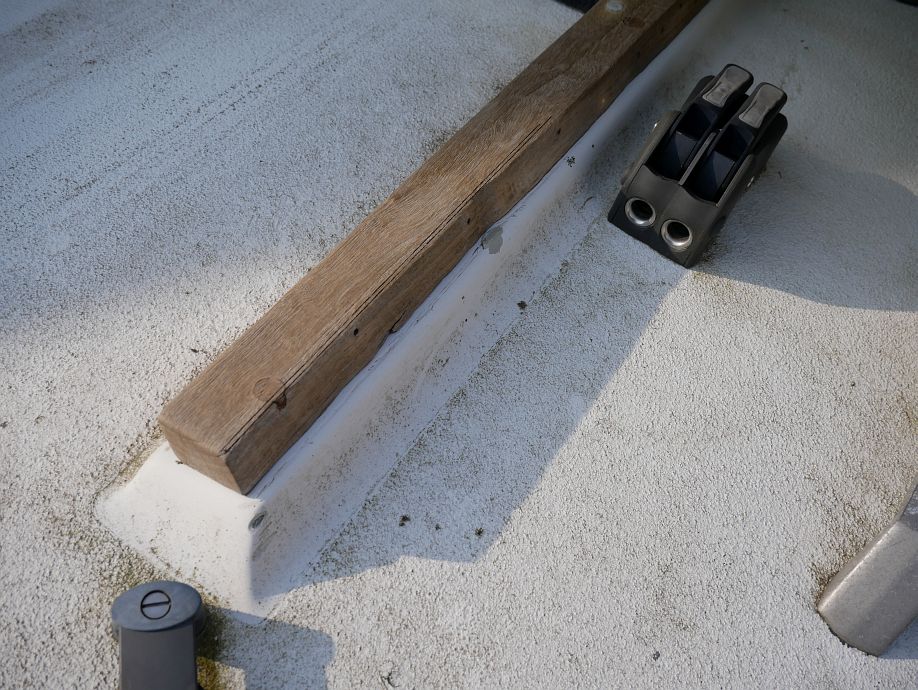
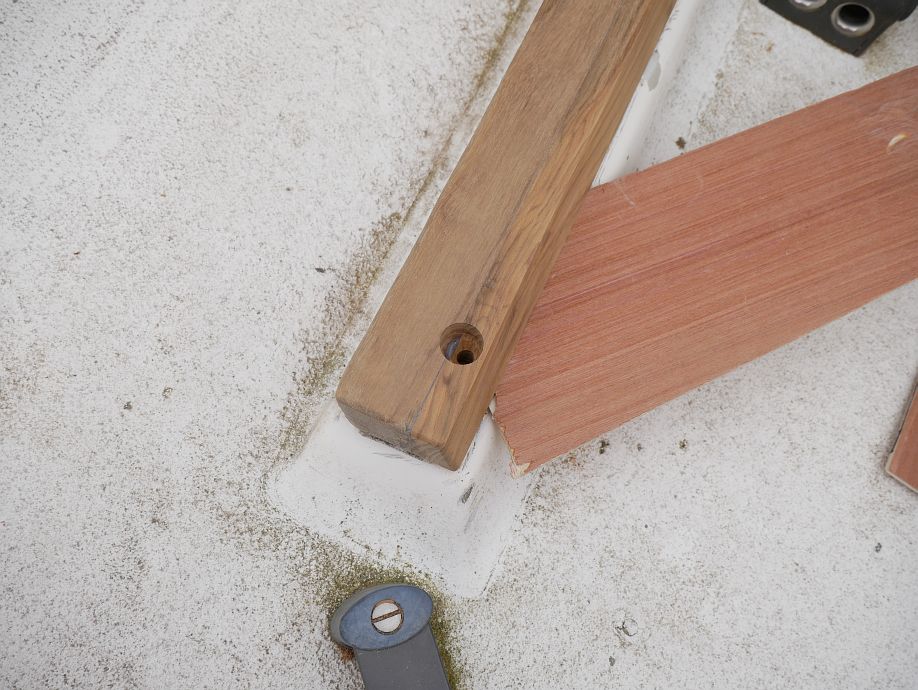
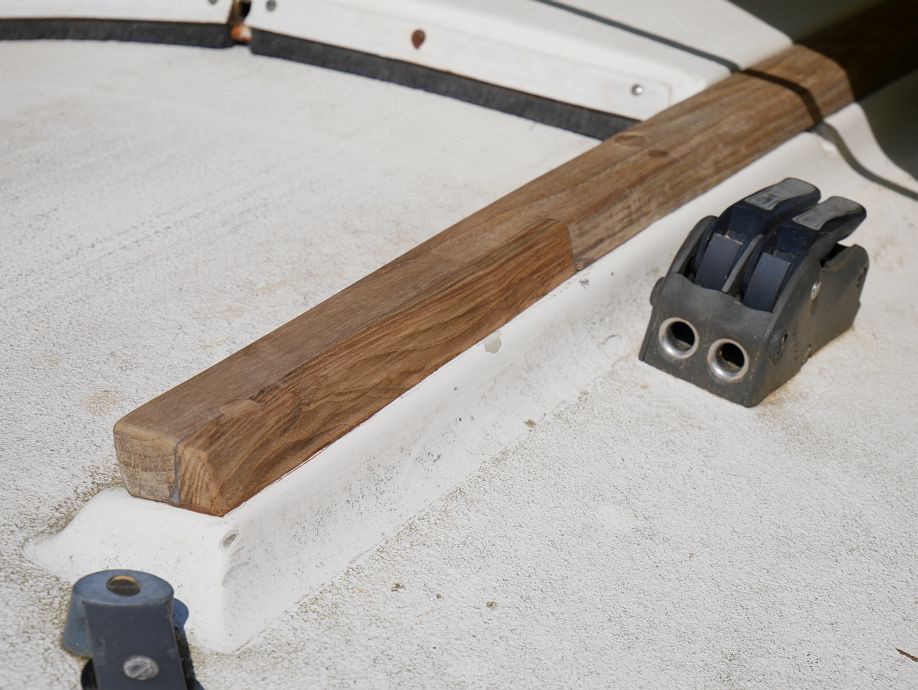
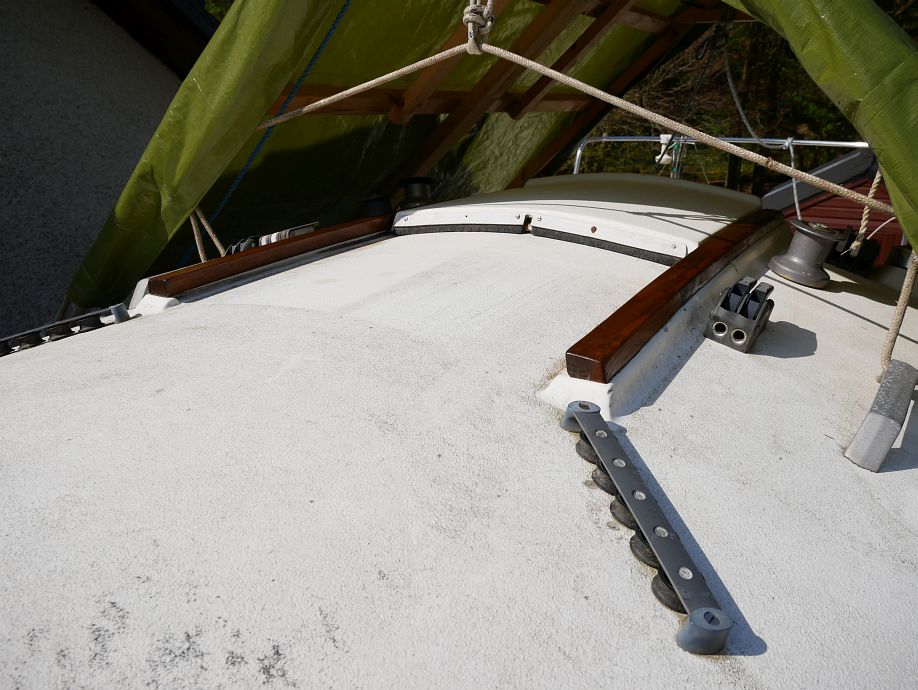
Next up we have some new wood parts I’ve made for the cockpit, with nice, big, teak traveller support blocks to replace decrepit undersized ones made of who-knows-what and iroko helmsman’s footrests to replace thin strips that provided support for nothing (all these things having been removed three years ago to stop the last of the serious deck leaks). So here you see some templating with the spirit level pretending to be the traveller, followed by test-fitting of the actual blocks as well as a dry-run for the footrests and a dining table Deks Olje job on the whole lot. The traveller blocks weren’t drilled yet because the holes for the old ones were all higgledy-piggledy and I was waiting to establish new positions along a line from Twig’s laser:
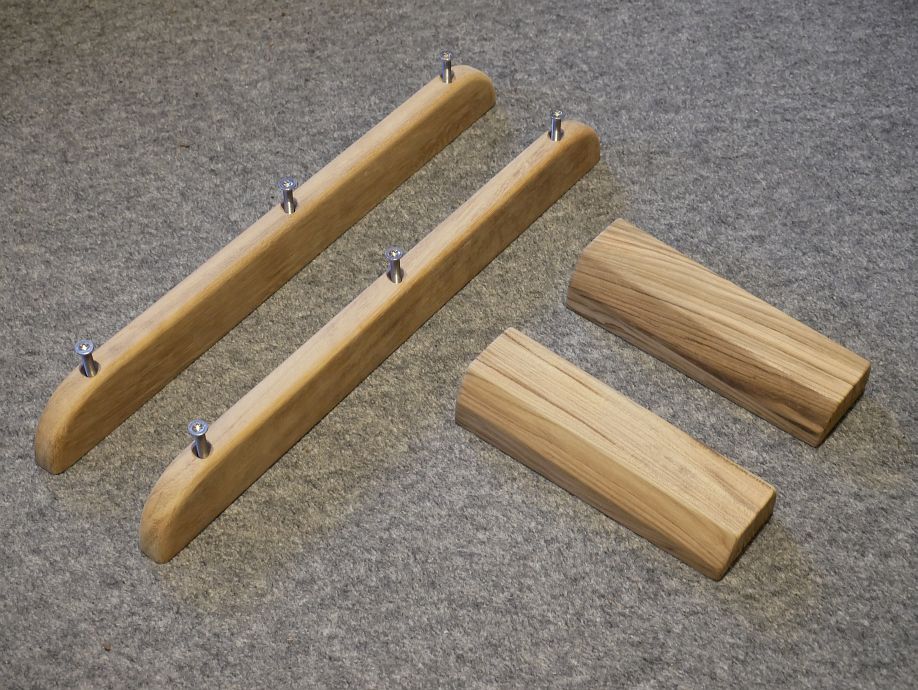
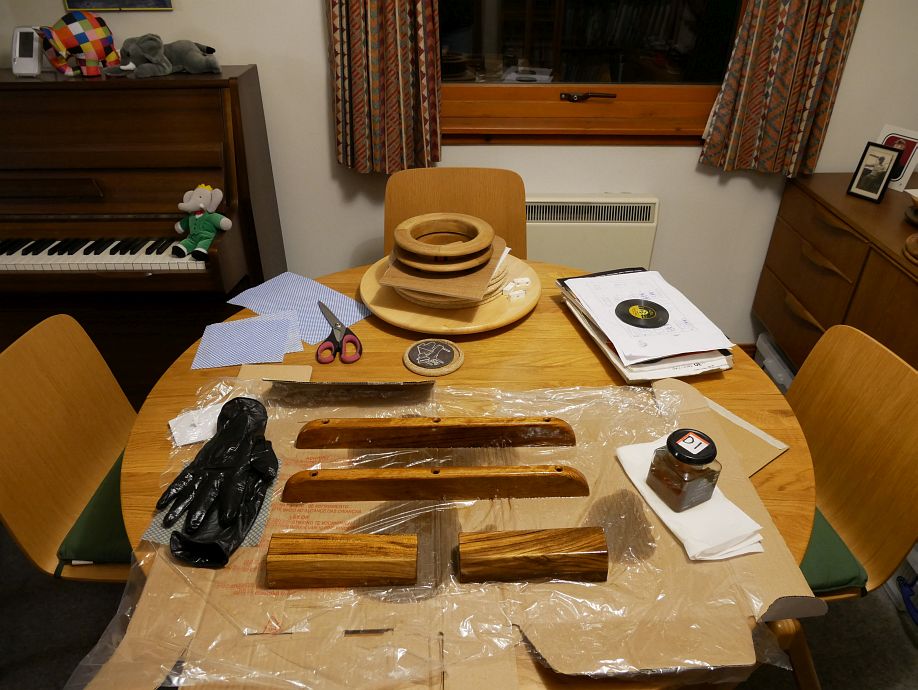
Now the new traveller blocks fitted beautifully with their new screw holes, but we ran into an unexpected problem with the footrests when the aft-most screws turned out to be disappearing vertically into the cockpit bulkhead and had to be set in epoxy with microfibres rather than done up with nuts. But it’s a good solid job either way, with the excess sealant being trimmed off and the new wood taking up some further oil after these photos were taken:
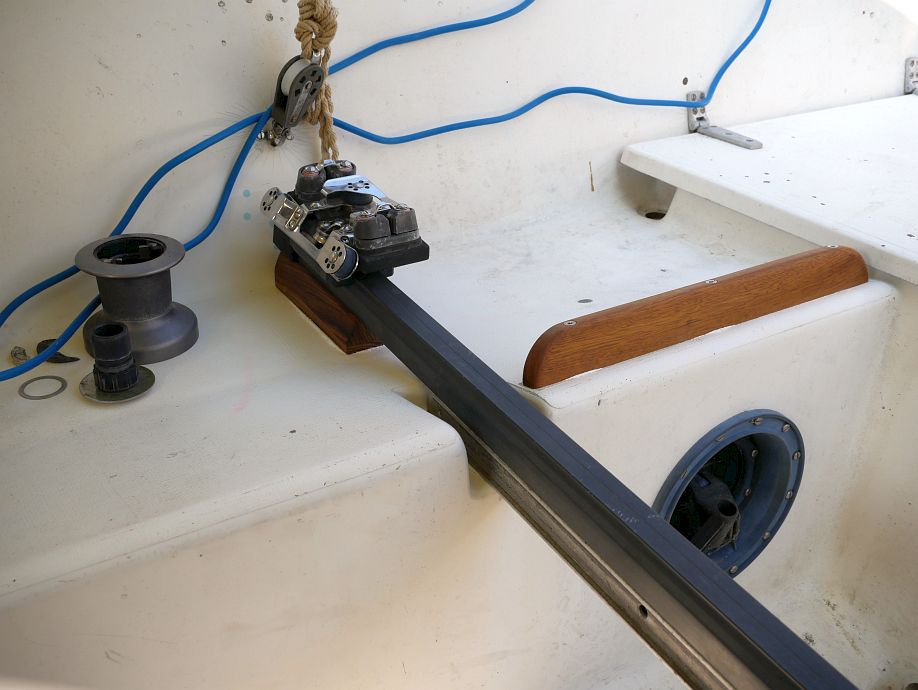
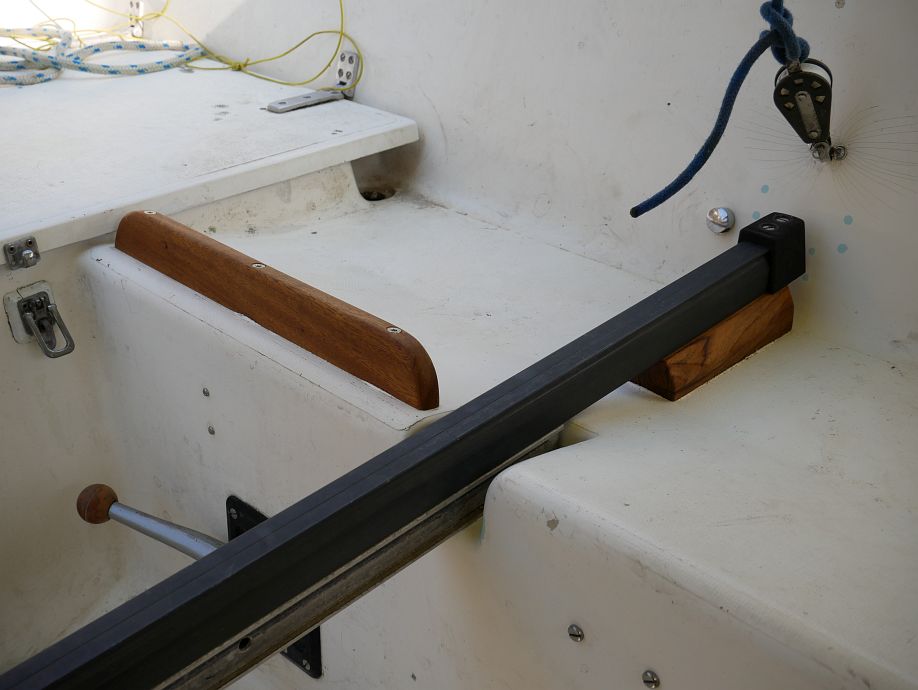
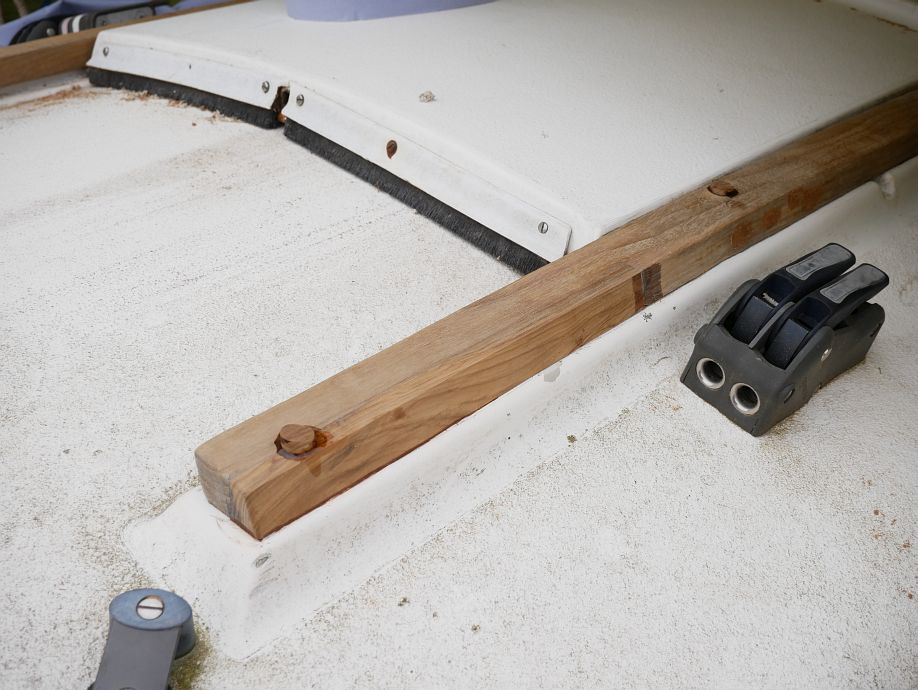
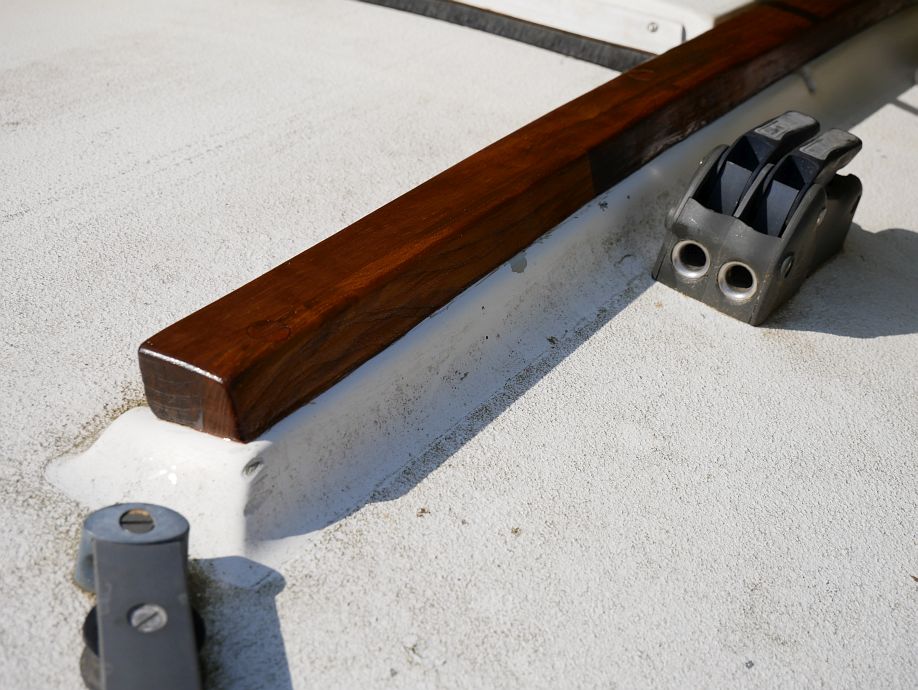
Two further things worth mentioning here are that the Lewmar 7 spinnaker winch you see out of place in the first pic above needs replacing because its centre stem has broken, and the gelcoat repairs to the recesses for the original short traveller supporting the longer one across its centre were made because it was marginally too long for its space before we rounded off its lower corners to prevent similar damage after refitting. But here are the new parts again with a fine satin sheen today:
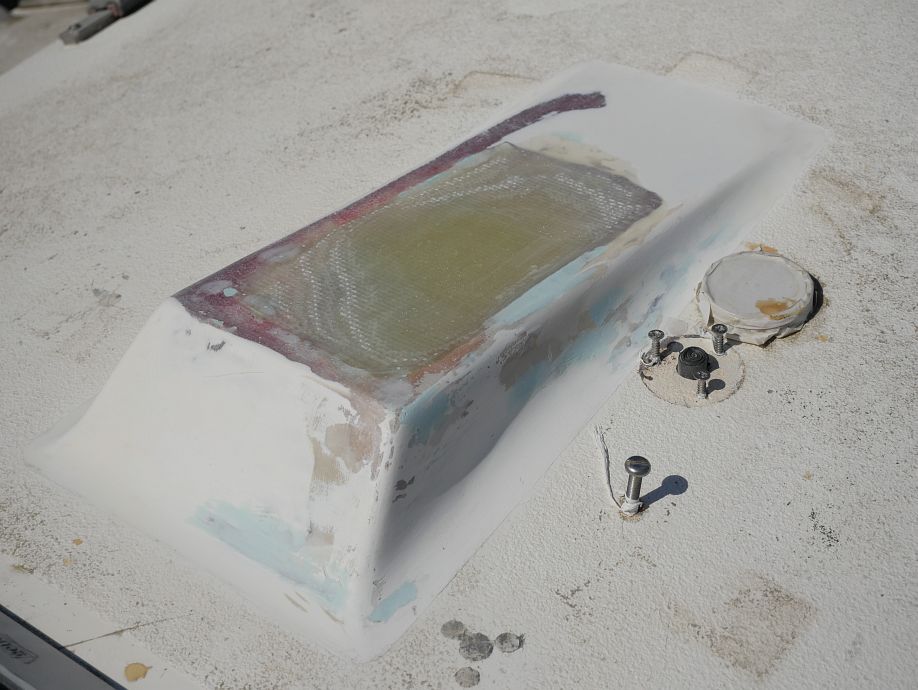
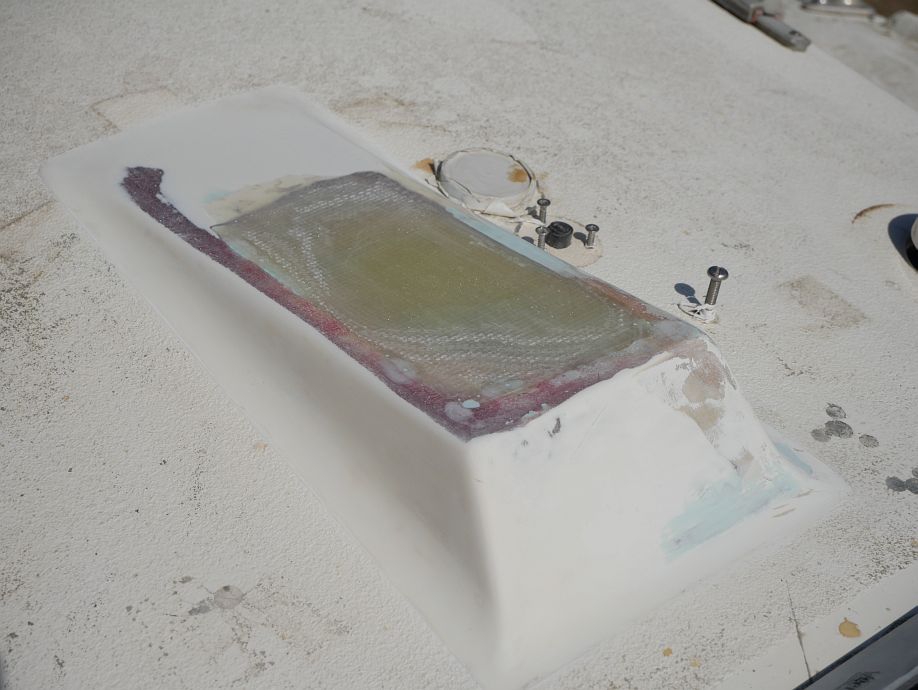
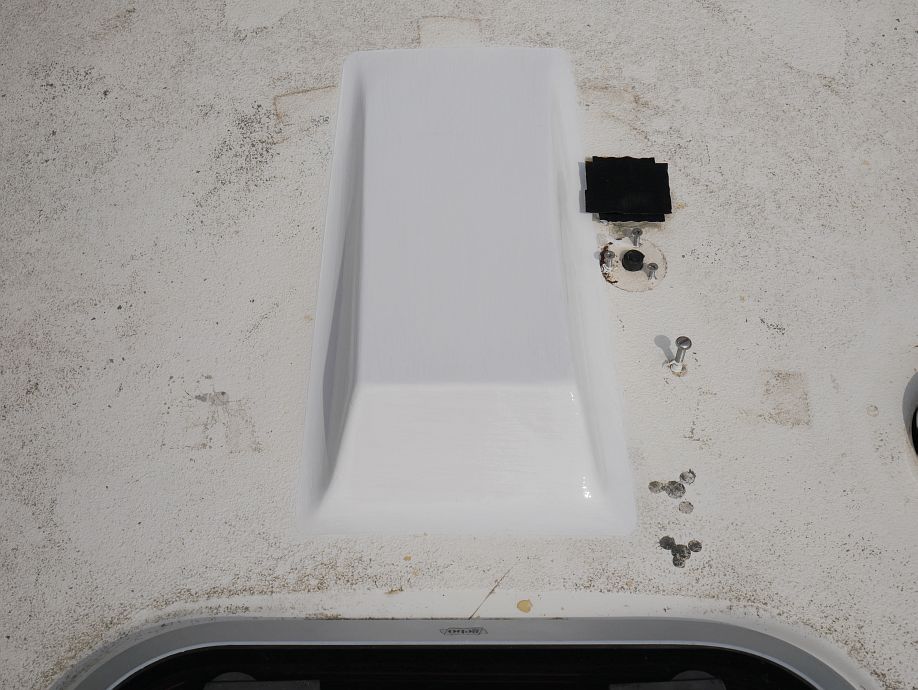
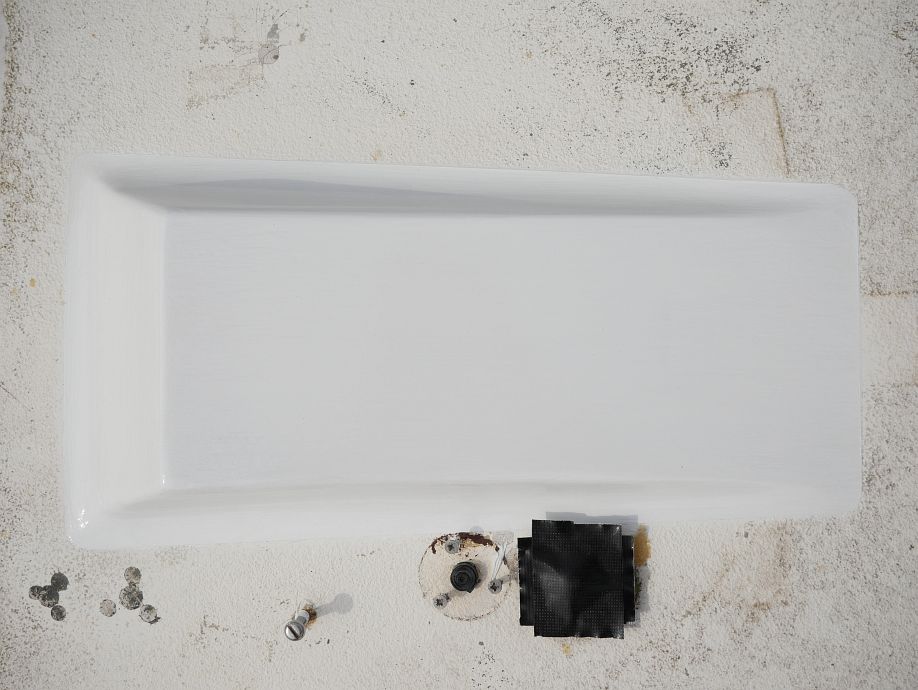
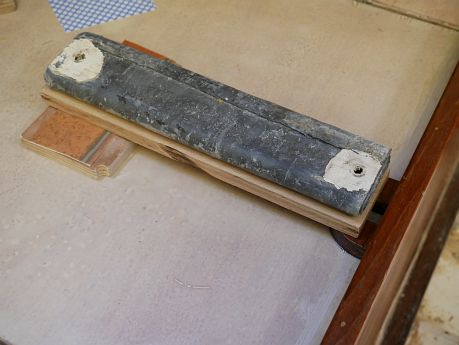
Some history of the mast step repair (waiting since the autumn for weather to finish) can be found in my 21 October blog, but here is the plinth flattened and finished at last. It took two further passes of epoxy and some hard graft with a large/long block, 60-grit paper, straight edge and level gauge to get it flat, but it’s now both flatter and closer to level across the boat than ever (hence the conscious sacrifice of some gelcoat) as well as completely solid inside:
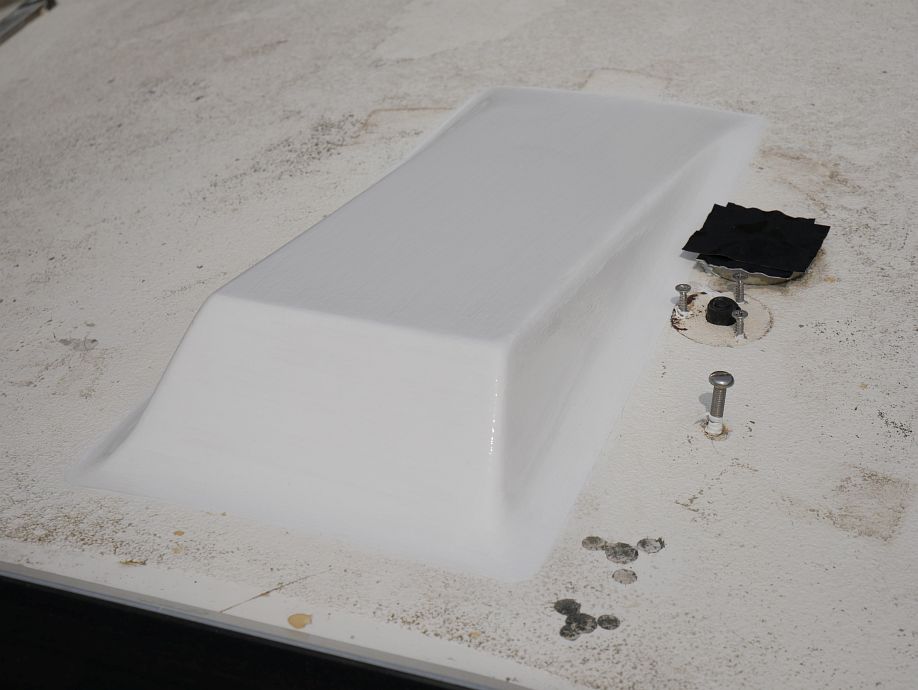
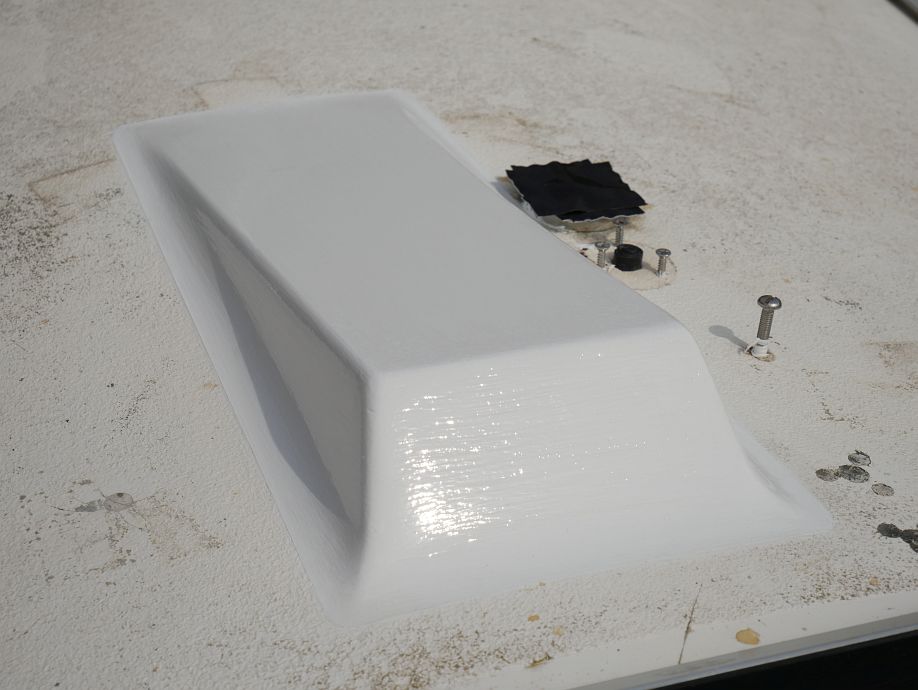
And of course it looks nice too now even if that’s technically less important:
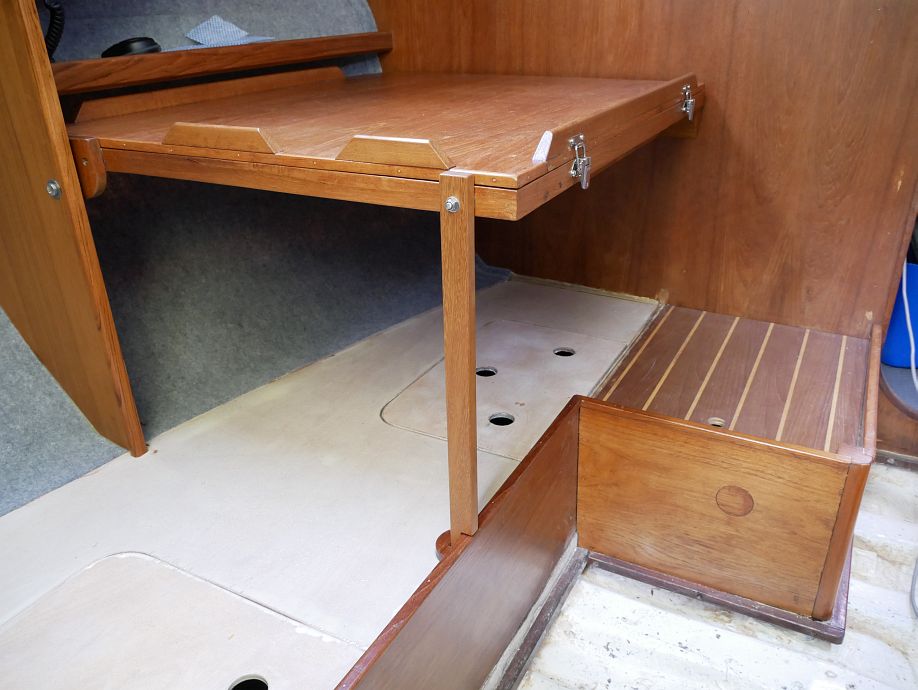
Finishing the nav. station/chart table area starts with two potential ‘banana skin’ jobs I’m pleased to get done, which were trimming/chamfering the lower shelf’s fiddle to improve clearance for the chart table lid and sticking trim up the main bulkhead corner:
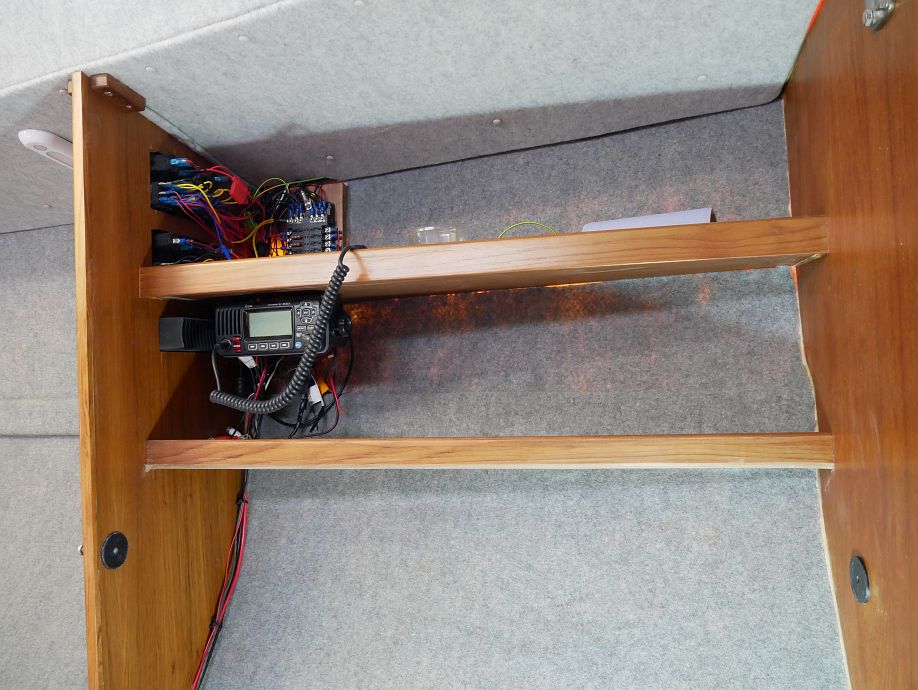
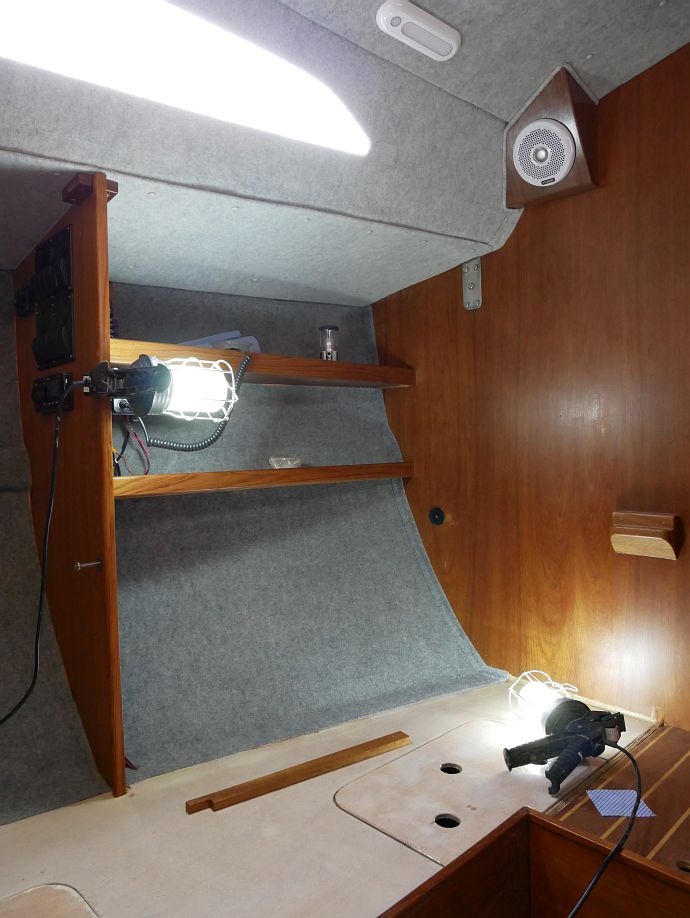
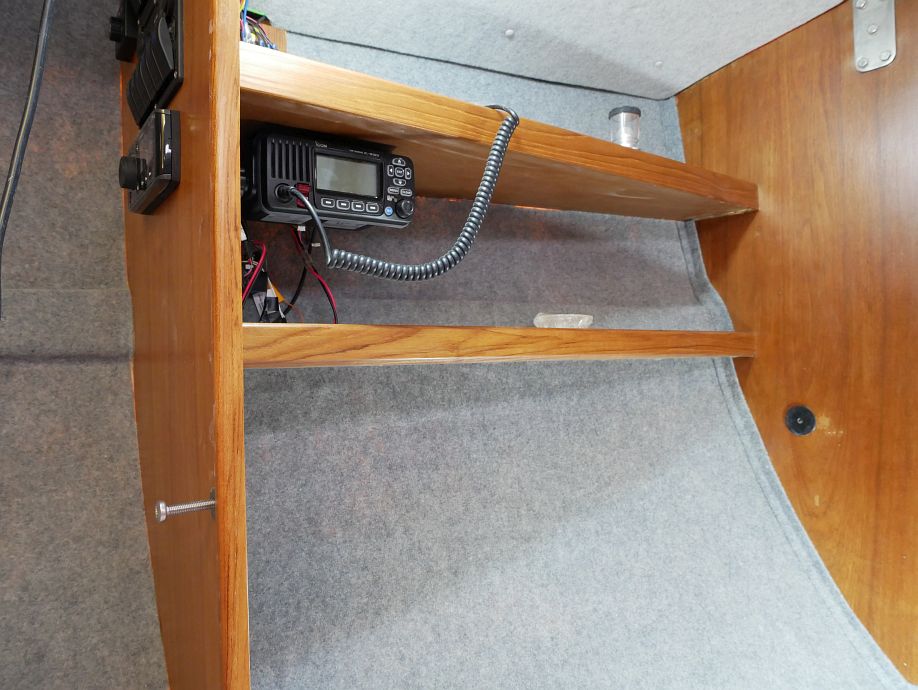
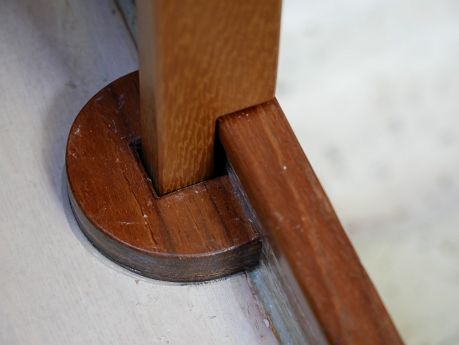
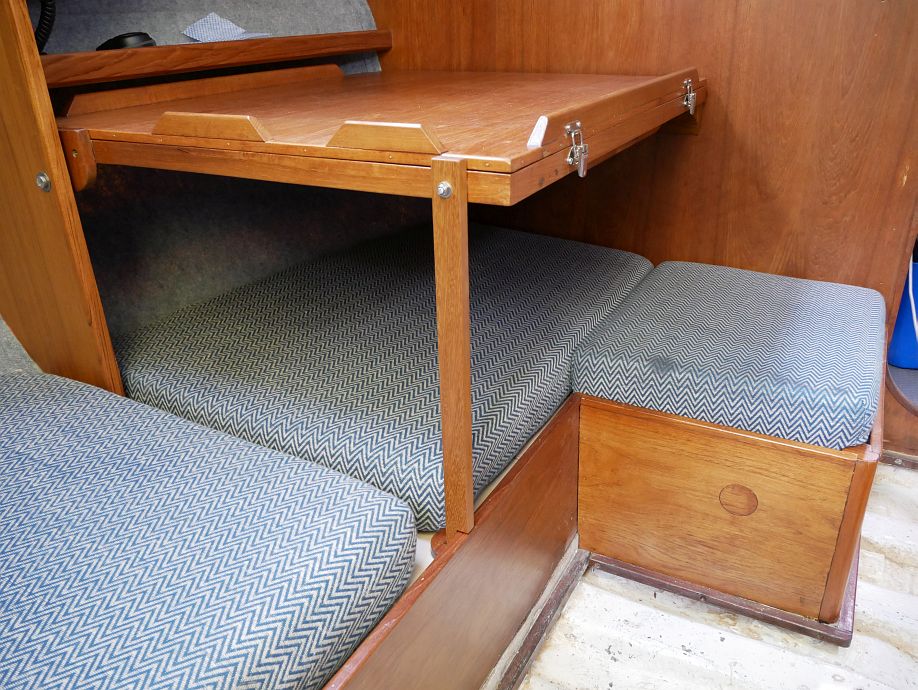
Next, we had to fit the table with its final spacers for me to bond in the socket for the chart table leg, which I’ve done where the leg wants to go most of the time despite (like so many things on boats!) not sitting perfectly square. So I took up the port-side cushions to see how they fitted with the leg there (NB you don’t actually lie over the gap between leg and bulkhead, but with your head to this side of it when the bit under the chart table’s just for sitting/lounging around) and, yes, I’ll admit to lying on the bunk and dreaming for a few minutes when that was done!
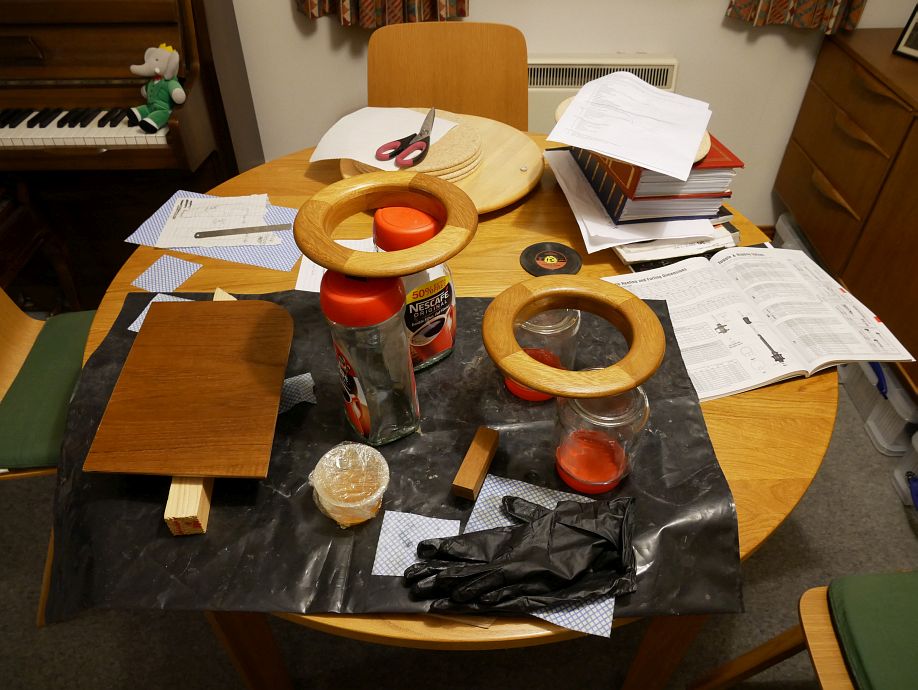
Having cleared the Deks Olje from the dining table, I was able to get back to varnishing small parts (it’s what dining tables are for, right?):
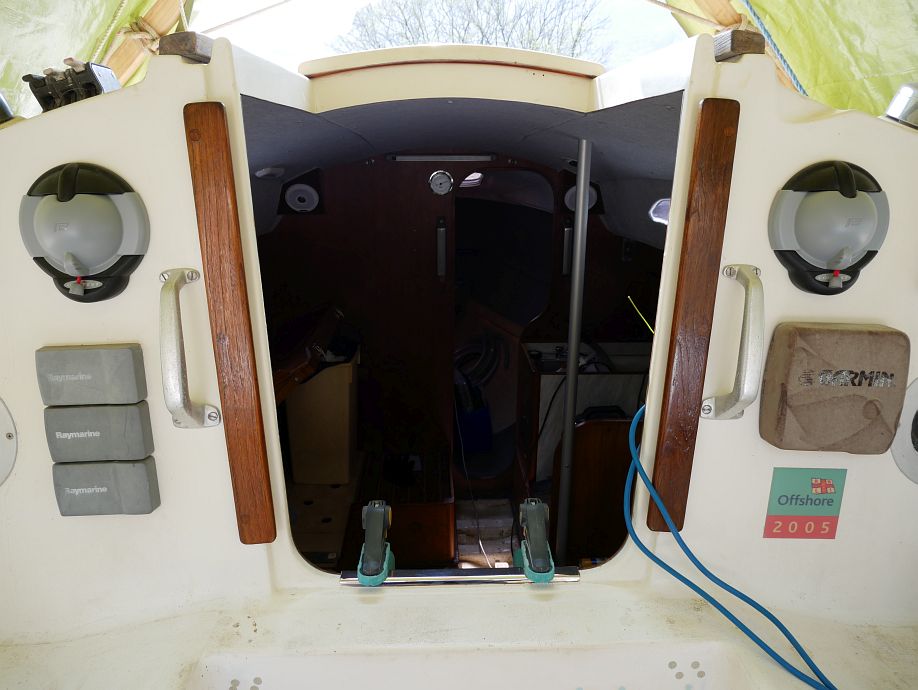
And we got my protective strip (made to my template by Mr Stainless) fitted to the companionway as well as the grab handles back on:
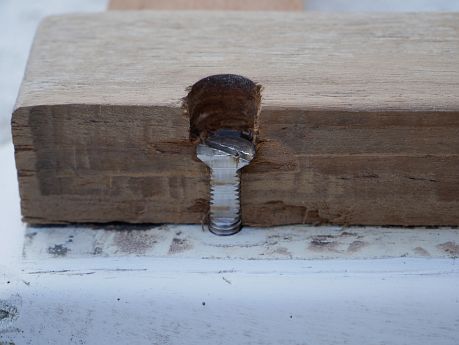
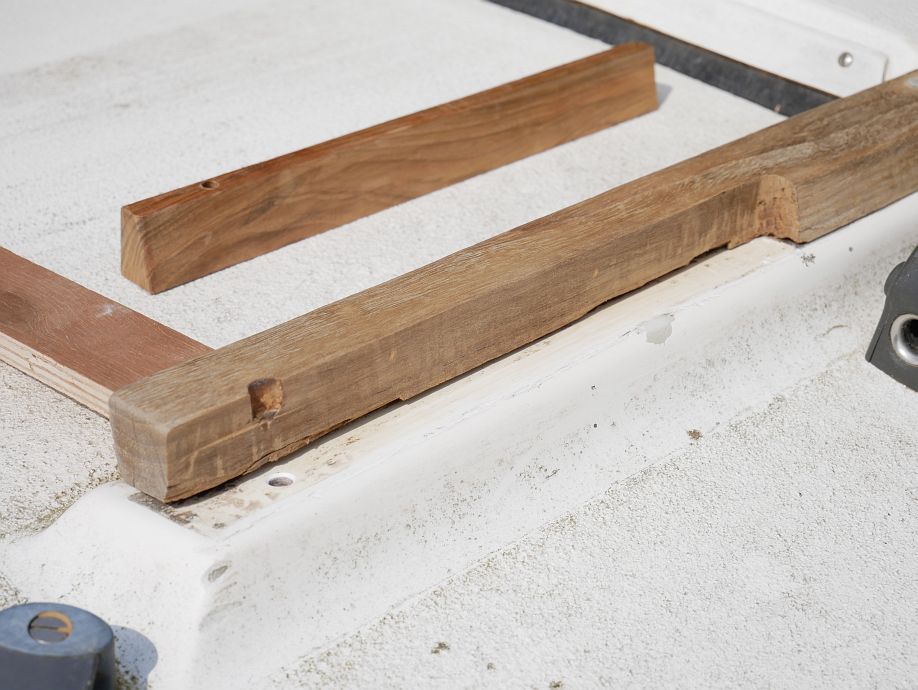
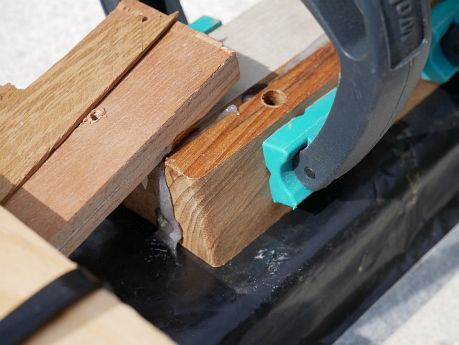
So why didn’t I get the hatch rails oiled when I did the washboard rails? Two reasons… needing drier conditions with their front ends not sheltered by my temporary roof, but more importantly having a long-desired repair (also requiring dry wood) to make to the port one first. This side had always been broken (possibly hacked off to accommodate the hatch garage Fly had when I bought her), and some heart-in-mouth moments ensued as I got started and had to cut out more than originally planned after routing into the screw well to the side of where its plug said it should be (note my two supposedly ‘safe’ and ‘unsafe’ pen lines!):
Still quite surprised a router can do this, but the screw head wasn’t exactly below the plug!
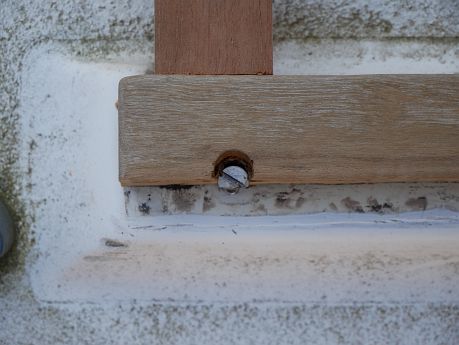
Here you see the new piece made and ready to glue when I work out how to hold everything where it should be, with this end of the existing rail better held down after springing up when the screw was removed. I’ve left the new piece tall deliberately because the top’s easy to take down later:
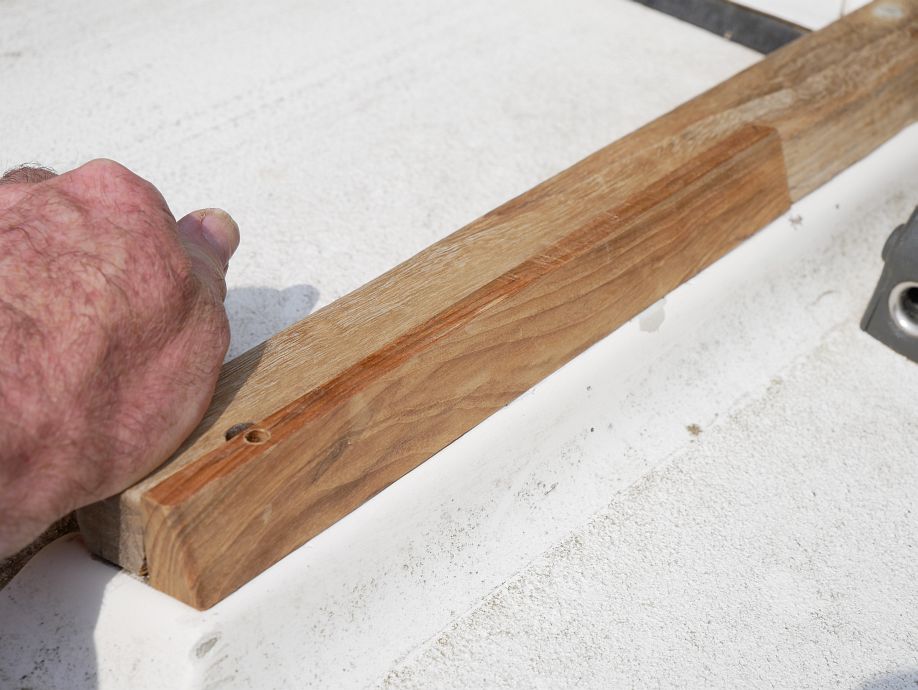
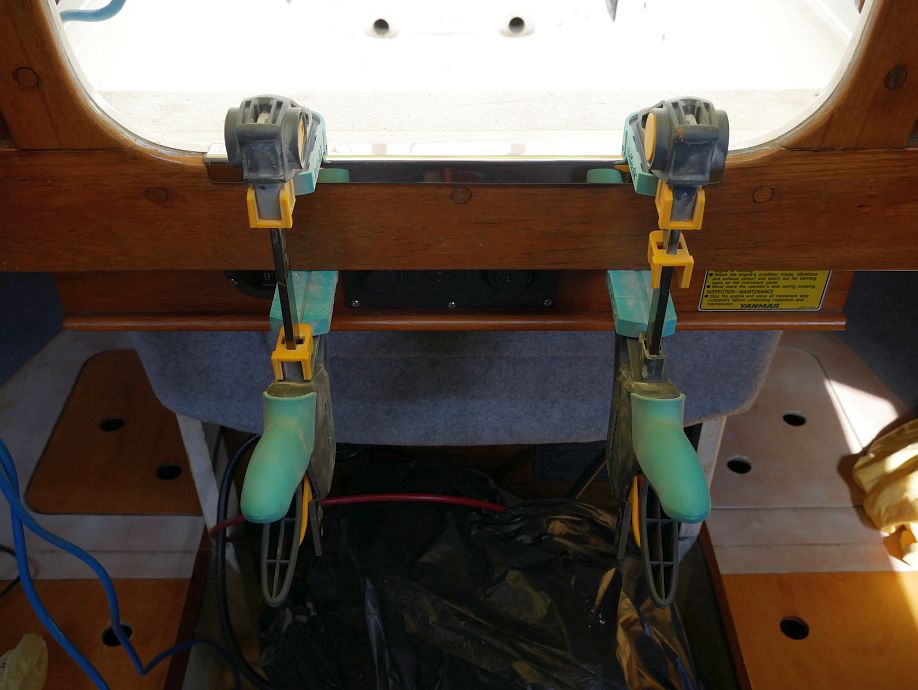
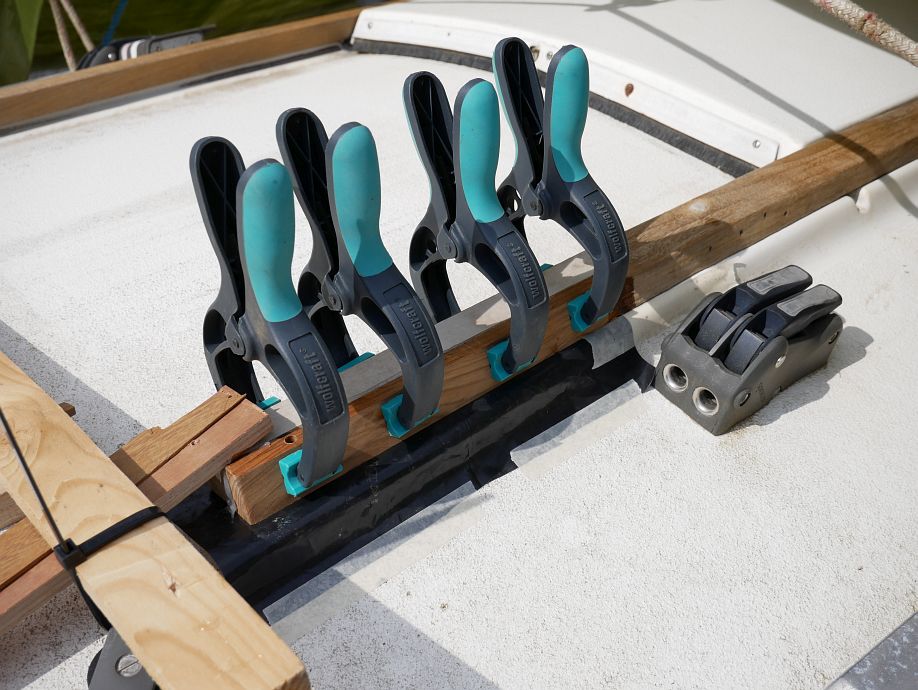
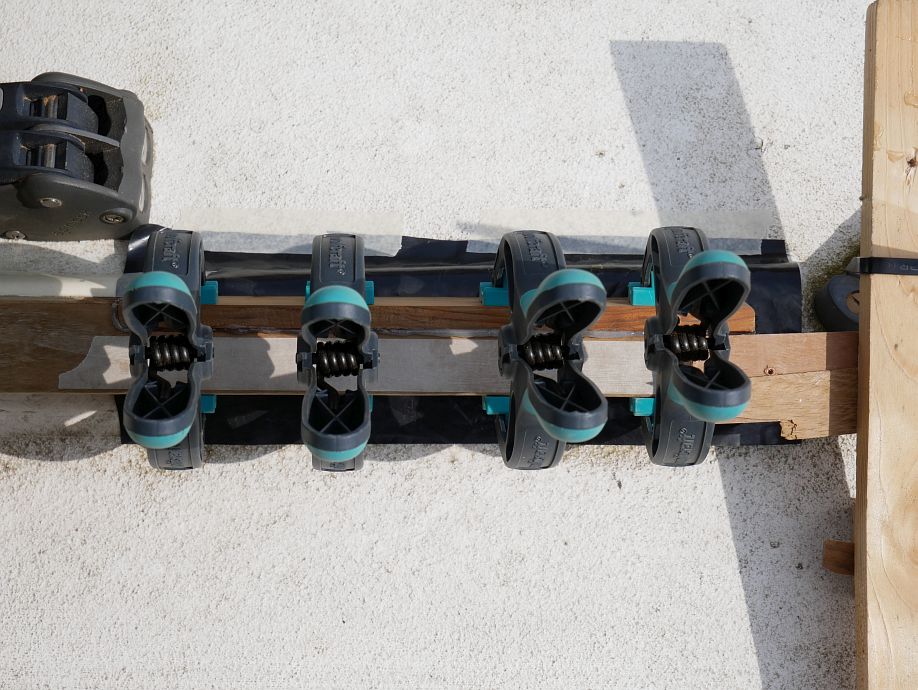
Here’s the glue-up after testing dry-fitting of my wedge-down and clamping methods. I left the countersinking/plug cutting for later so it couldn’t break out the side of the new piece before glue-up:
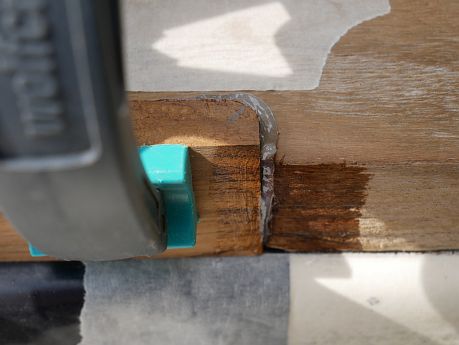
Two days later, a satisfying result is revealed with some shaping/sanding still to be done down the outside. The new plug’s offset to clear the edge of the rail and cover the old hole, and the second plug further along replaces the ugly grey filler we discovered to be covering a historic hole drilled in the wrong place!
So here’s the final shaping and multiple coats of Deks Olje done today… can’t totally disguise the repair, but it’s structurally sound, prettier than it was, and a satisfying improvement overall:

To finish by summing up other unphotographed happenings, the mast and boom sheaves all turn, the halyards etc. are clean, we’ve started servicing the winches and are also thinking about the trailer. There’s external cleaning, polishing and painting (mostly antifouling) to be done, but it’s starting to feel like a regular annual fit-out (remember those?) with that familiar anticipatory feeling somewhat magnified 14 years since it last happened! :-)
Forgot to say we’ve also got the new cabin sole templated with offsets from the old one to improve the fit.
Comment by admin — 22 April 2019 @ 9:06 pm