


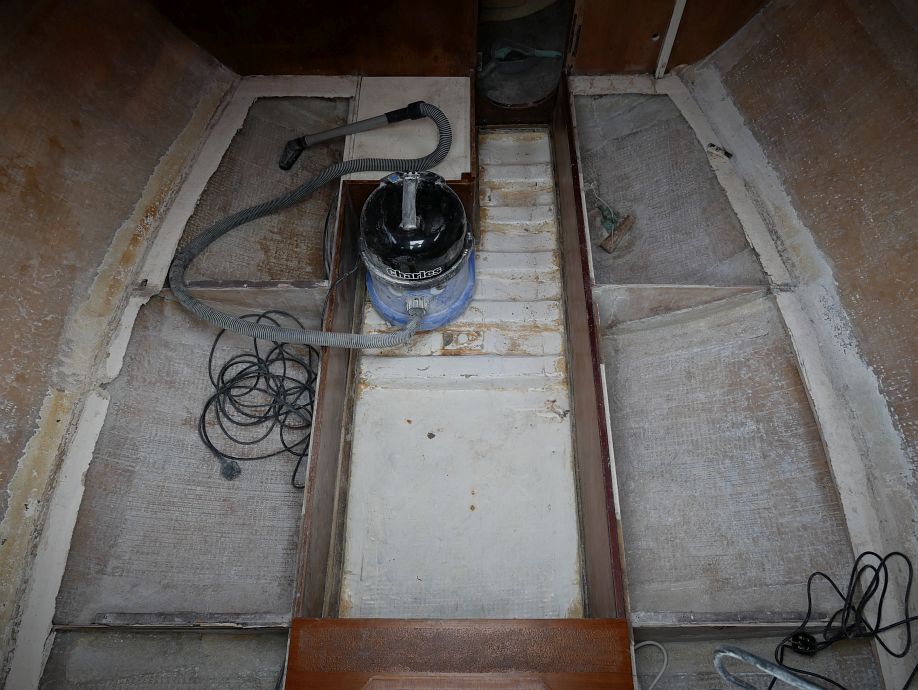
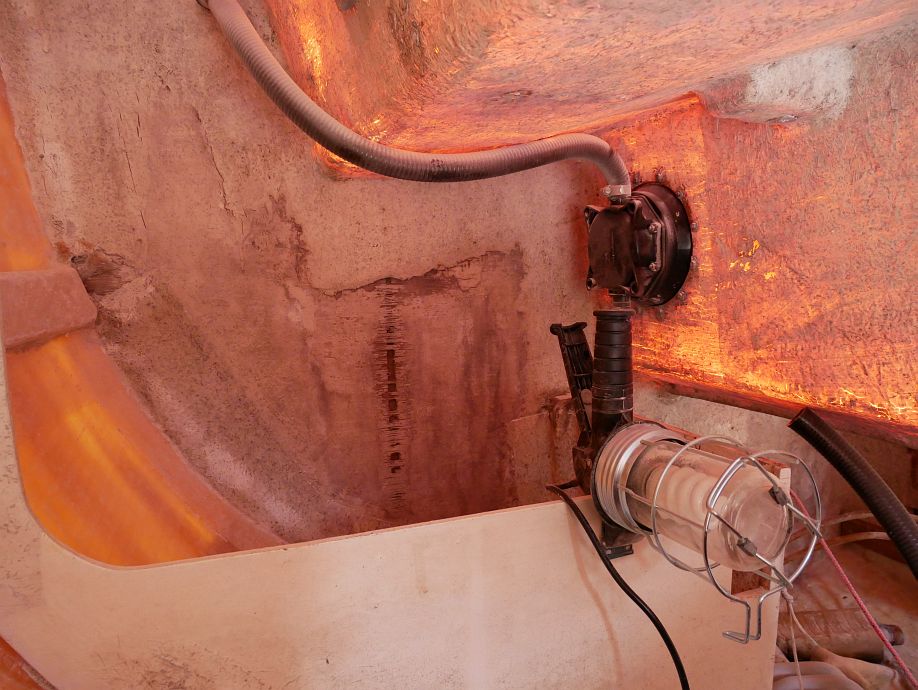
Fly’s plywood main bunk tops were always problematic, and I know I’ve repaired the port one at least four times because I sent an email (subject line ‘Deja vu’) with photos to Twig Olsen and my dad in June 2003 saying ‘This is the fourth time I’ve tried to patch up this bunk top and I swear it’s the last!’ So, despite the discovery of the major water damage that finally finished them off in 2009 being initially devastating, something was going to need doing sometime anyway when they’re part of the boat’s structure. So we gutted the main cabin in 2011 to get at them properly and cut most of them out leaving just a web along the hull sides to remove at the time of replacement, but still wanted to take this once-in-the-boat’s-life opportunity to strip the flaking, and quite unnecessary, white paint from below them and flow-coat the hull surfaces (as done to the bilge when we installed the inboard) instead. But then a further setback as a second major water incident hit my sleeping (neglected!) boat while the windows were still out but supposedly covered, with a bad cockpit leak also contributing to further damage that nearly did for the little under-bunk dividing bulkheads as well (the two aft ones are significantly delaminated but fortunately still repairable).
Now the boat’s been properly dry since Twig fitted the new windows and I fixed the cockpit leak last year, and serious repair work should have started but for my June 2016 shed fire completely changing the course of my summer, indirectly leading to its replacement by not one but two sheds, with the larger one fitted out as a workshop and many, many hours spent digging trenches for power cables, building serious shelves and workbenches etc. So here we are at 2017, a year late (well, many years late, but a year later than my final serious intention to get the job done took hold!), with approximately 100 hours of solo summer paint stripping done over the past three weeks to bring things to the stage where Twig can come and start fixing things after West Highland Week. So why so long? Because that’s what it takes! When we did the bilge, we scraped most of it, but that’s not easy with all the dimples in the woven mat. So we tested some GRP-safe paint stripper (Interstrip) when Twig was here three Fridays ago, but that’s not easy either when it takes several applications to do the job and, not being able to pressure-wash it off inside the boat, sometimes seems 90% an exercise in redistributing half-softened paint! So I’ve finally gone with electric drills and (mainly nylon) brushes for all but the most awkward corners (acute angles), which gets the job done but is still tortuously slow when careless continued contact could easily take more than paint, and have now learned much about which brushes to use where (and at what rotation speeds) to strip the paint while preserving both boat permanently and brushes as long as possible. And, yes, there’s an art to that last when mishandled nylon brushes can get reshaped, fused or worn out post-haste…

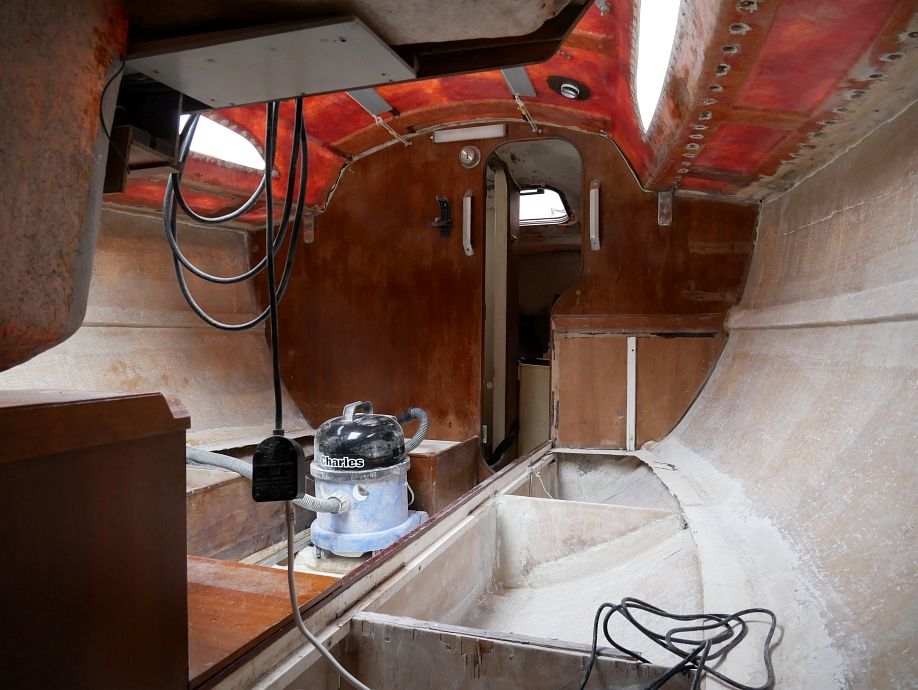
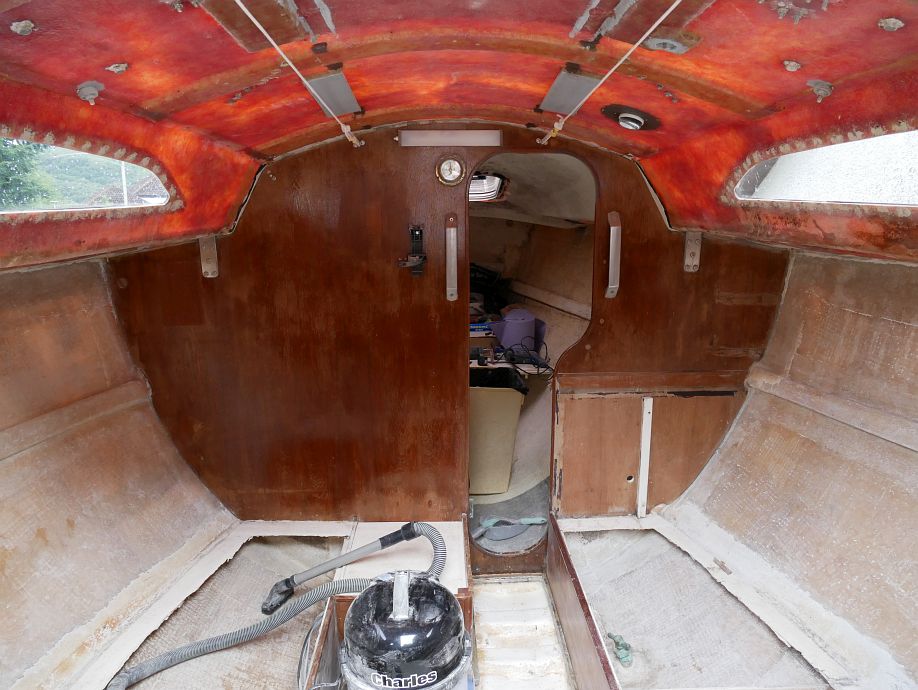
So why strip all the way to the deckhead as well as below the bunks when these surfaces are going to be covered by new lining material? Because the liner needs to stick, there was old glue on old paint and, if a thing’s worth doing…
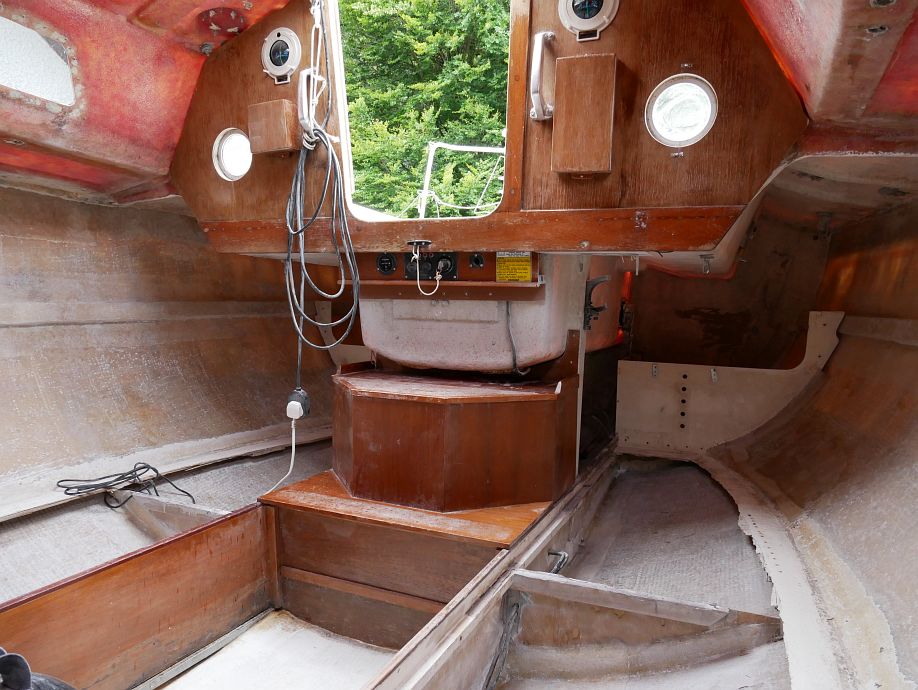
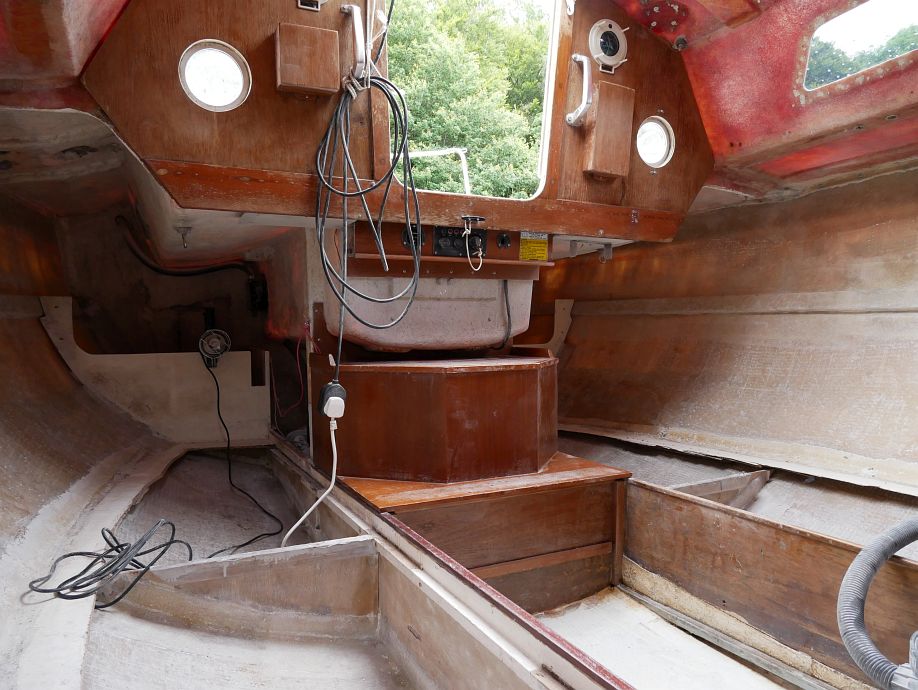
On which note, who knows where I’m going to find another 100 hours to strip back the forecabin, but at least that’s not holding up any comparable repair work. Though I did find something else yesterday that needs attention, which is a bad patch in the starboard main-cabin-to-cockpit bulkhead. Why it’s gone off I don’t know when it’s not in the area where collecting water ran riot elsewhere, and of course it’s another wee blow but, after an awful moment when my most delicate cup brush just dug into the plywood like a knife into butter and I thought ‘hell, the bulkhead’s rotten!’, I was quickly able to reevaluate it as localised, not full-thickness, damage that should be quite simple to fix.
Oh, and I took the pressure washer to the outside of the boat this morning, meaning 1. she’s looking a bit more loved again and 2. you can stand on the decks without that slimy ‘ice rink’ feeling. And I want to go sailing, but that’s still an autumn, winter and spring of hard work away! :-)
To add some of what I’ve learned about nylon brushes for drills…
Comment by admin — 3 August 2017 @ 11:49 am