


Yes, the subject’s ‘framing’, but let’s talk a little more about drainage first…
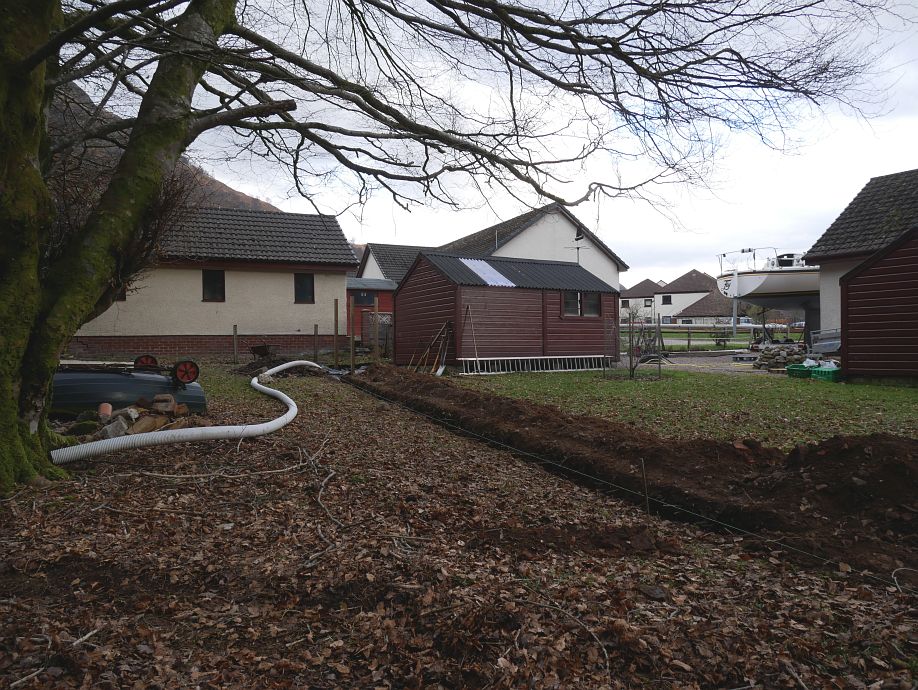
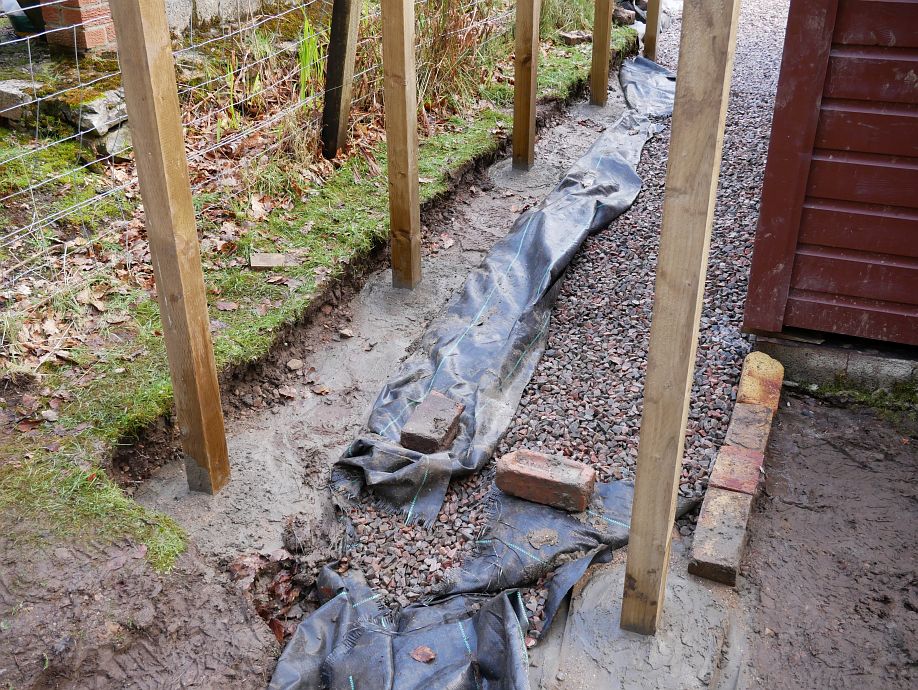
Sunday was a good day for digging and my materials weren’t coming till Tuesday, so of course I dug! There’s 11m of pipe beyond the ‘hippo pit’, so the drain is > 11m long, a shovel wide and as deep as the top of my wellies, which is to say 400mm (this depth chosen so there’s no uphill to get out of the pit, but handy to have a quick measurement system like wellies!):
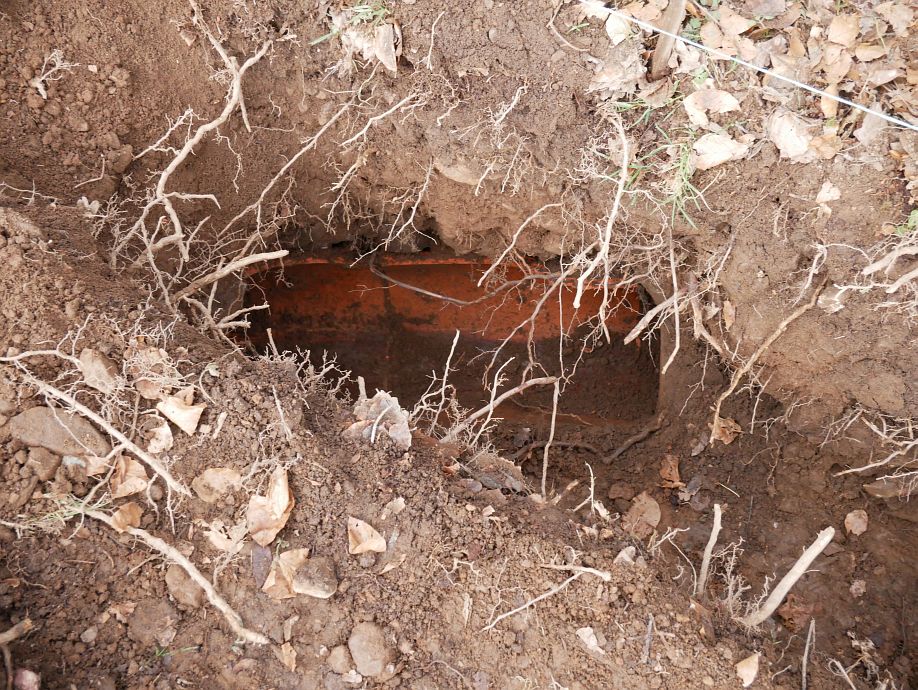
I broke into this ancient earthenware pipe (presumably an old field drain) at the bottom end of my trench. It’s about 10″ diameter with walls 3/4″ thick!
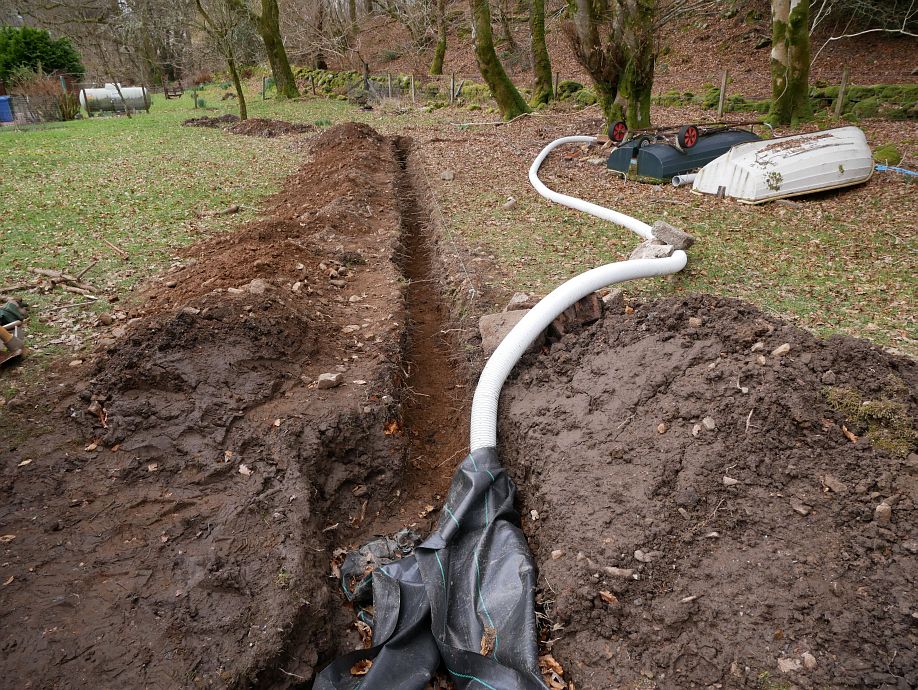
And here’s my drain again from the reverse direction. Since these photos were taken, the pipe’s gone into the trench but is currently still waiting to be buried in gravel:
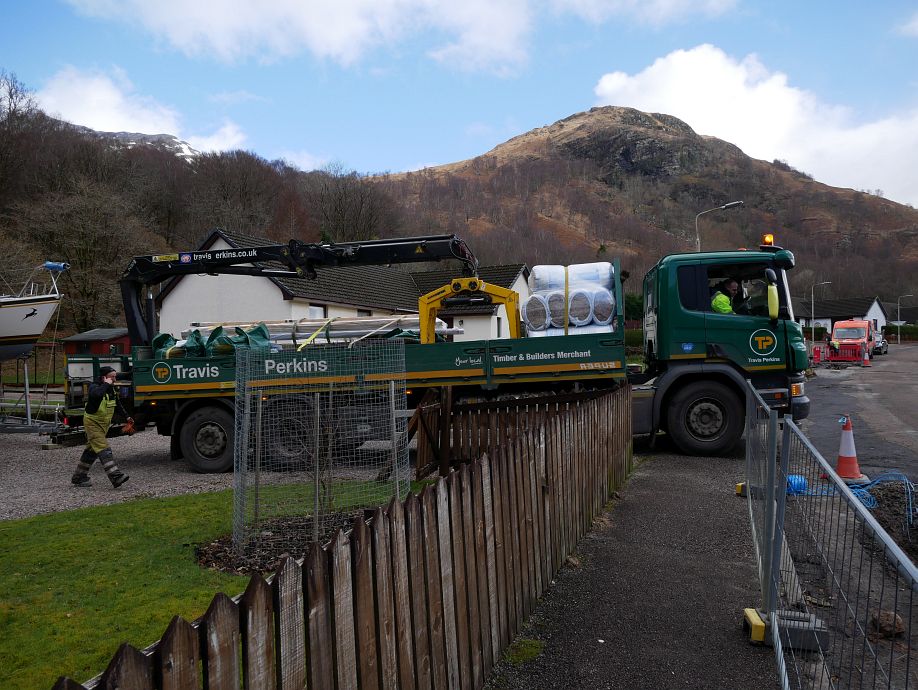
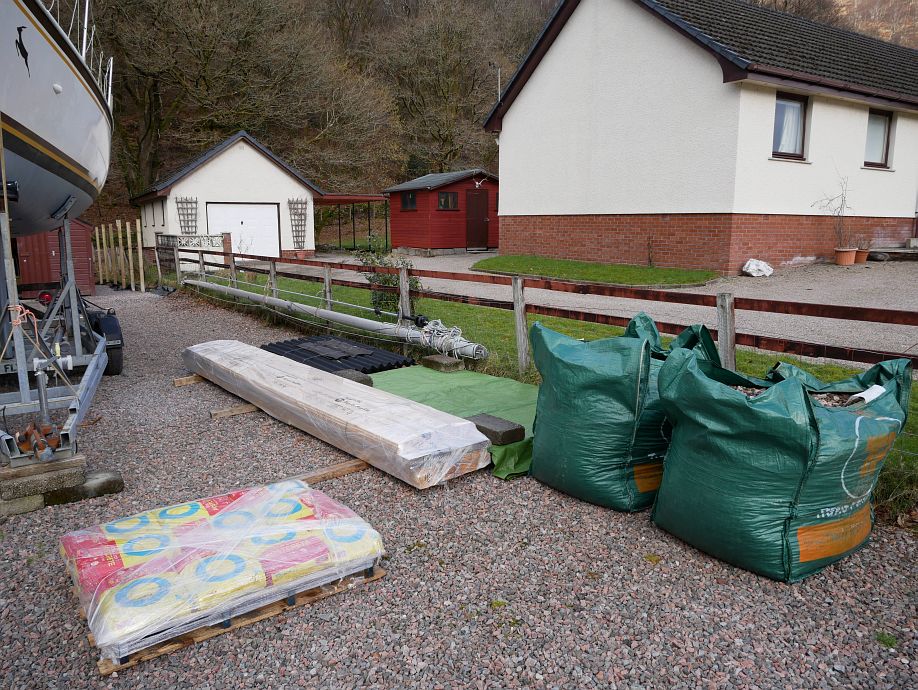
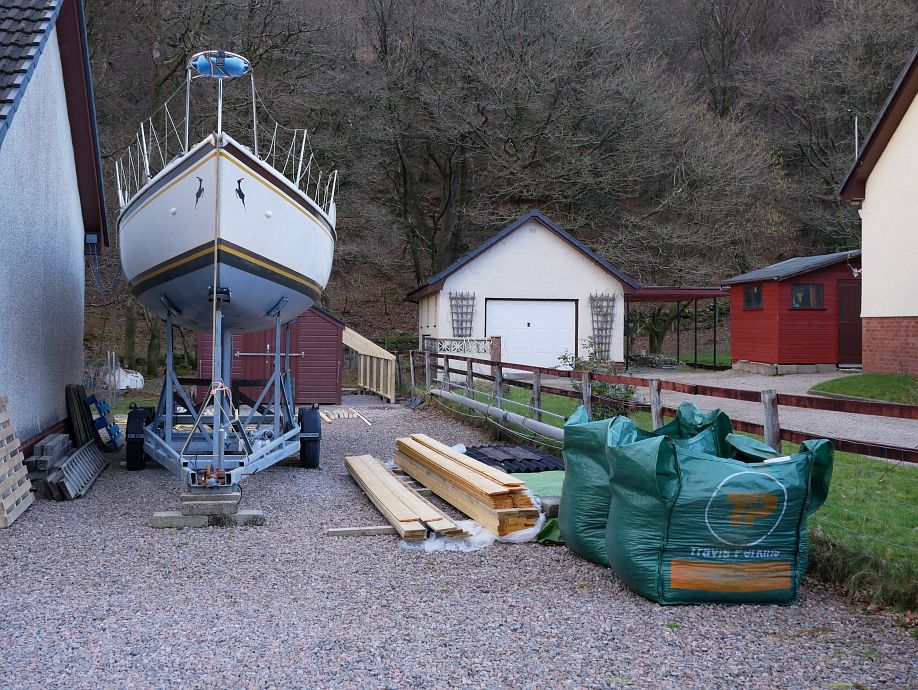
Here’s Travis Perkins bringing my stuff on Tuesday. No rear-wheel steering this time, but plenty of room from the uphill side. Of course the CLS for my framing is packed below the weatherboarding and sarking! The gravel is for the drain and the plywood (under the tarp) to build a lumber cart for my workshop as well as the kayak trolley gussets:
I got all the remaining post holes fully concreted and domed for drainage the same day:
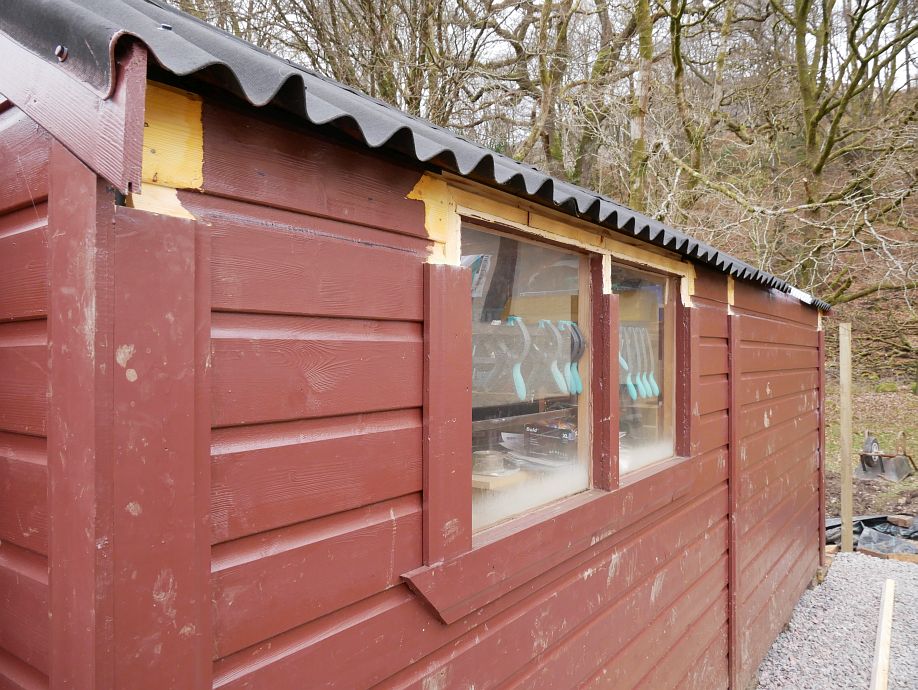
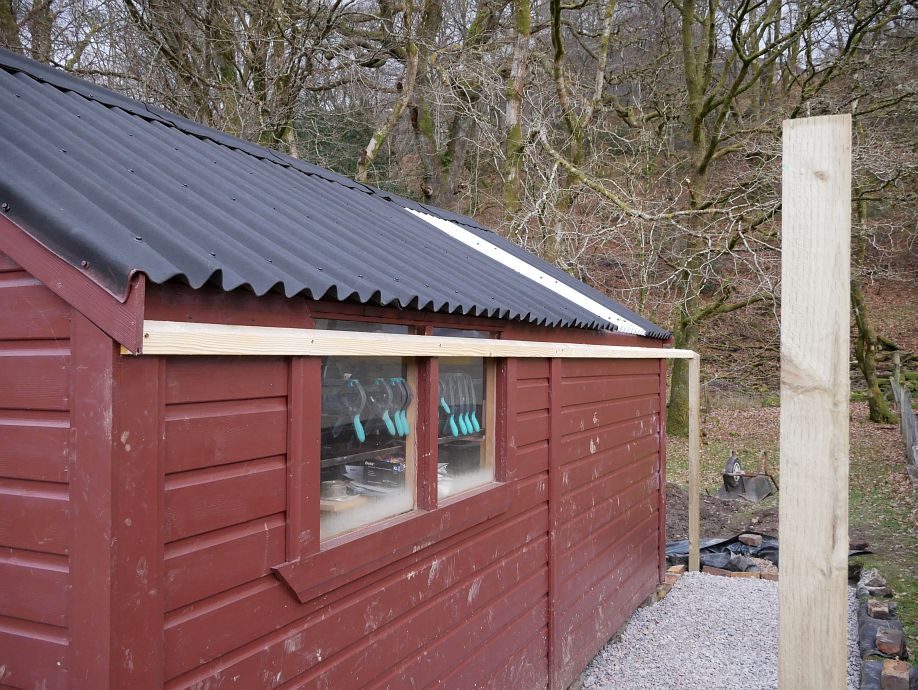
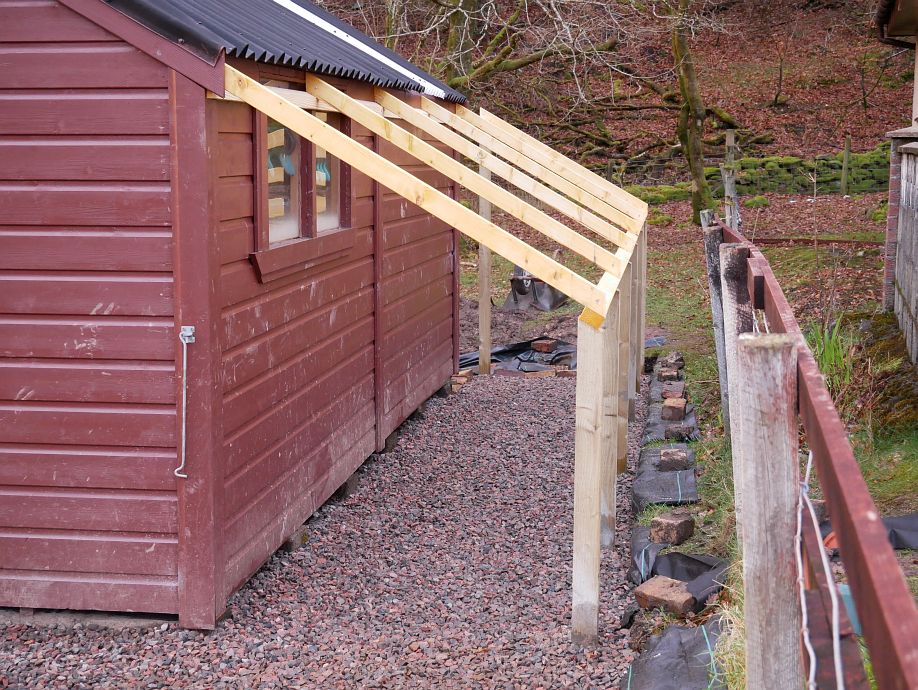
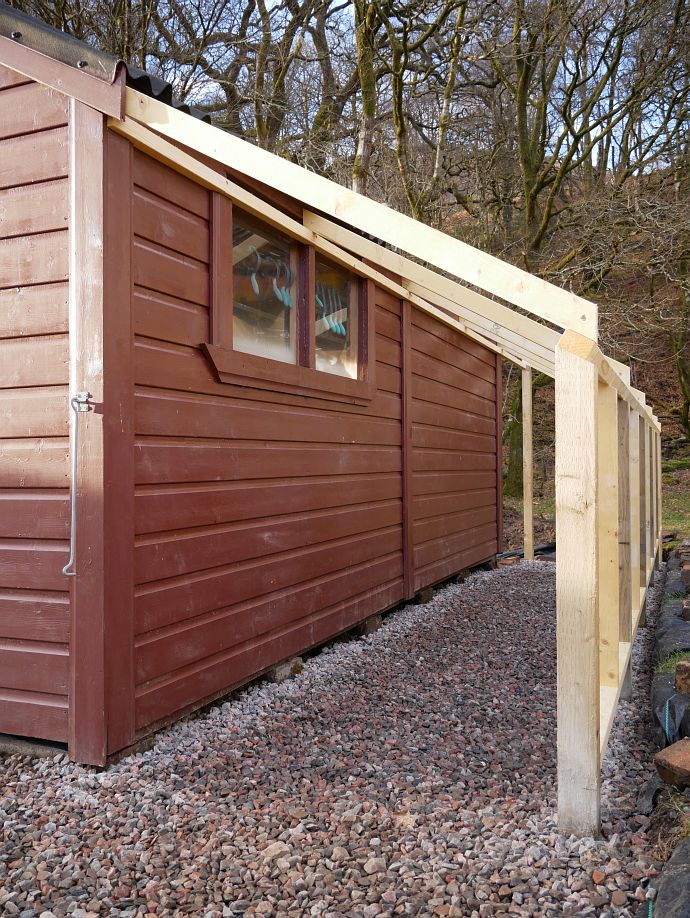
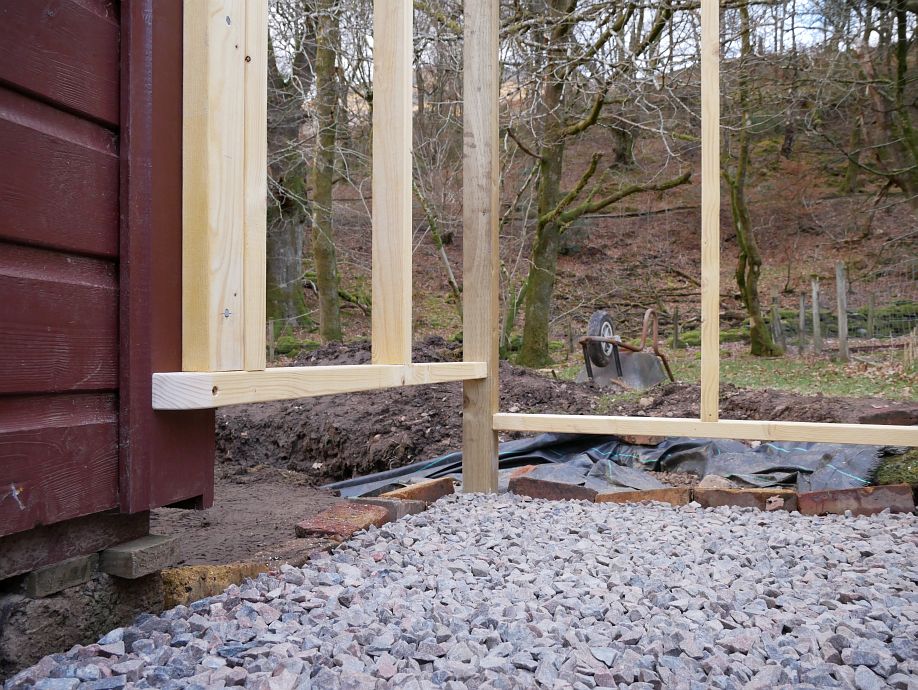
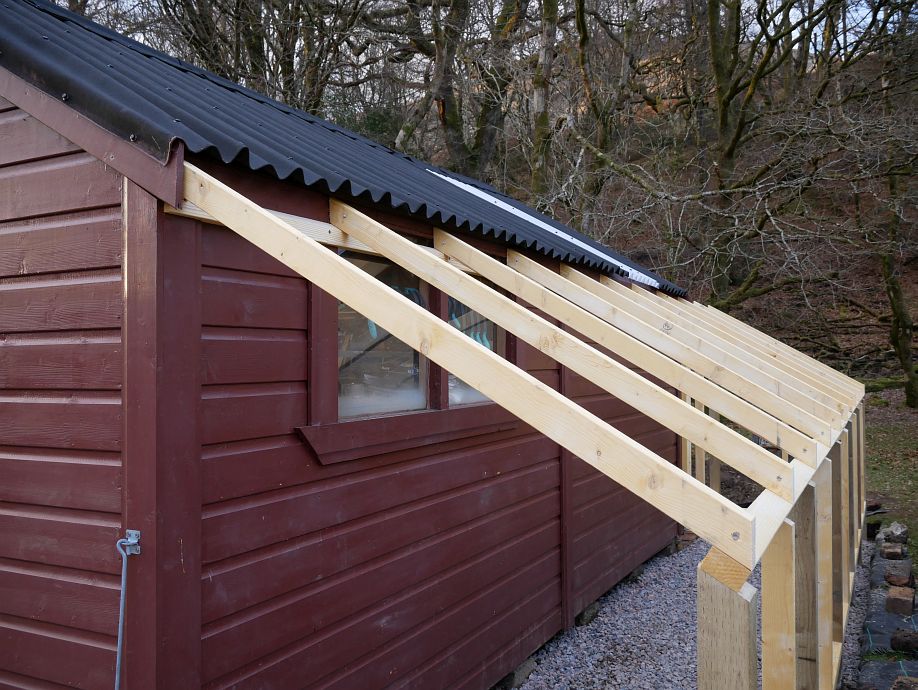
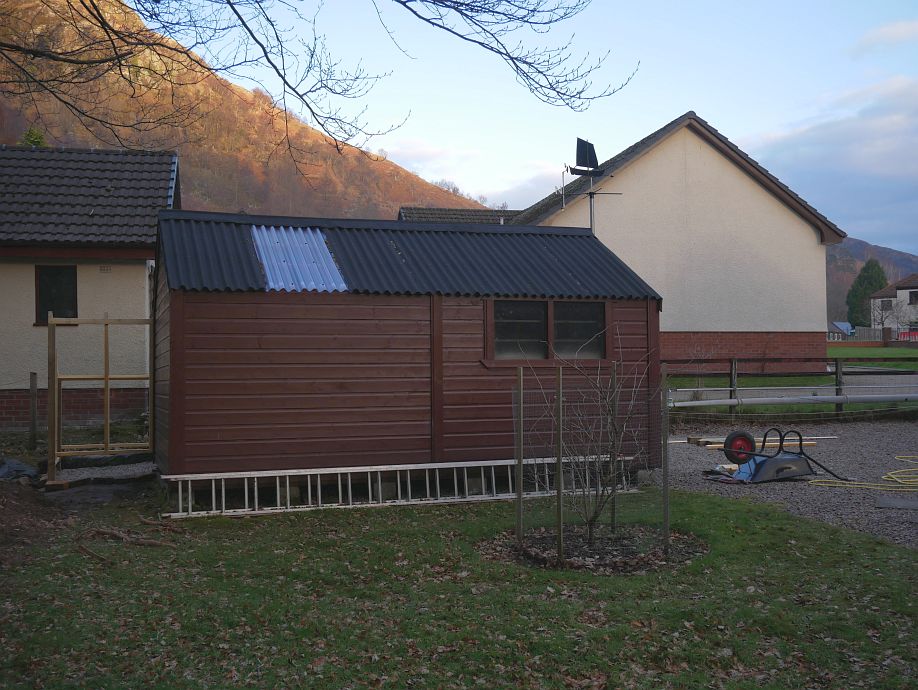
This next six-photo sequence from Wednesday might not look like much, but shows what’s actually quite a significant step in cutting back shed trim and attaching an angled rail to take the continuation roof:
I’ll need to cut back that gable trim further to accommodate my rafters and sarking, but will come back to it when necessary:
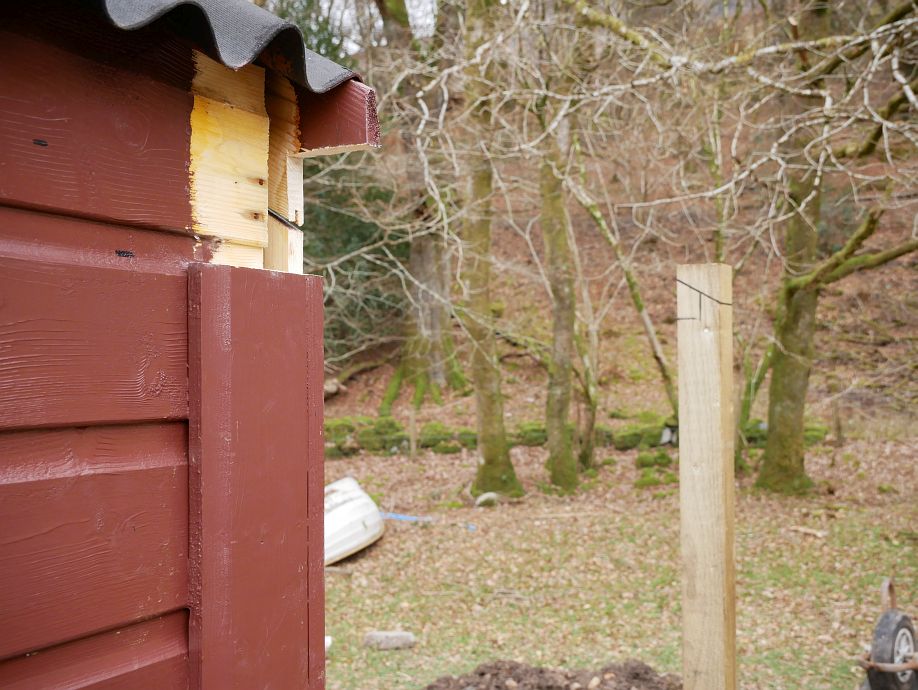
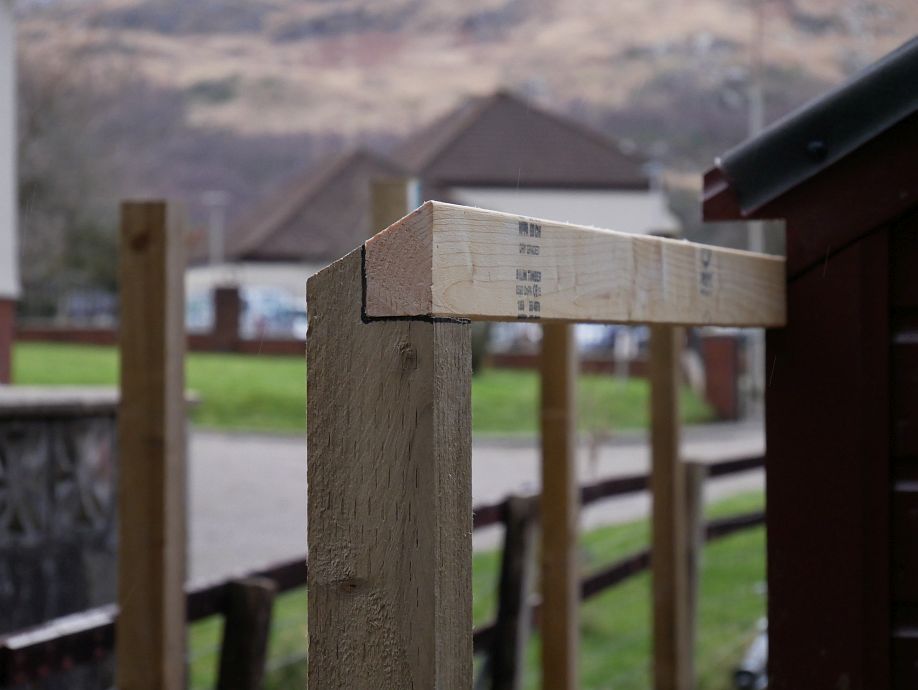
This joint was photographed without fastening since I was still considering how best to do it, but I later fastened it with Gorilla Glue and a single screw:
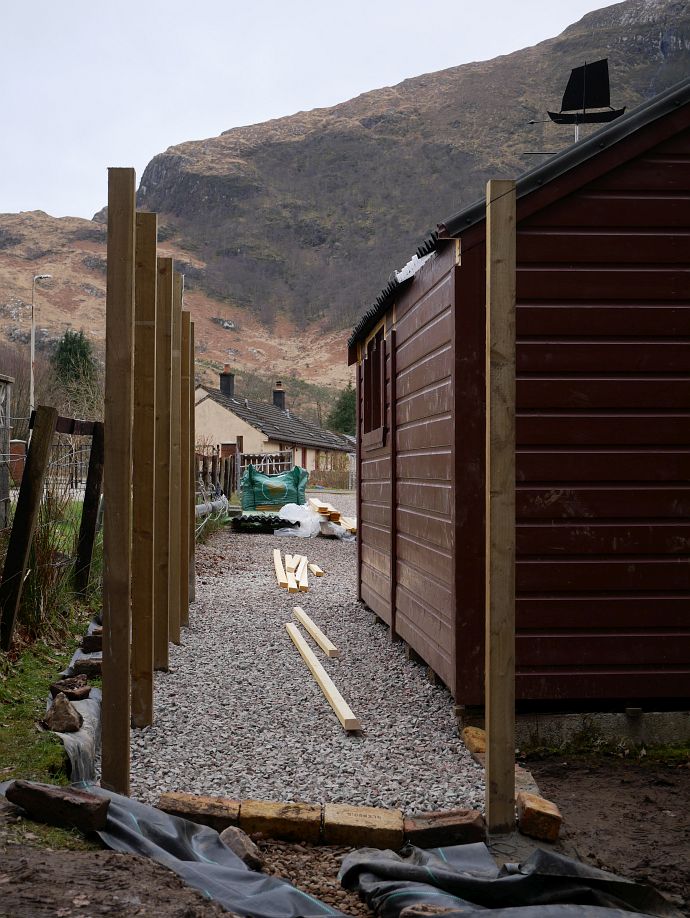
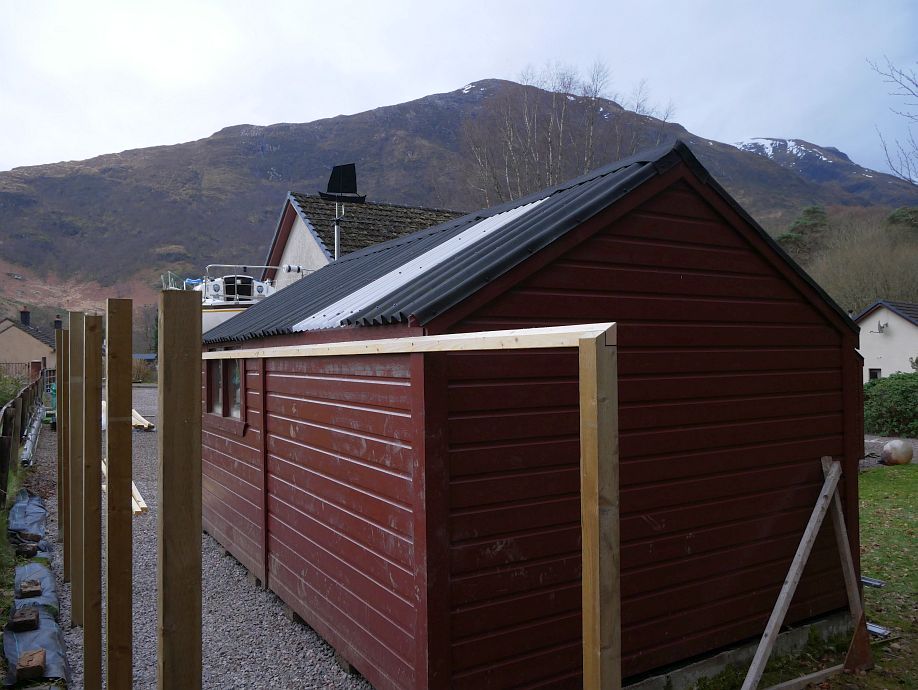
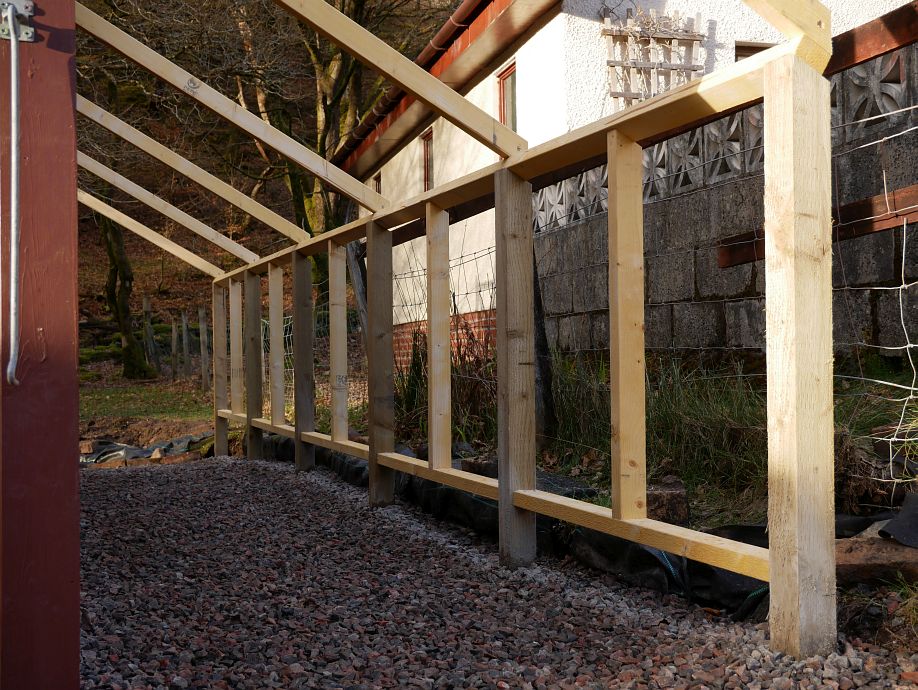
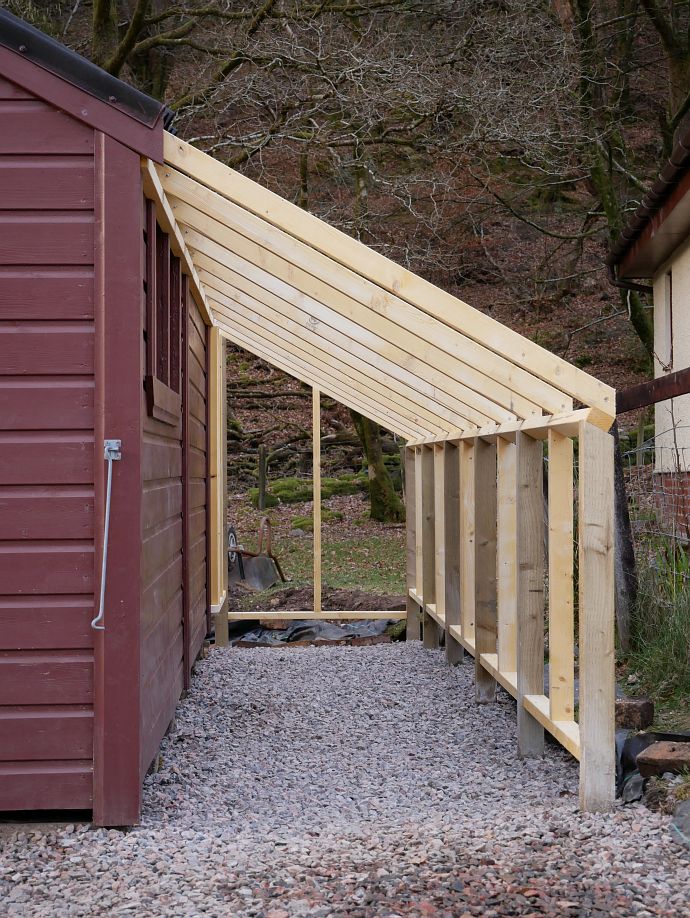
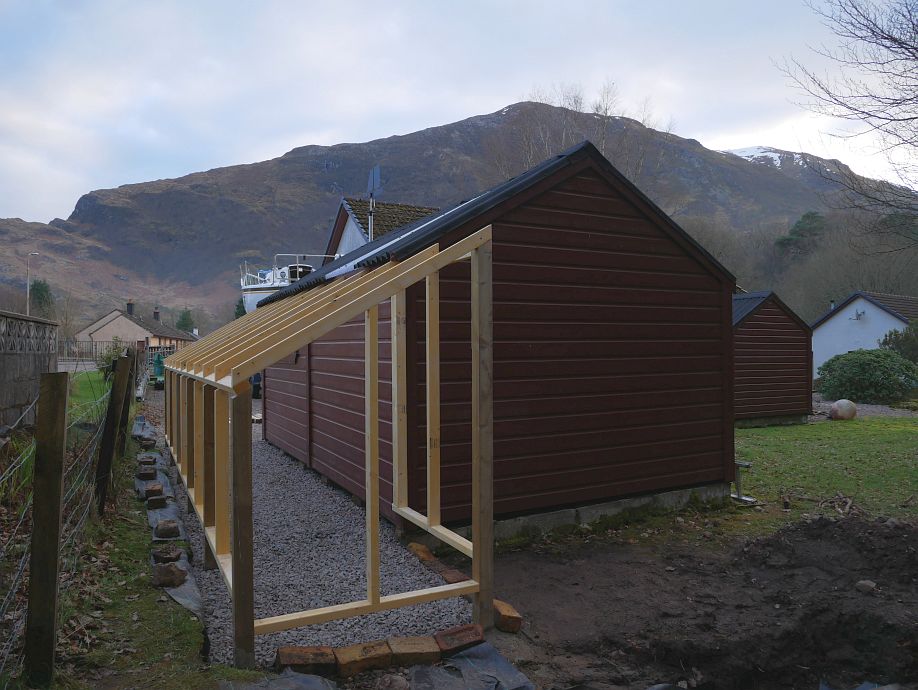
By Thursday evening, things were starting to look more like my drawing, but still wanting intermediate rafters (six out of eleven done here) as well as all the wall studding. It would be nice to work with straight timber, but I managed to pull the longer pieces straight enough and was relieved to get past the post-cutting stage in good shape! Nailing the top ends of the rafters has proved trickier than the bottom ends because the overhang of the existing roof gets in the way, but I’ve got there:
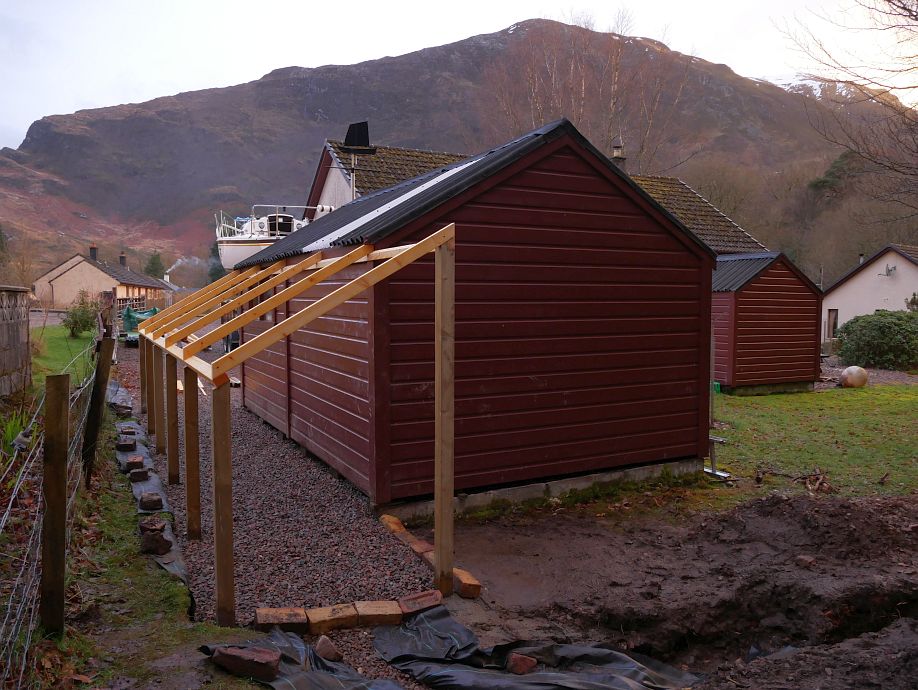
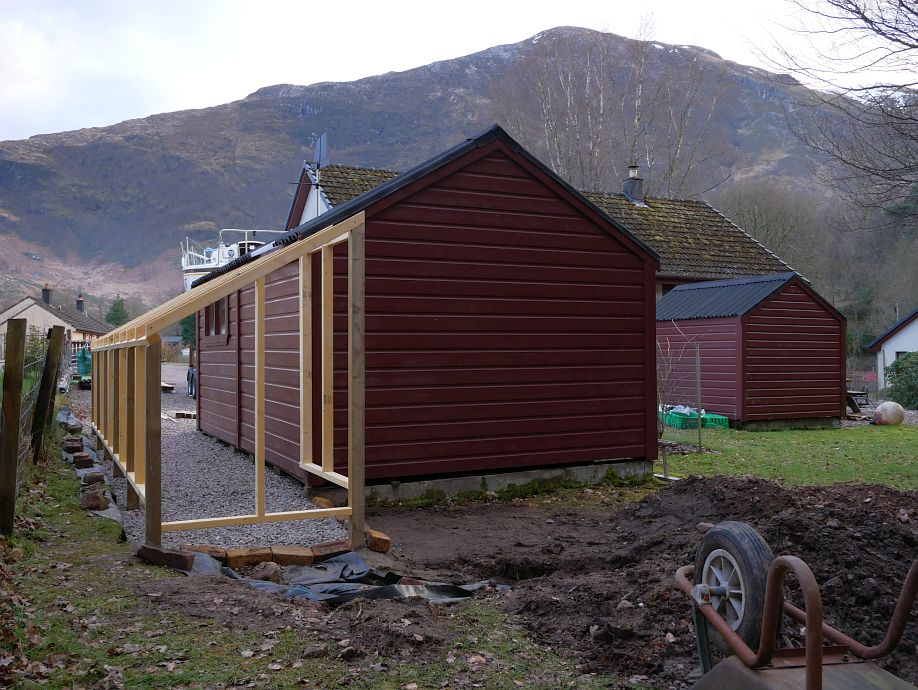
Friday saw the long wall fully framed, leaving the two short walls and remaining rafters for today. I’ll decide what to do with the gaps at the base where the ground’s falling away at the back (unlike my hypothetical ‘flat ground’ drawing) later. The reason I didn’t frame right to the bottom of the shed woodwork was keeping the long-wall cladding to seven whole boards where there’s no point going lower than ‘ground level’ along the fence, but I’m at least taking the end wall one board lower where the gap’s biggest:
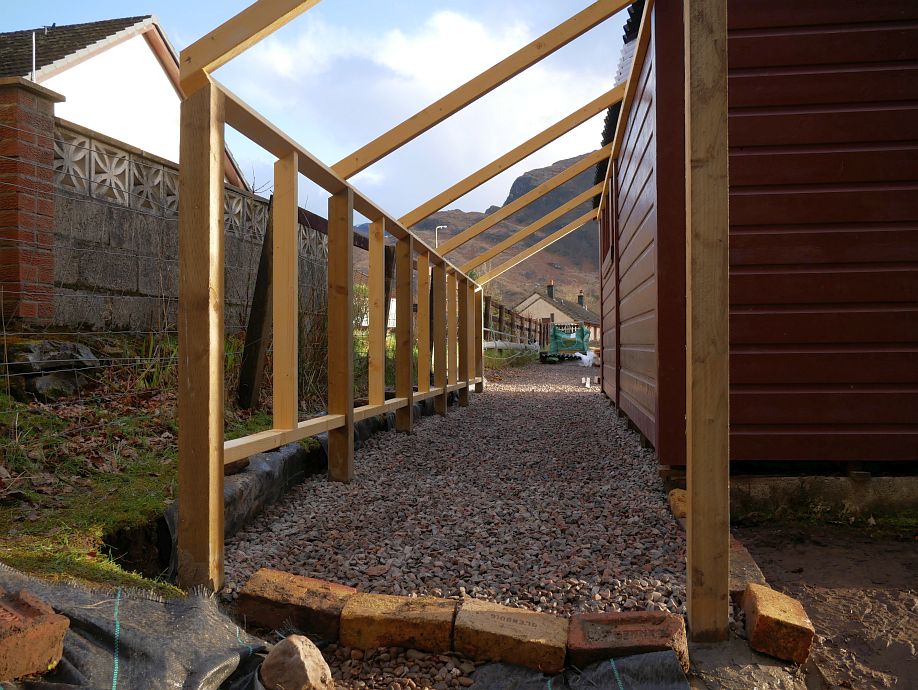
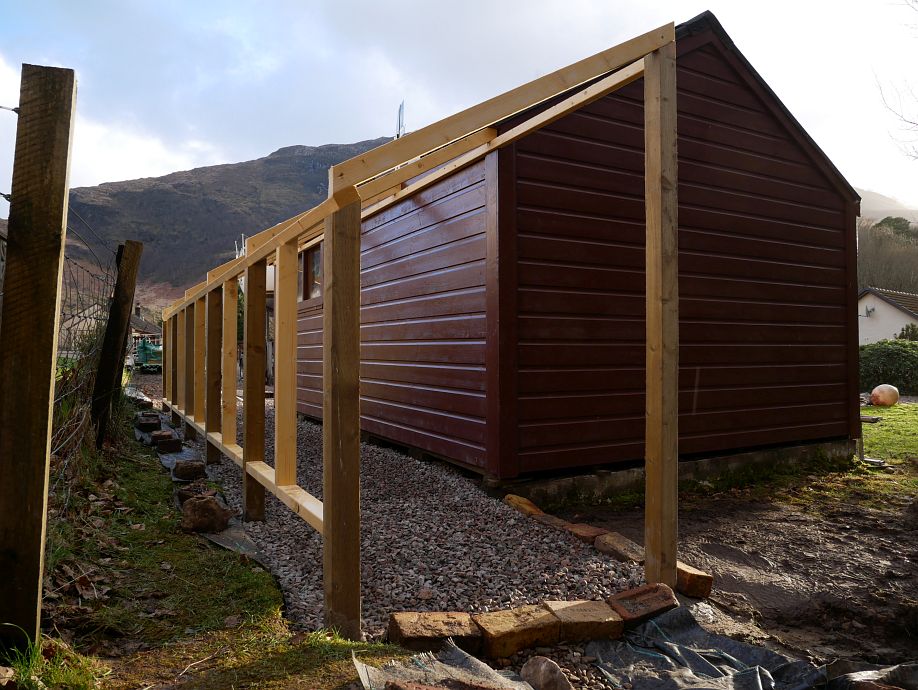
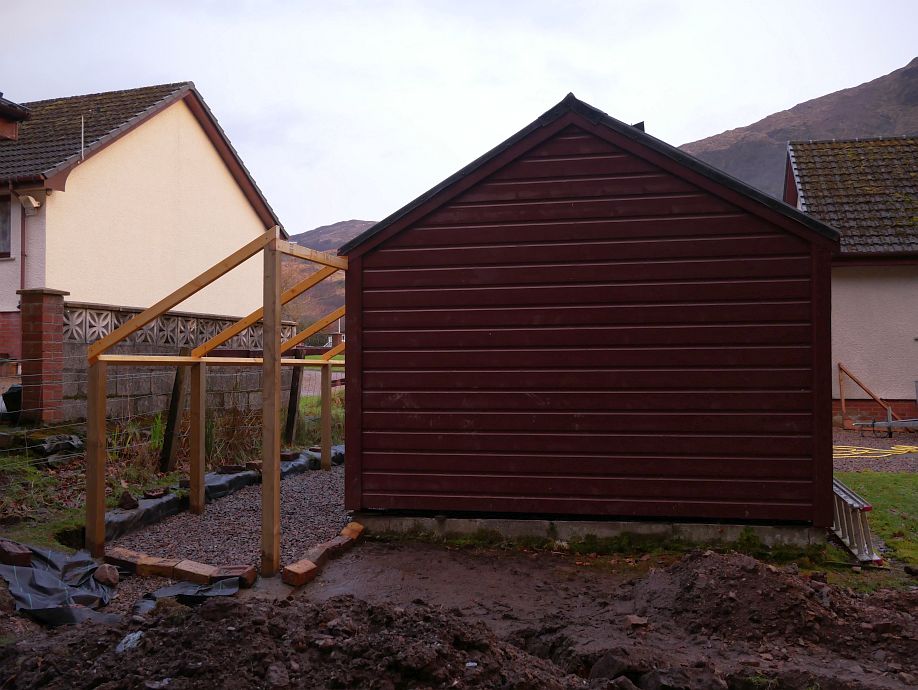
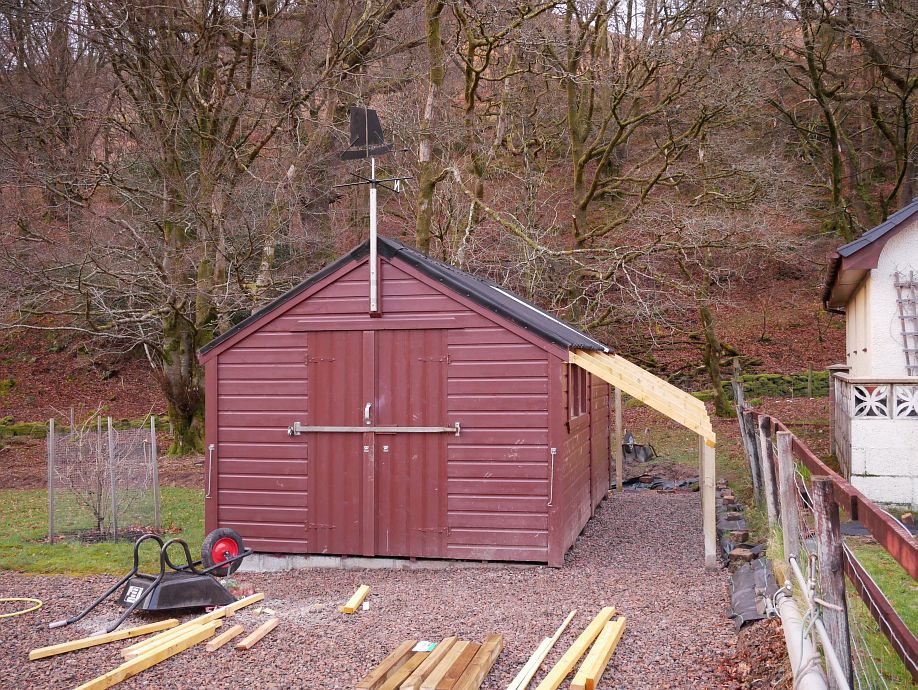
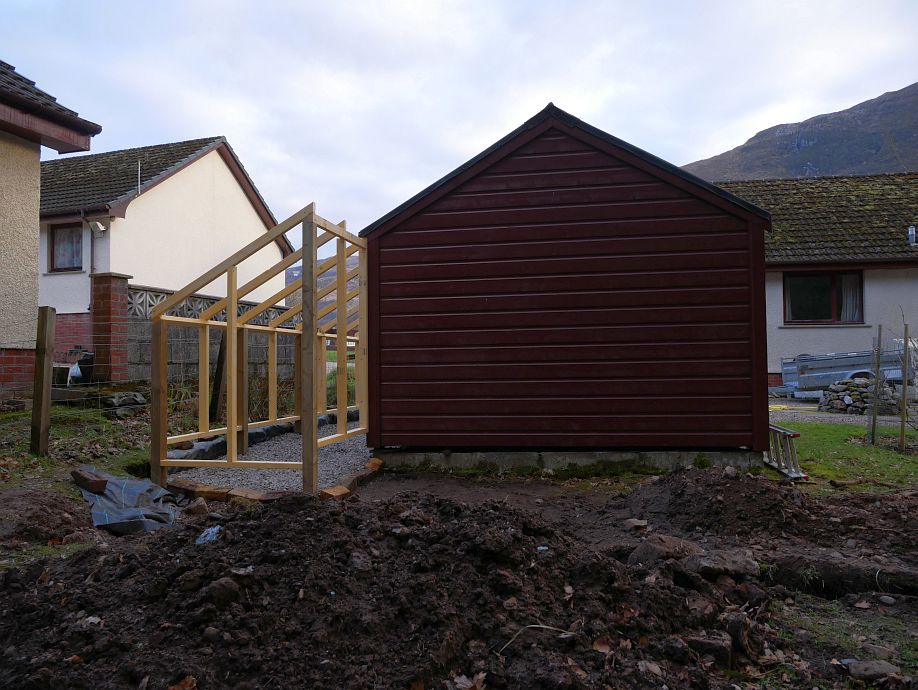
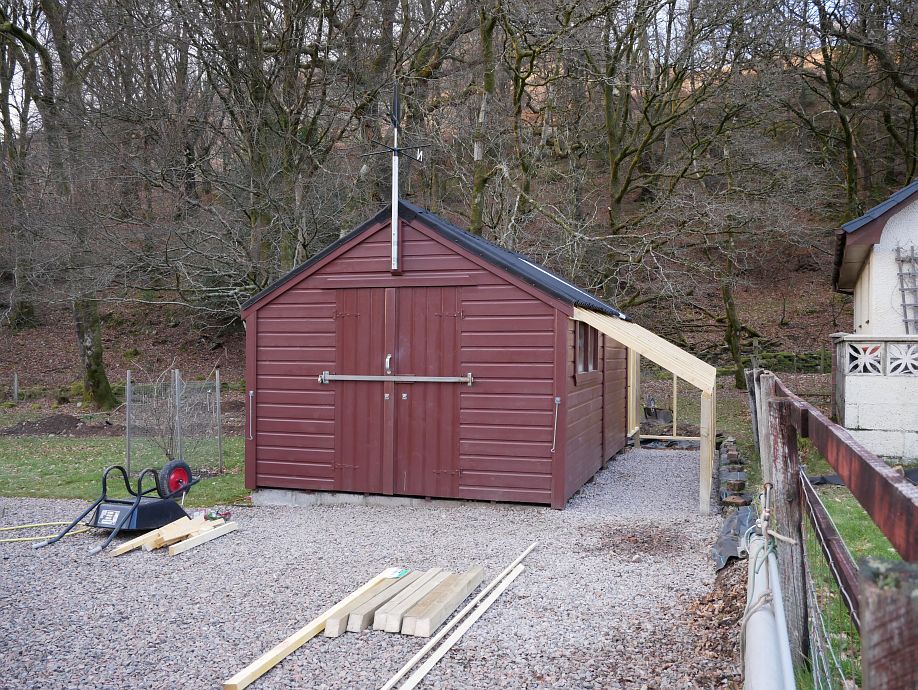
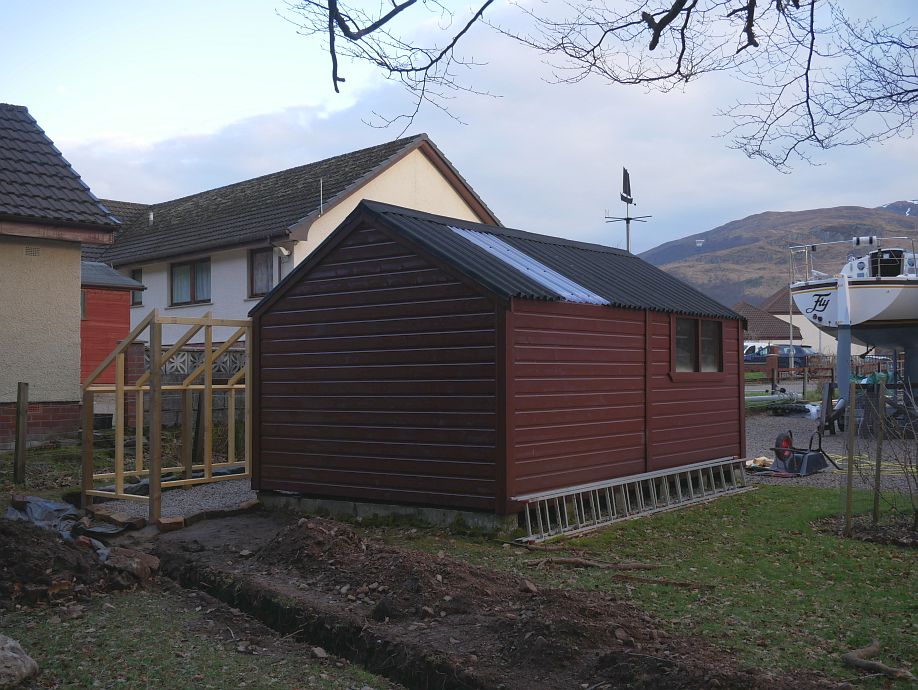
And here we are today with the framing all done:
The weatherboarding comes in the stupid length of 4.5m, which is not a multiple of 0.6m, so the only sane way to cut it for my 6m wall is 3m lengths (keeping the 1.5m leftovers for the 1.2m walls), and the logic of the tripled stud is simply more wood to nail all the joins and a covering piece to:

I shot multiple angles of the frame before it all gets covered up, and am still considering how to deal with the falling ground at the back:
So that’s how things stand right now. In other news, I did my first pool session with Nevis Canoe Club last night and practised repeated wet exits with the spraydeck. I’m also starting to think about working on Fly now the weather seems to be improving, but still really need/want to get the kayak store finished first!
Good progression Peter, and very interesting to see the pics step-by-step. I recall doing a couple of wet exits with spray deck fitted, would have been good to have practised them first.
Looking forward to the next installment.
Comment by Ian Minty — 5 March 2022 @ 8:35 pm